Your Animal Crossing experience won’t be complete without fishing! But if this activity is confusing you and the fish continue to elude you, I might have the solution for your fishing woes.
Ready your gear and learn how to catch a fish with these simple steps!
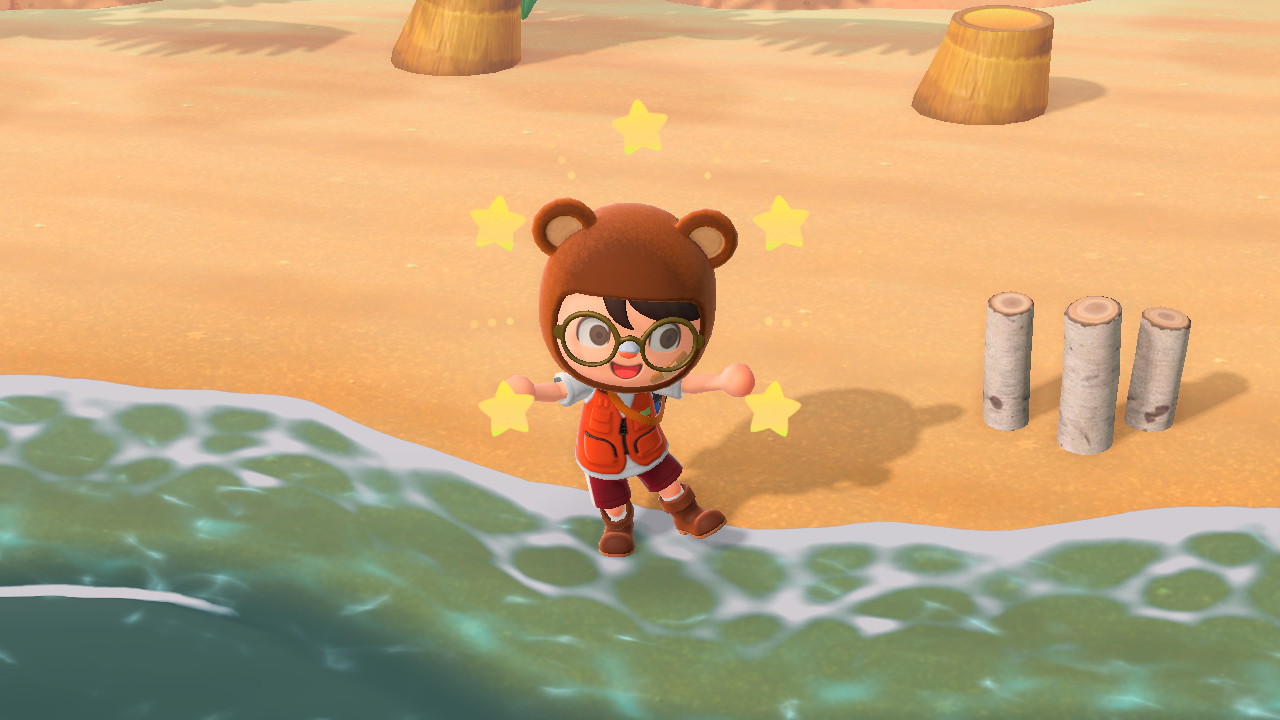
Dress for the occasion, as they say!
Quick Links
Catch a Fish in Animal Crossing in 3 Steps
Step 1: Get Your Rod
You’ll need to get your fishing rod in order to fish. To get it, press ‘y’ to open your pocket.
Go pick your rod and press ‘a’ on it. One of the options that should pop up is ‘hold.’ Pick that, and you should be holding your rod.
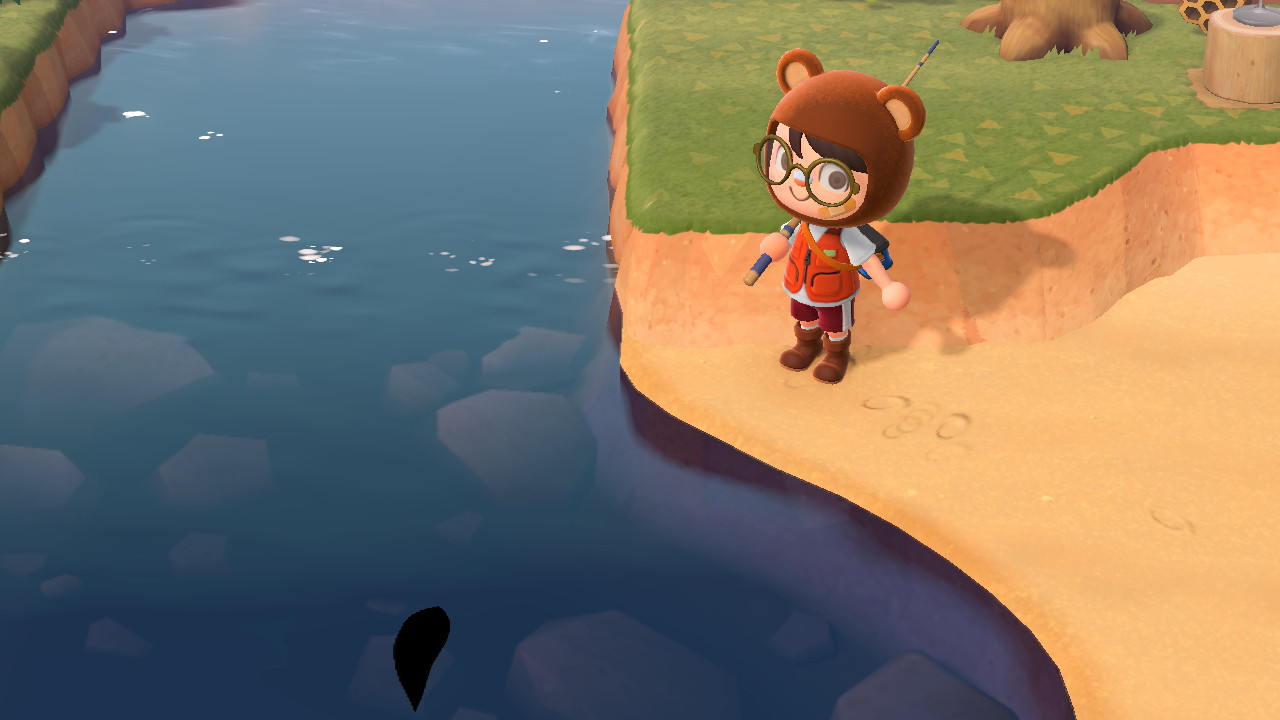
Step 2: Find Shadows in the Water
Go to any body of water and see if you can find any shadows. Those shadows are the fish!
IMPORTANT NOTE: Don’t run near fish shadows, or you’ll spook them, and they’ll swim away. You’ll have to run around on your island for them to spawn again.
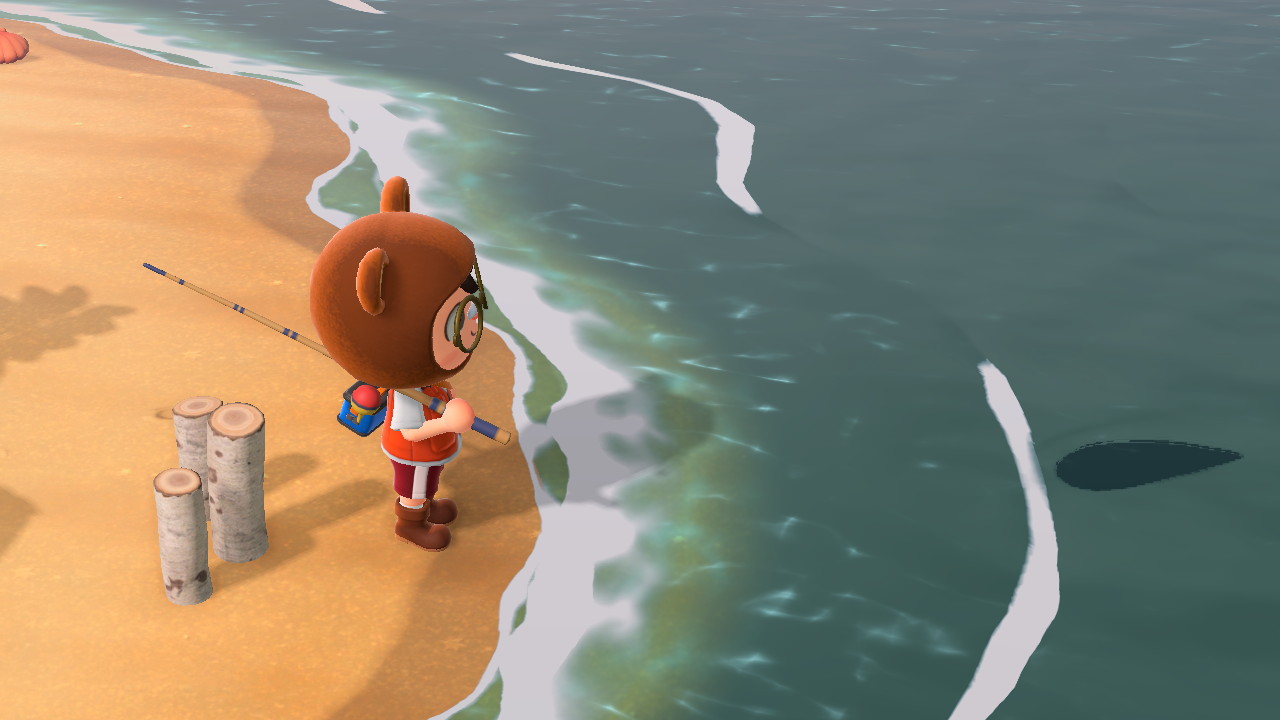
Fish shadows can be found in the sea, rivers, and ponds.
You can catch different fish from different locations, and some of them can only be found at certain spots, time of day, season, or even weather!
If you want to catch a particular fish, research ahead on how to get it so you won’t waste time.
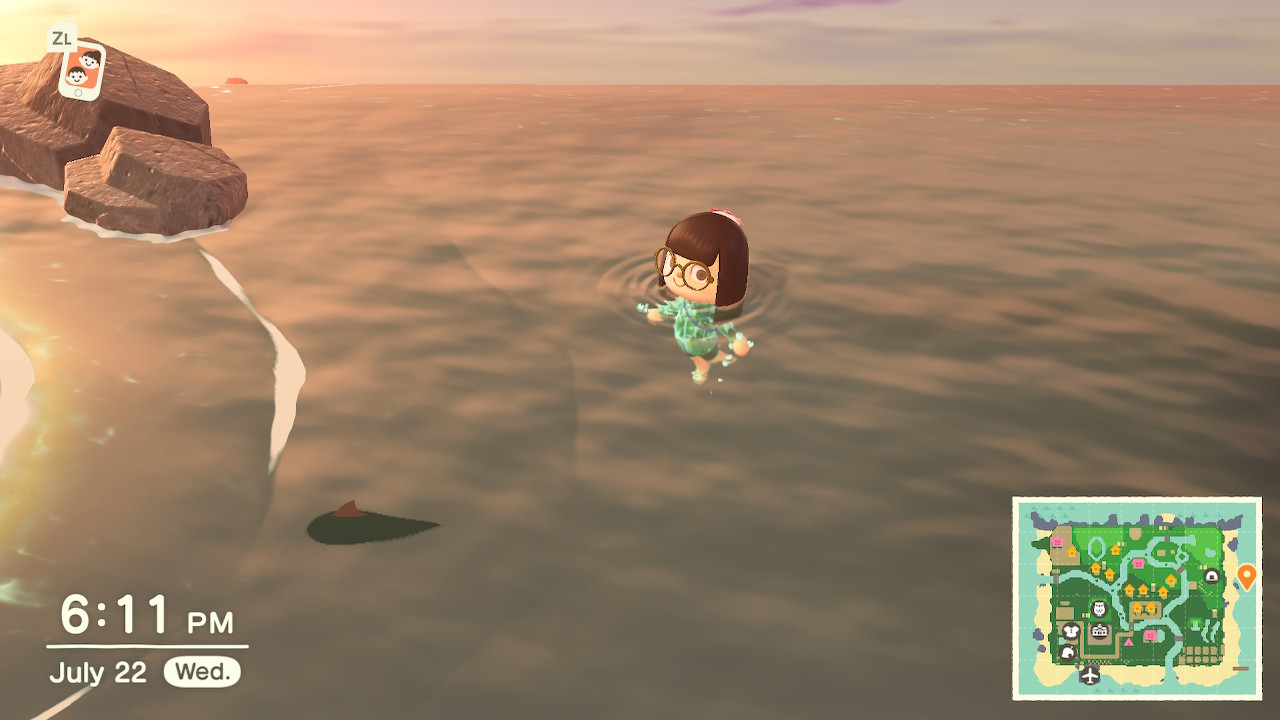
Fish shadows have different sizes, shapes, and details as well! These can tell you some info on what kind of fish the shadow can be.
For example, long and thin shadows are eels, ones with fins sticking out are sharks, and tiny ones can be seahorses, guppies, or goldfish, to name a few.
Step 3: Use Your Rod and Time It Right
We have our rod and shadow—-it’s time to fish!
Face the fish shadow and press ‘a’ but make sure your hook or fishing line falls in front of the shadow.
Once the fish notices your fishing line, it will swim up to it and start nibbling or biting.
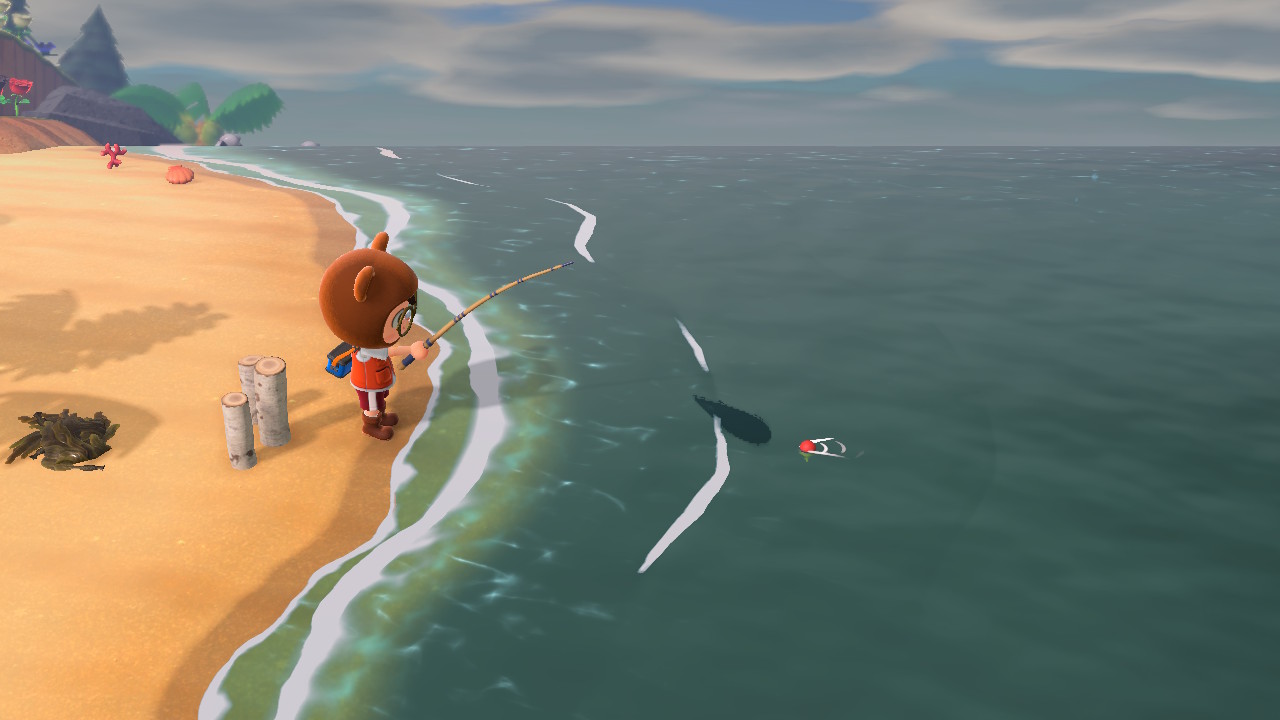
The fish can do small bites or nibbles. Don’t reel your line yet when this happens.
You have to wait until the fish does the big bite and pulls your fishing line under the water. When this happens, press ‘a’ quickly!
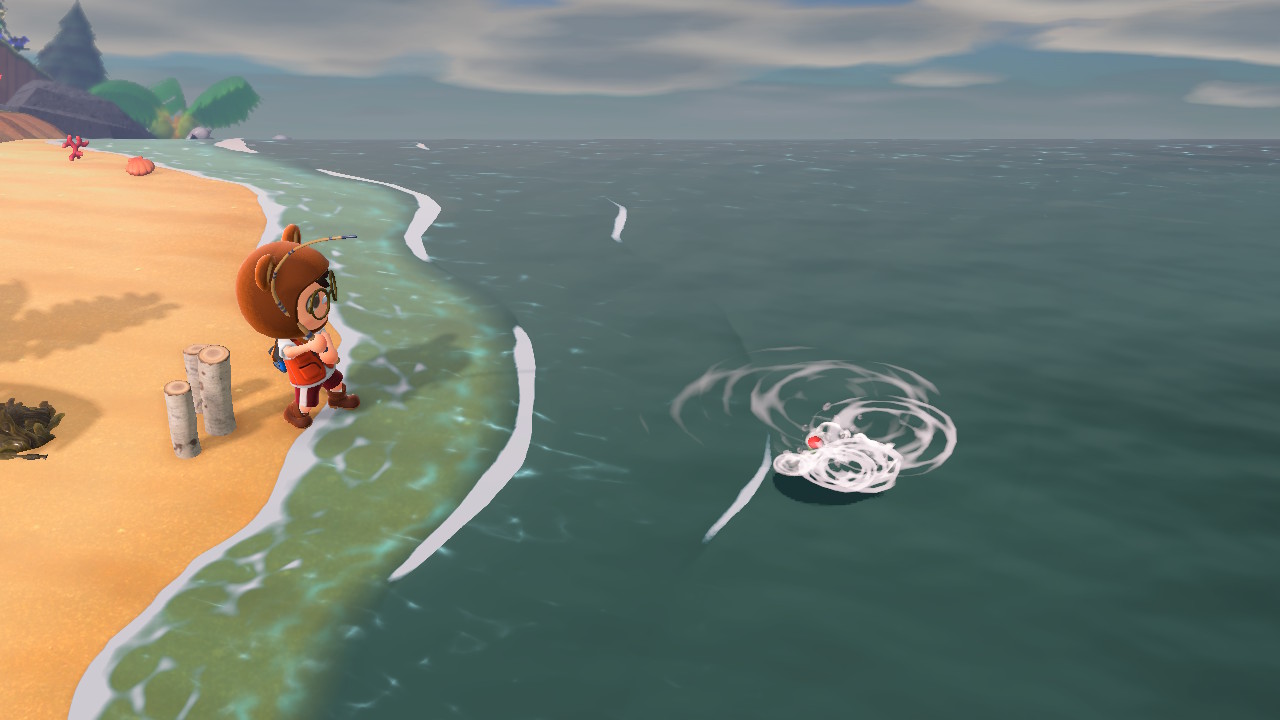
TIP: Fish will do the big bite within 1-5 tries. It’s possible it’ll do the big bite on the first try, so watch out. If it nibbles at your hook four times, the fifth will be a guaranteed bite.
Fishing Refresher: Where To Get Fishing Rods
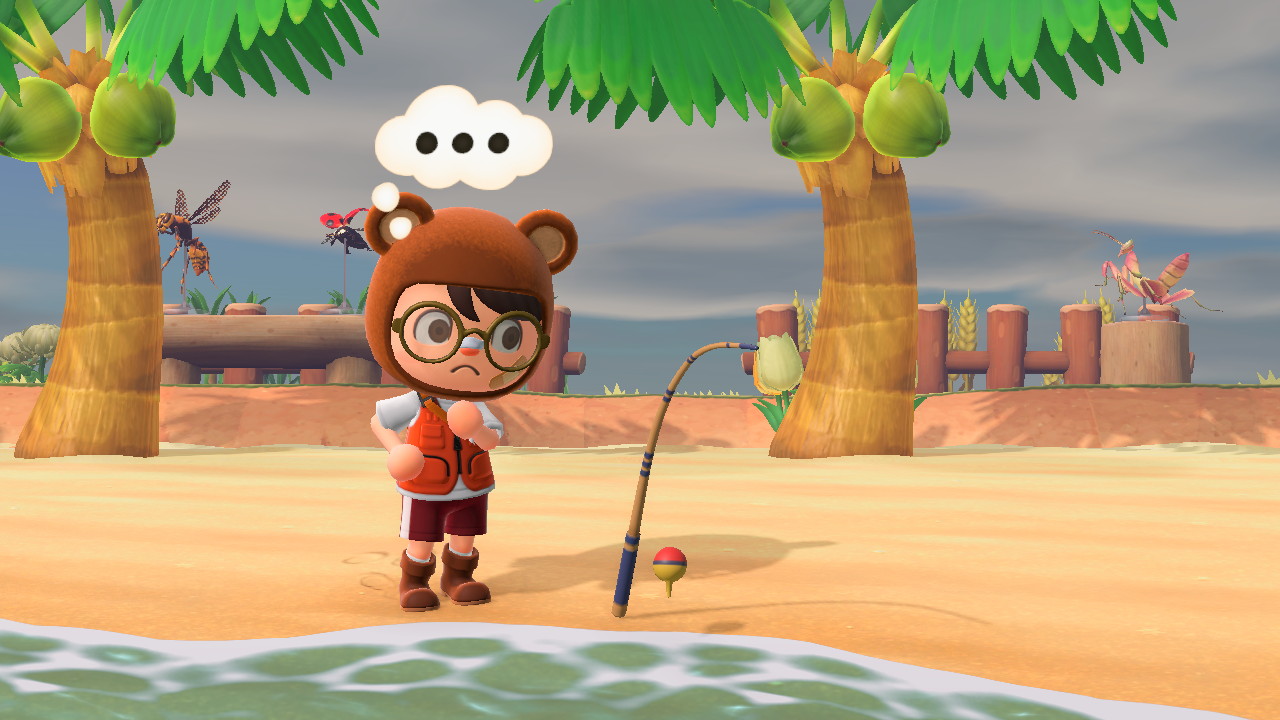
For those who are just playing this game for the very first time, I gotchu. Here’s a quick review about fishing rods, where to get their DIY recipes, and how to craft them.
First Fishing Rod
At the start of the game, you might have noticed that you don’t have anything in your pockets at all.
The game doesn’t give you all the beginner tools at once, but you don’t have to worry about that. Play a bit more, and these tools will be given to you one at a time.
After arriving on the island, meeting your new fellow islanders, and naming your new island home, you’re asked to go to sleep in your tent. No fishing yet on your first day!
After waking up, talk to Tom Nook to get a lesson on crafting and DIY recipes.
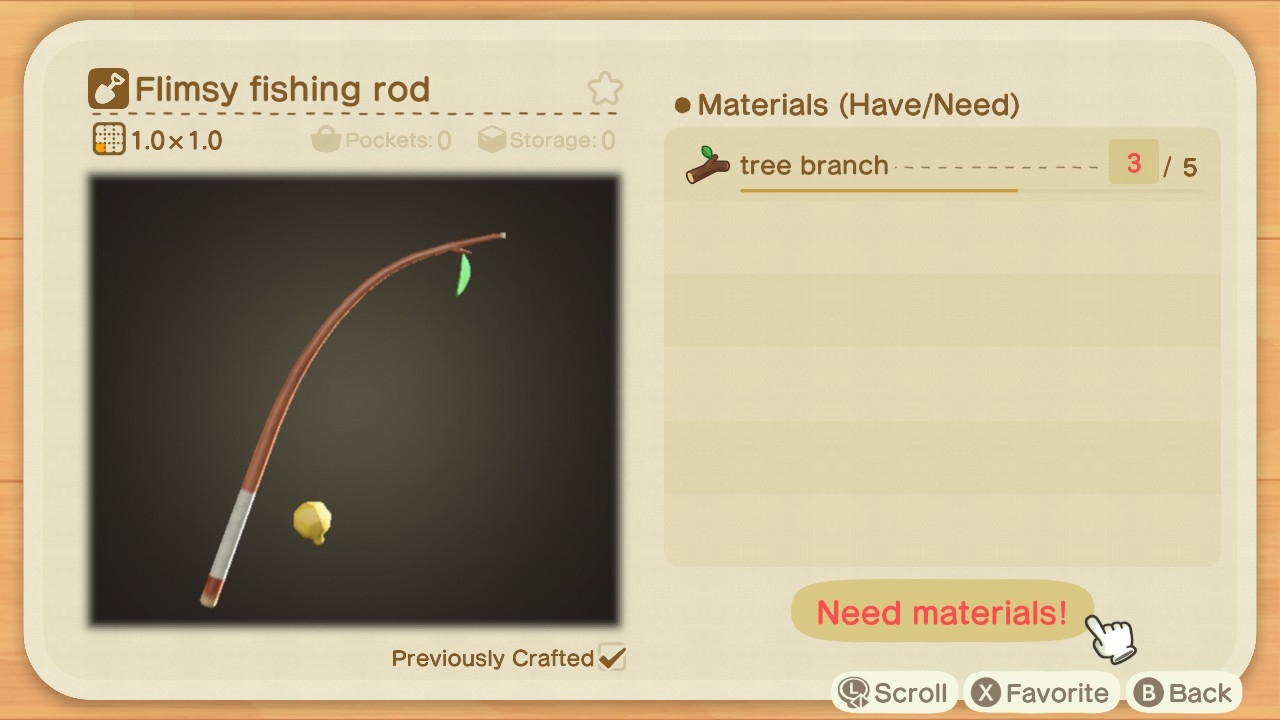
He will give you the recipe for Flimsy Fishing Rod on your NookPhone.
This is your beginner fishing rod, and although it’s really flimsy and can’t catch a lot of fish, our fishing adventure has to start somewhere. A Flimsy Fishing Rod will poof after 7 or so uses.
It’s pretty easy to make! You just need five tree branches to craft it. To get branches, just go in front of a tree and press ‘a’ to shake it. Keep shaking to get more branches.
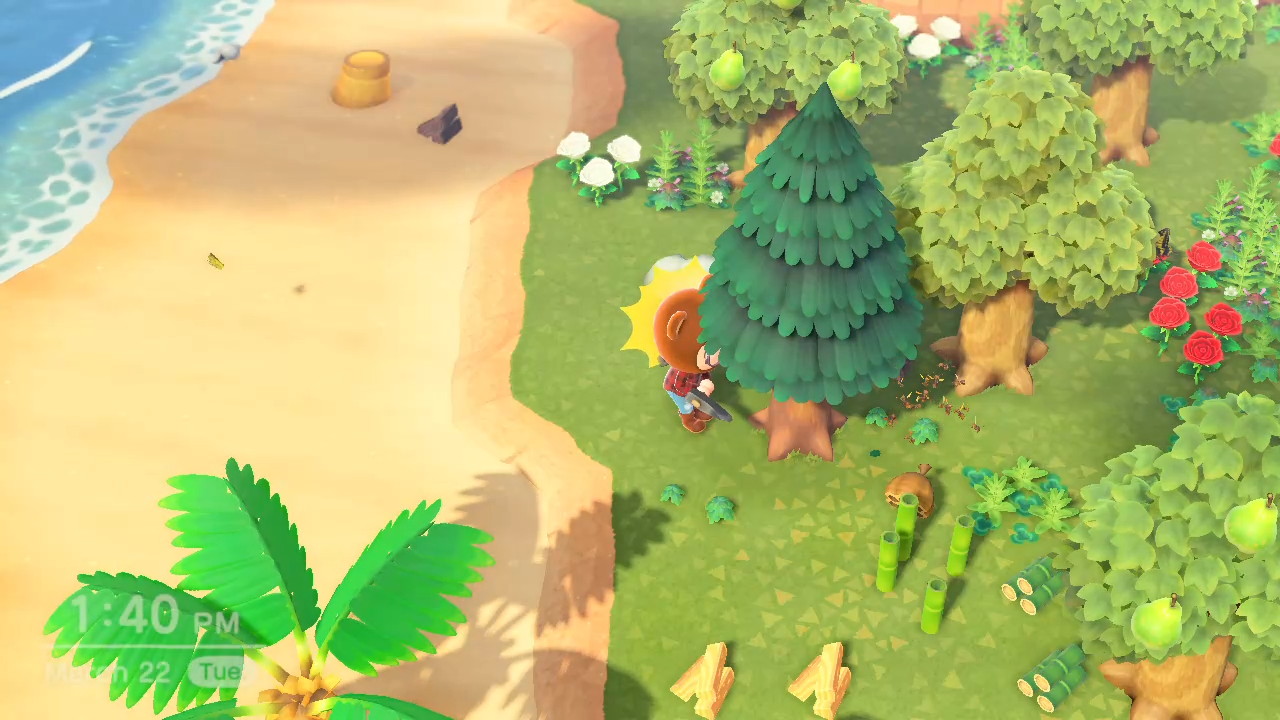
IMPORTANT NOTE: Wasps drop from trees! A wasp nest can randomly drop after shaking a tree. You have to quickly catch it with your bug net, or else they’ll sting you. If they sting you twice, you’ll faint!
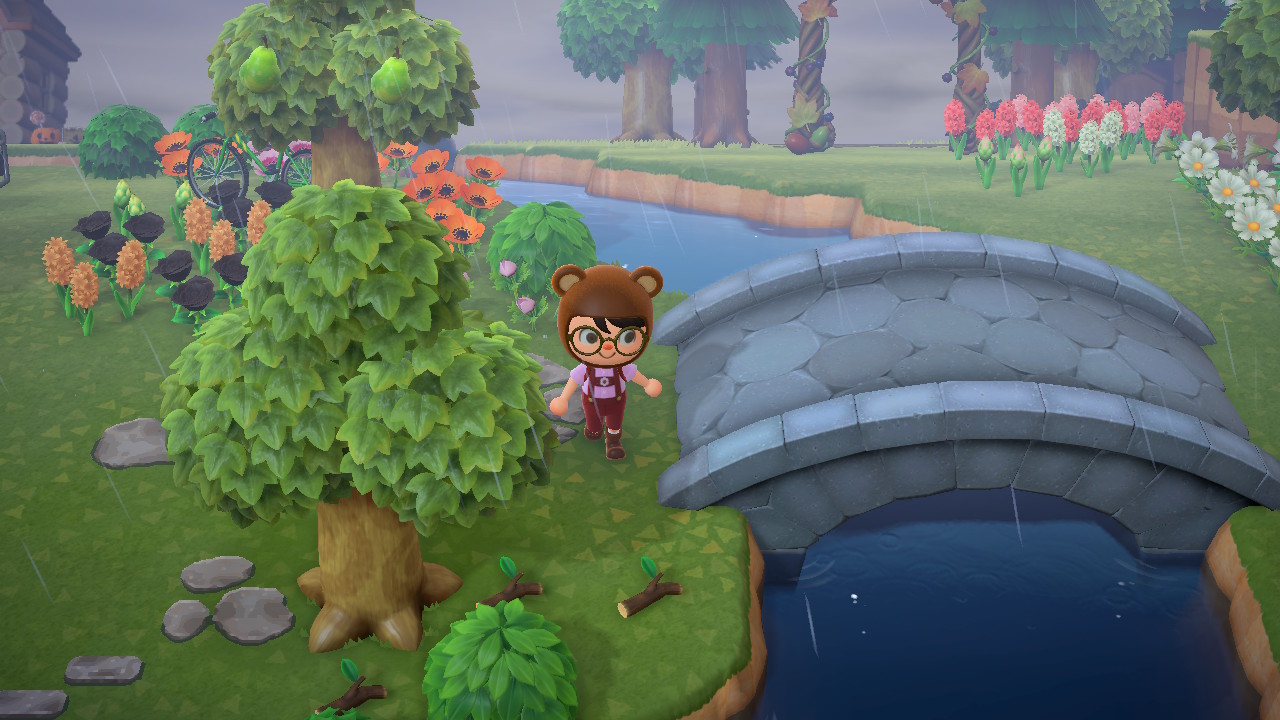
To avoid the risks of wasps, you can also run around and check if there are already fallen branches on the ground near trees. Pick them up by going near it and pressing ‘y’.
Proper Fishing Rod
Save up your Nook Miles because you’ll need it to upgrade your beginner tools later on.
When you have enough miles, go to your Nook Stop inside your Resident Services, and scroll a bit down to find the Pretty Good Tools Recipes. Redeem it using 3,000 Nook Miles.
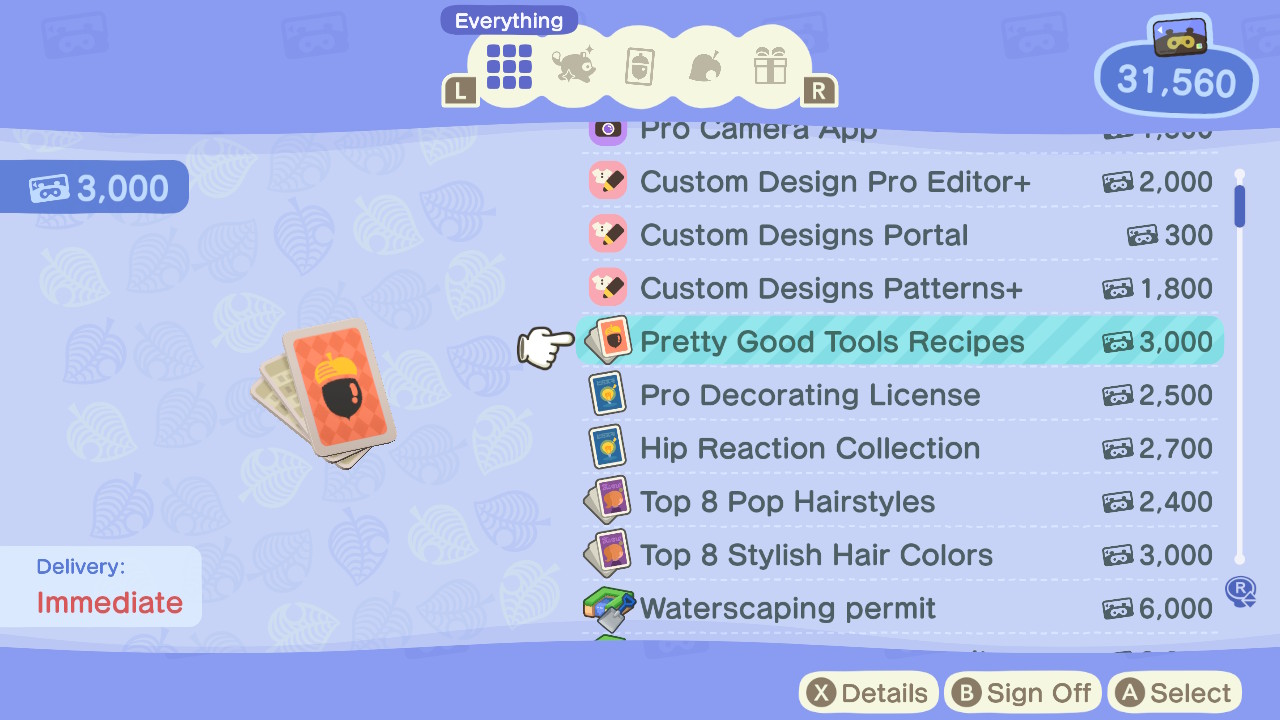
With the Pretty Good Tools Recipes, you can get better versions of your flimsy tools. For your flimsy rod, you can now upgrade it to a proper Fishing Rod.
This is sturdier, and the durability lasts longer than the flimsy version. A Fishing Rod canfish 30 times before it breaks.
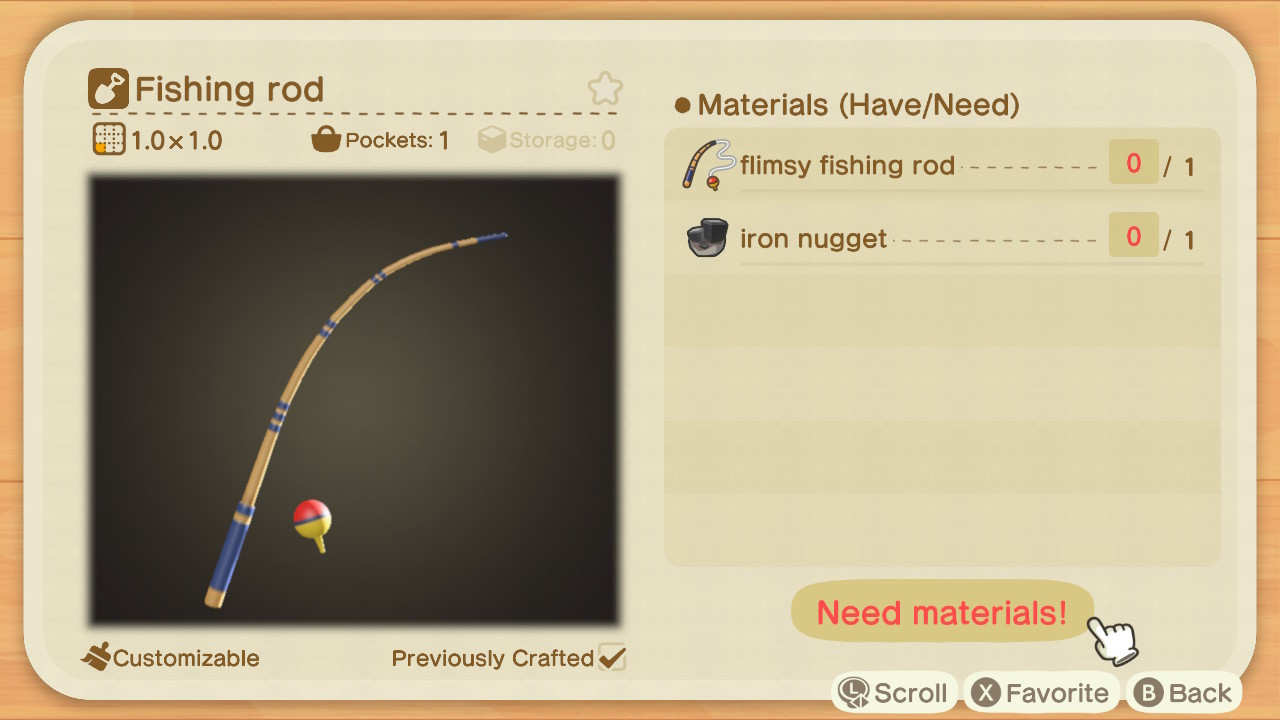
Just have one Flimsy Fishing Rod and one iron nugget to make a Fishing Rod. You can find iron nuggets by hitting rocks with an axe or a shovel.
TIP: To get the most out of your rocks, do the rock trick! Just place holes beside and behind you when you hit rocks. See this image below to help you.
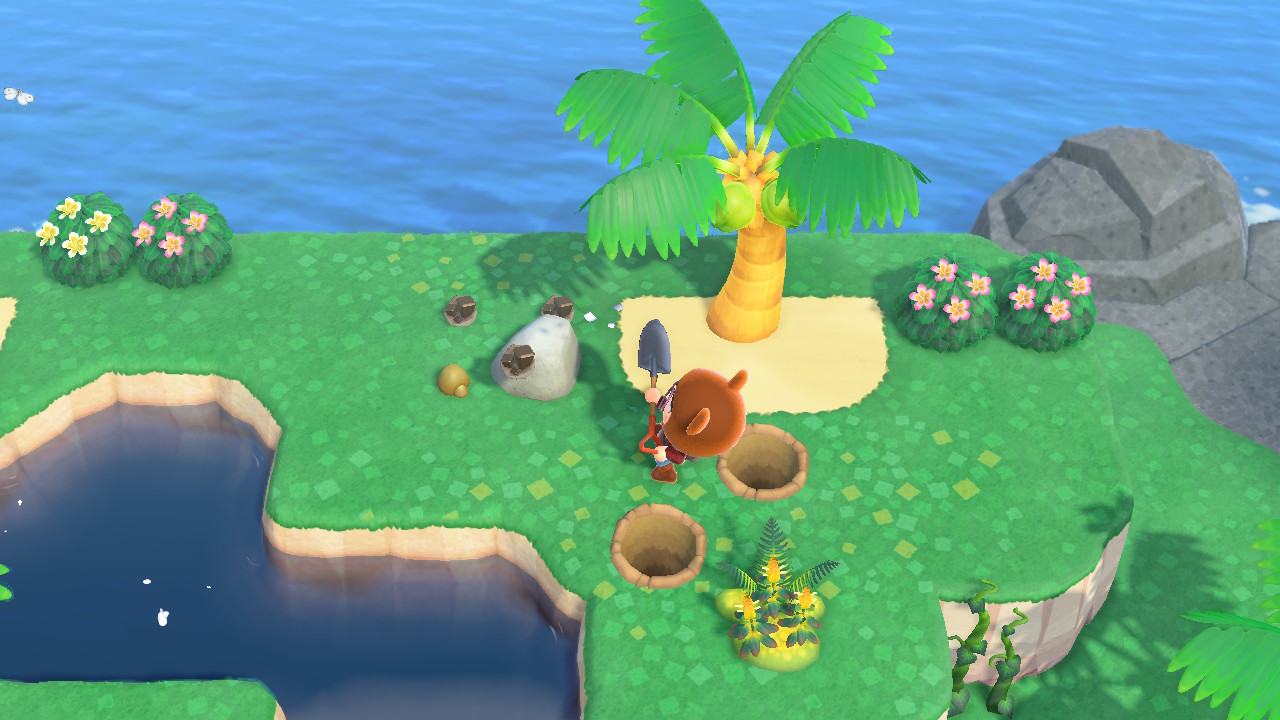
You can get a maximum of eight materials per rock, but you can only get it if you continuously hit a rock eight times.
No short pause in between! But without the holes to act as a wall for you, you’ll get pushed back every time you hit.
Buying Fishing Rods
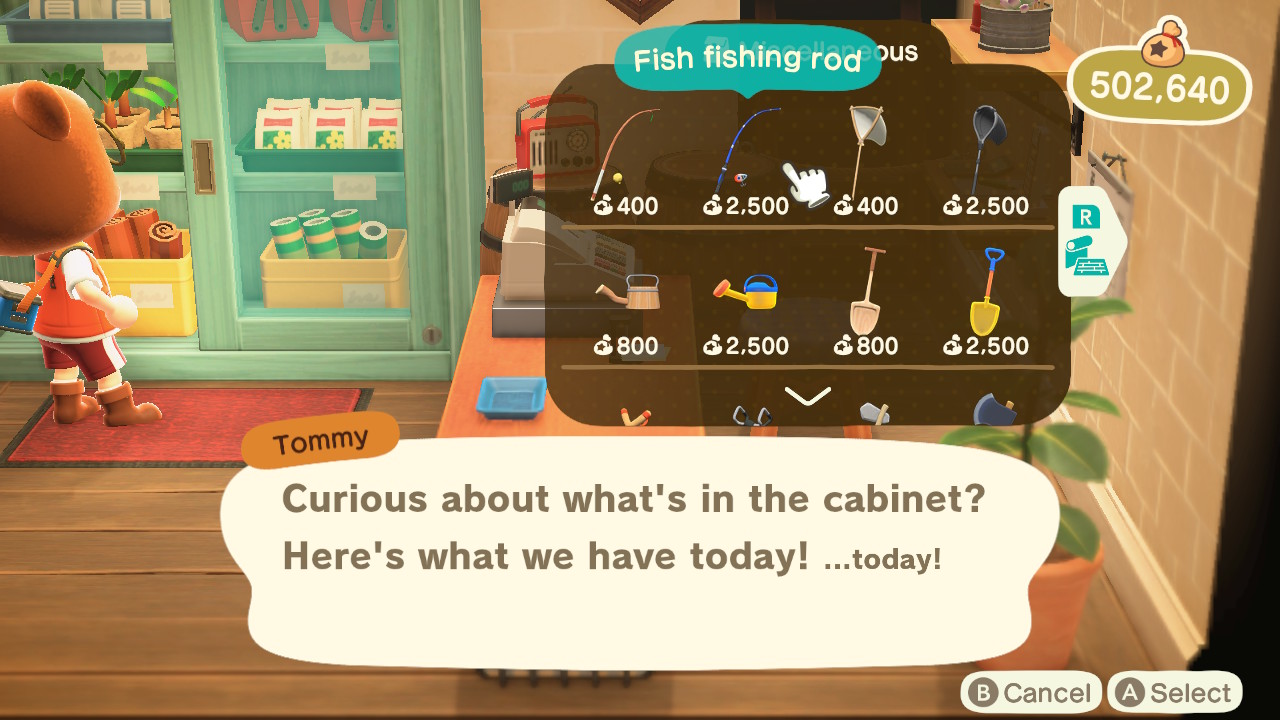
If at times, you find yourself not wanting to craft or don’t have the materials to make rods but have the Bells to get one, your Nook’s Cranny has a solution for you.
Go to the cabinet inside the store, and you’ll find tools you can immediately buy and use.
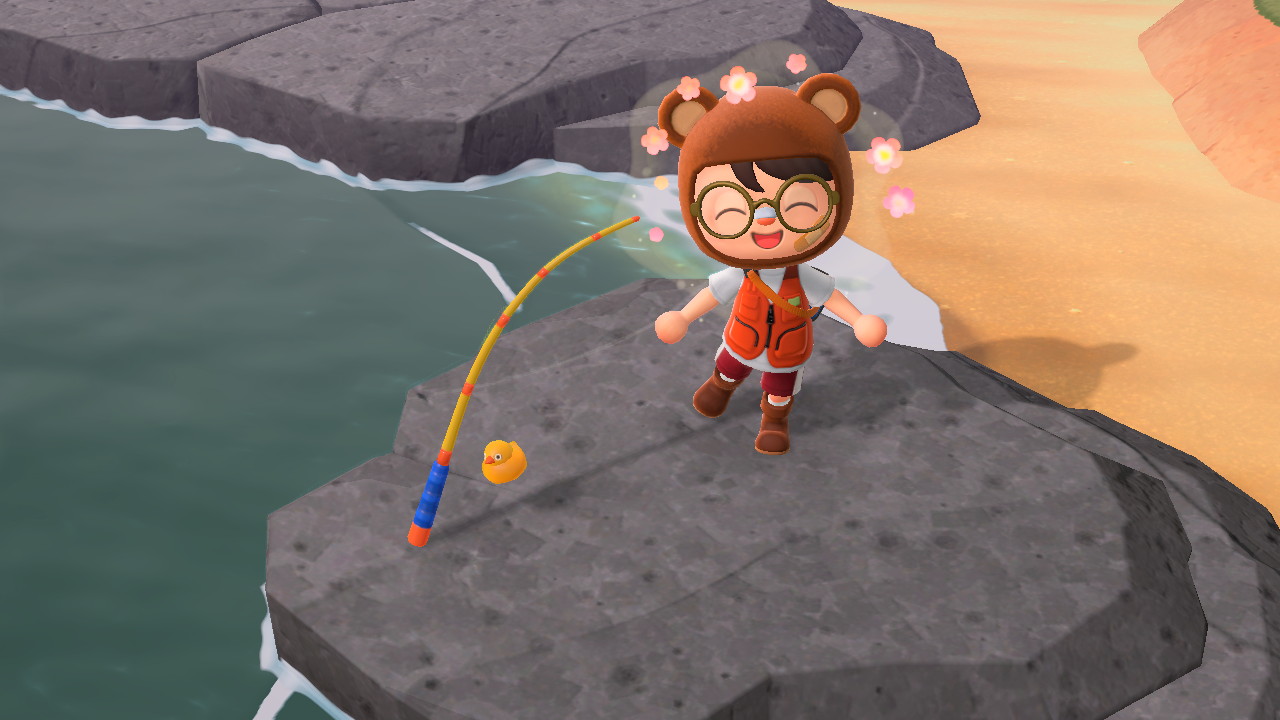
The store will have differently designed rods, like the Fish Fishing Rod with a fishhook or the Colorful Fishing Rod with a cute rubber duck as a bobber!
You can customize these to different colors using a customization kit or asking Cyrus at Harv’s Island.
Special Fishing Rod
The last rod is sort of a surprise, so if you don’t want it spoiled for you, skip this part! There are golden versions of your tools like in previous Animal Crossing games.
For this special fishing rod, catch all the fish to receive a surprise DIY via mail.
Quick Tips and Reminders
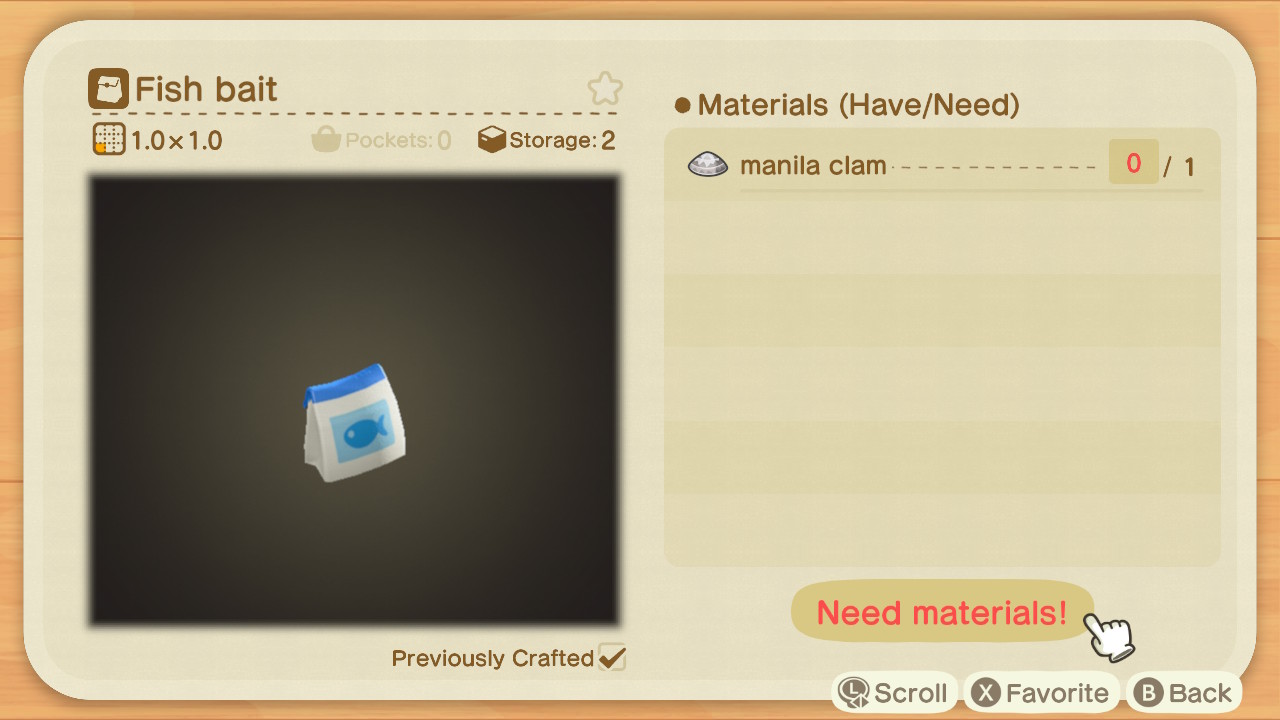
Use Bait
Bait will instantly spawn a fish shadow! No more running around and finding shadows.
Visit Mystery Islands
You might end up in a Mystery Island with a different season and different fish from your island.
There is also an island filled with just sharks! Remember to bring extra rods when island hopping.
Donate Fish
Don’t forget to donate your fish to complete your museum. Some fish are very difficult to get, so it would be a shame to sell it before donating it.
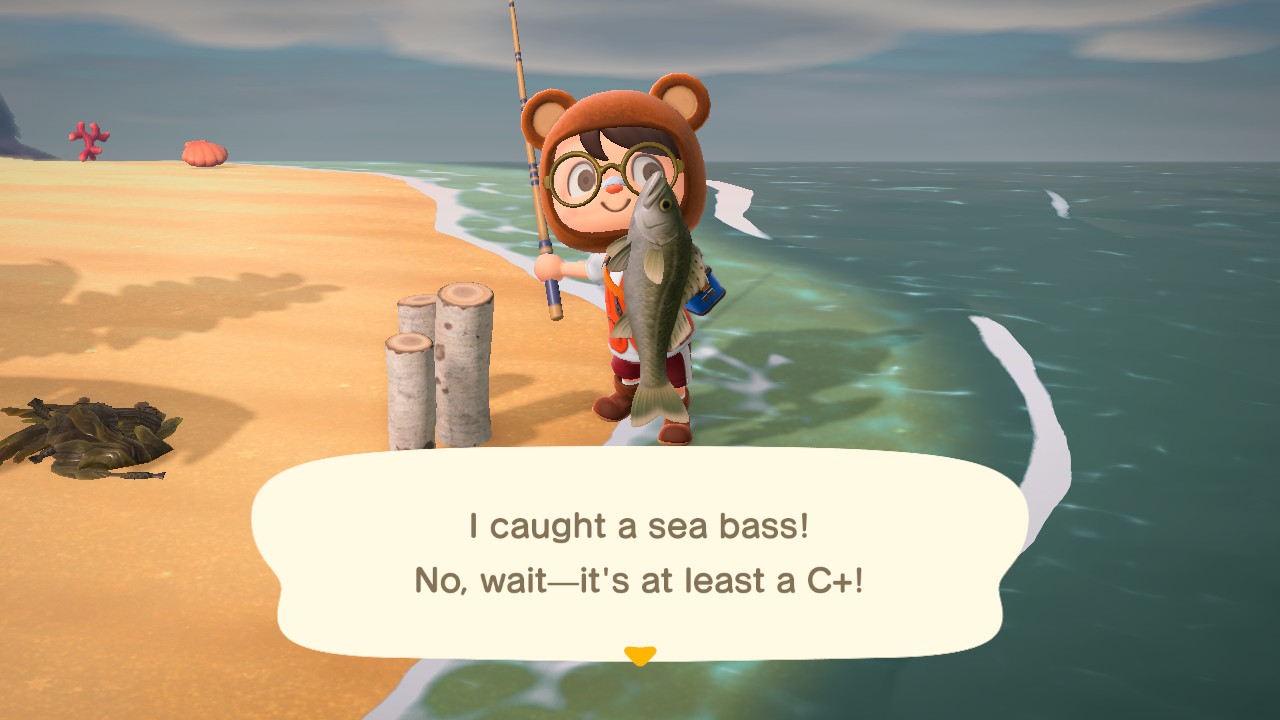
And that’s about it for this guide! I hope this has jumpstarted your fishing journey in Animal Crossing.
It might take a couple of tries to time your reeling right, and you shouldn’t get discouraged by the C+ menace. Soon you’ll be fishing sharks left and right!

How To Get Coconut in Animal Crossing
Thursday 16th of June 2022
[…] These tasks range from watering your flowers, talking to villagers, and selling items to catching specific fish. […]