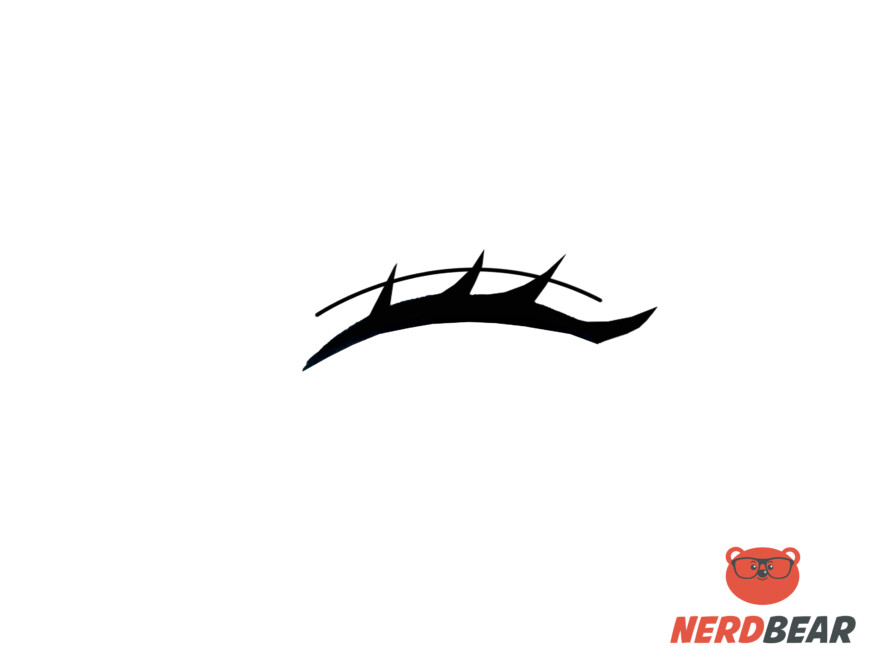
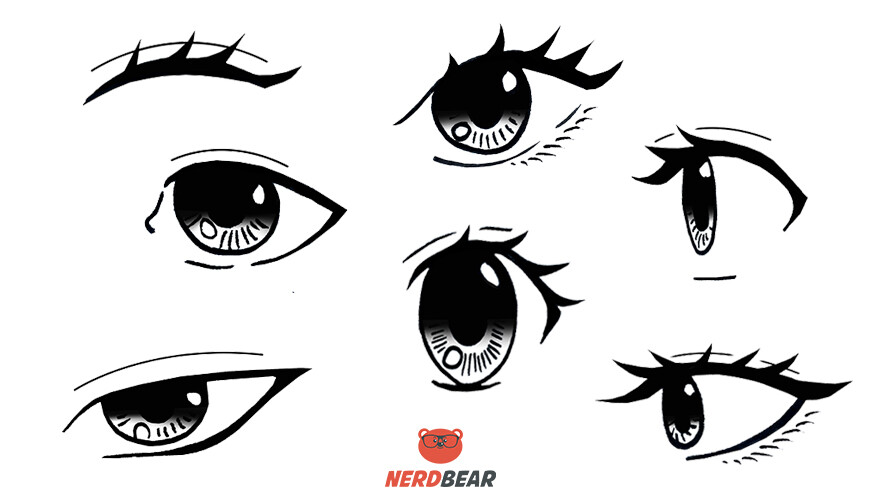
Here is a step-by-step tutorial on how to draw different anime eyes. The eye is one of the most important features of building a character. It is also the main focal point of the face. Drawing and changing up a character’s emotions also start with the eyes. With these easy-to-follow steps you will be able to create your own style in no time.
Quick Links
How To Draw Big Feminine Anime Eyes
Step 1:
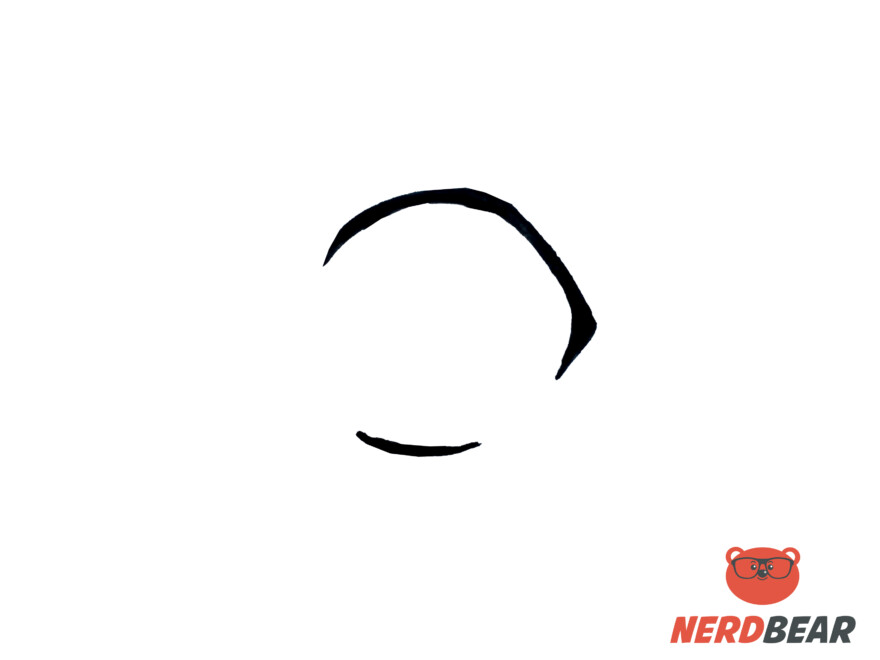
Create the top and bottom of the eyes first. Draw an arch for the top of the eye and add a triangular point when nearing the edge. Keep your lines thick as this Is where the eyelashes would sit.
For the bottom of the eye, draw a thin short curve.
Step 2:
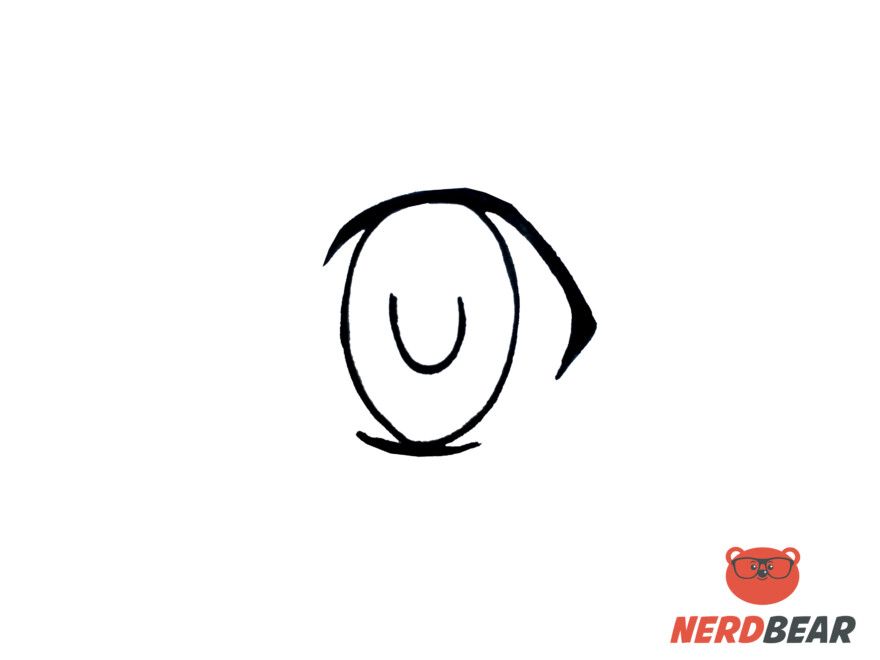
Create an oval shape that would overlap both the top and bottom part of the eye you just drew to create the iris. Add a U shape in the middle of the oval you just drew for the eye’s pupil.
Step 3:
Mark where the highlights of the eye would be by drawing two small circles inside the eye.
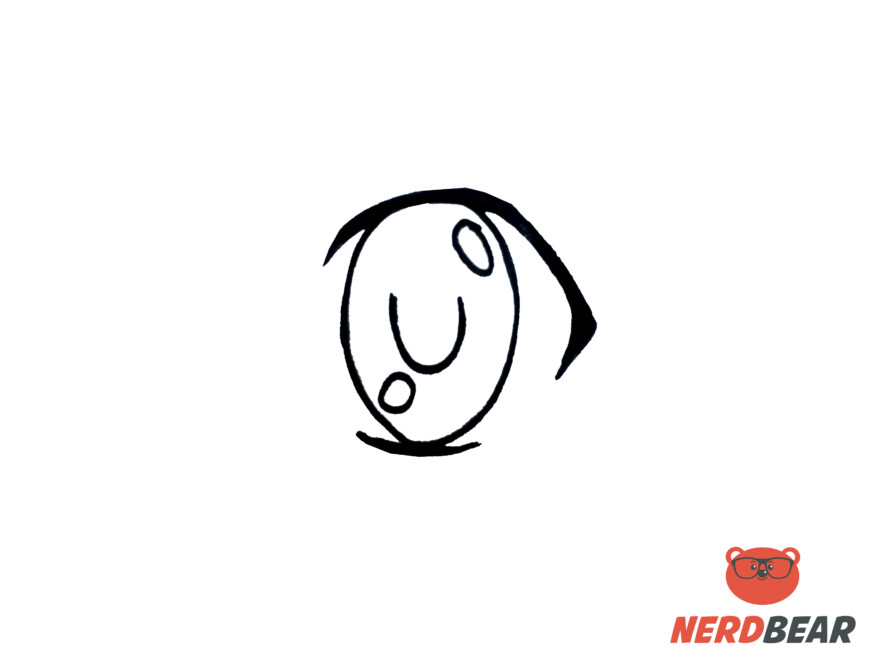
Step 4:
Add short lines around the U shape. Vary the length of the lines as you go along. This is an optional choice; you can leave this part out if you’d like.
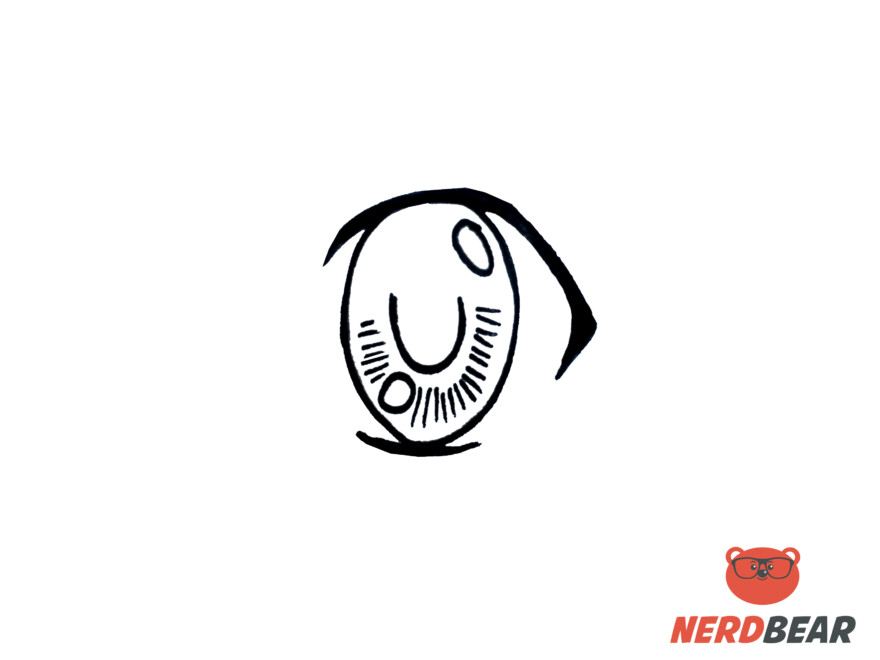
Step 5:
Fill in half of the iris as well and the U shape. While doing so avoid the highlight parts.
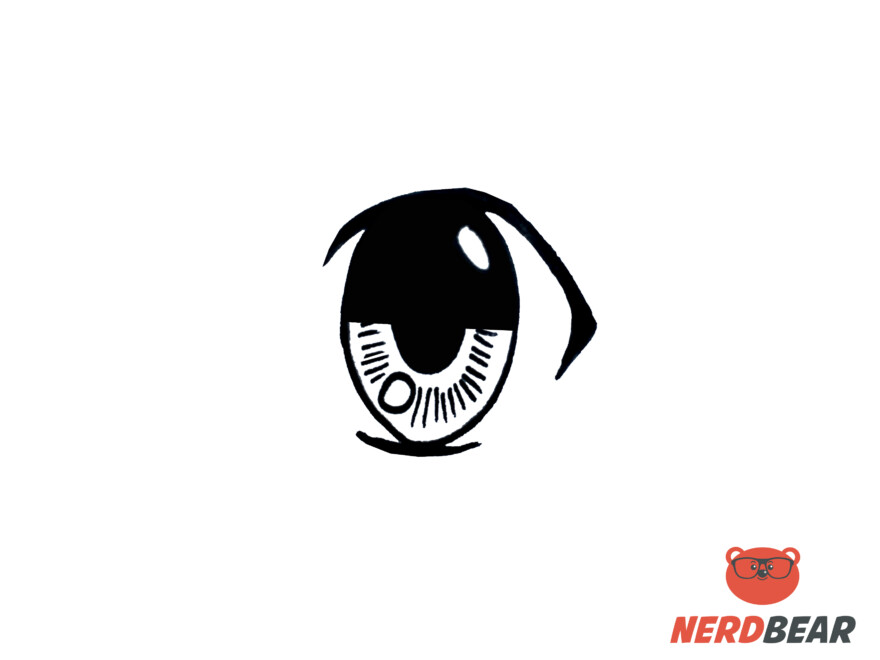
Step 6:
Drag the color down and feather out the fill you just did to create a smooth transition.
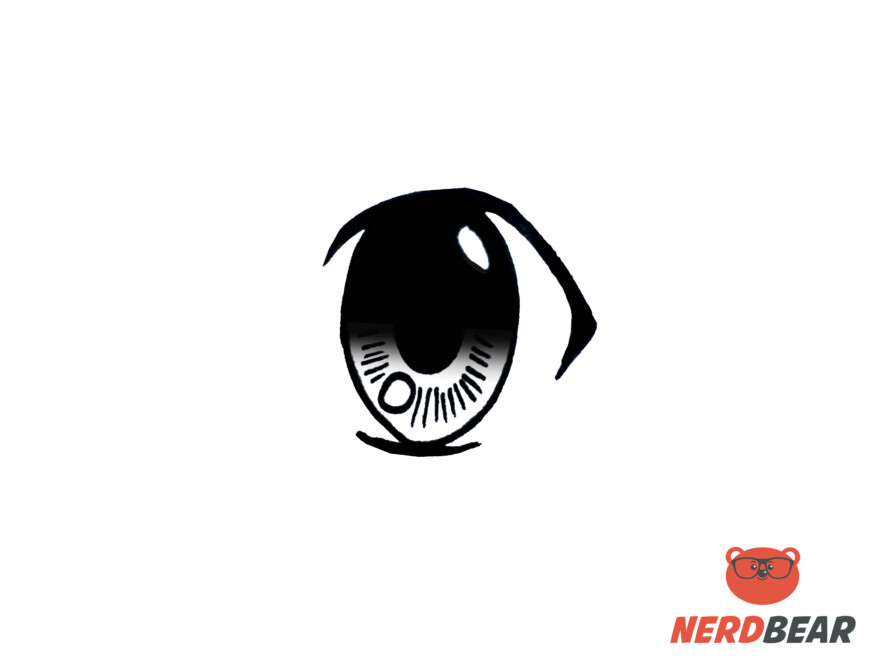
Step 7:
To create eyelashes, start by flicking lines around the eyelash line. The lines need to curve and taper to a point.
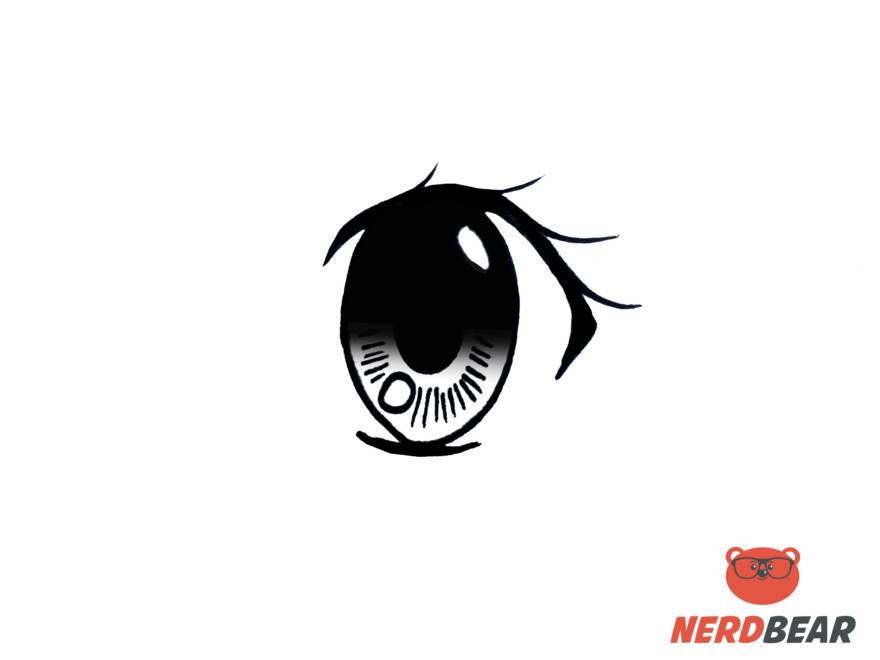
Step 8:
Add a curved line to connect the end of each lash back to the eyelash line.
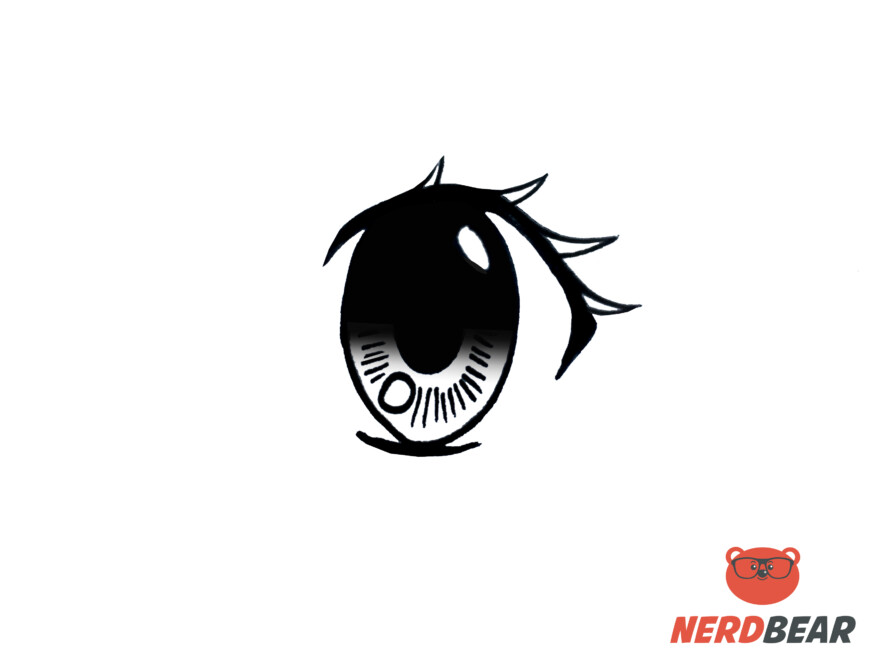
Step 9:
Finish the eyelashes by shading in the gaps.
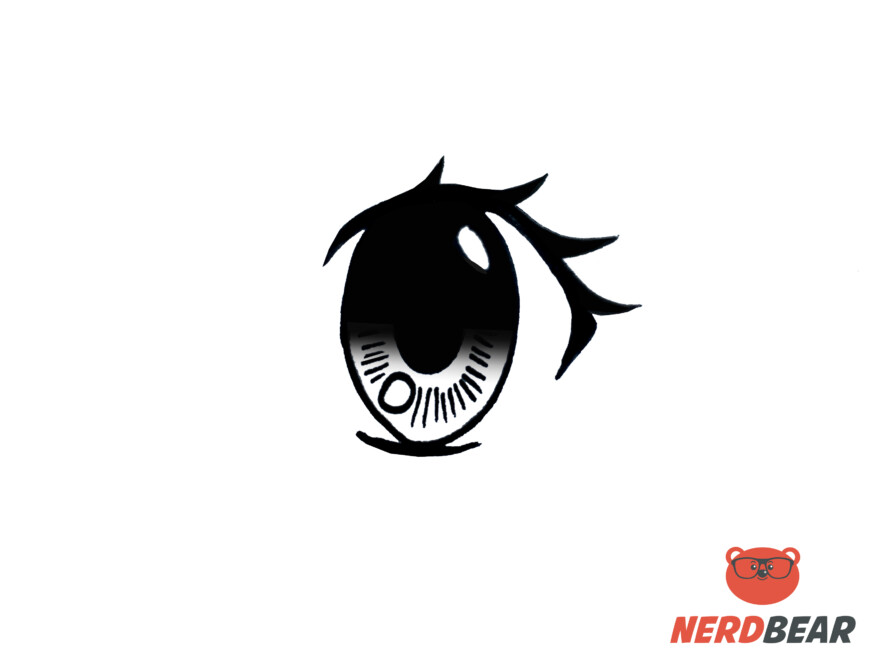
Step 10:
The final step is to add a curved line just above the eyelash line for the eyelids.
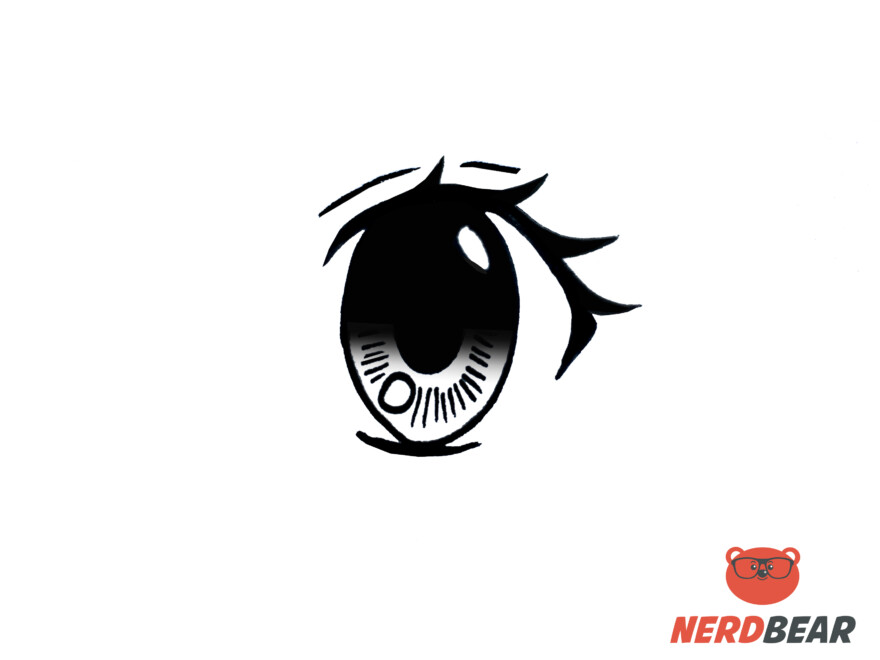
How To Draw Almond Shape Anime Eyes
Step 1:
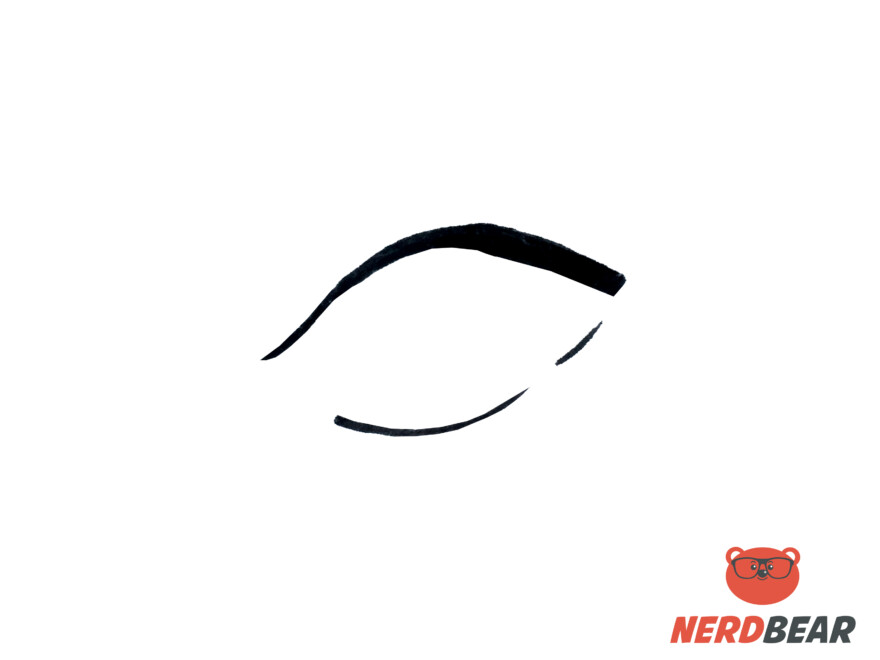
Create the eyelash line by drawing a thick curve that tapers to a point. Finish the almond-shaped eye by adding the lower lash line.
Step 2:
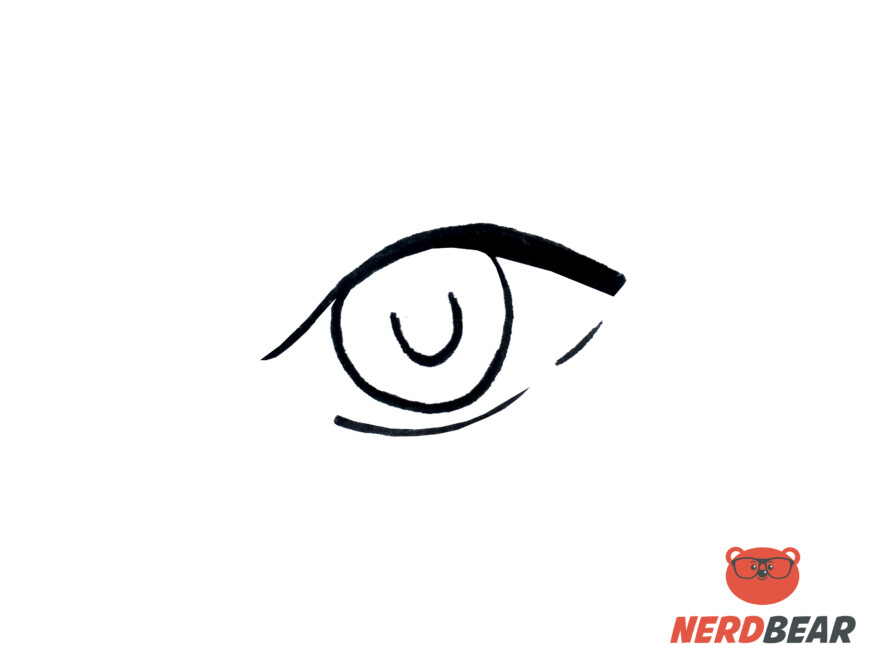
Create a circle that would overlap the eyelash line you just drew. Add a U shape in the middle of the circle to serve as the eye’s pupil.
Step 3:
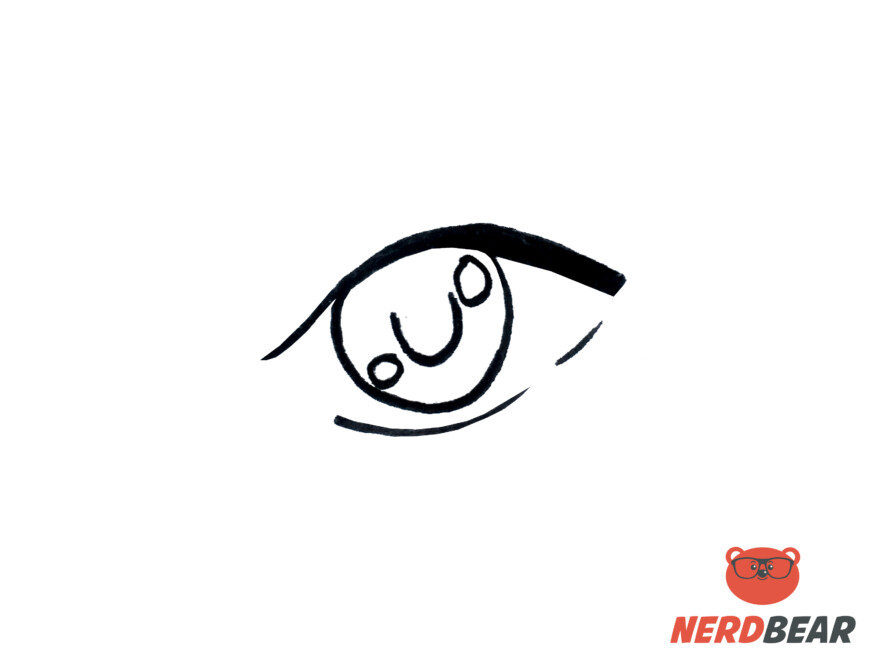
Mark where the highlights of the eye would be by drawing two small circles inside the eye. One on the top right side and a smaller one on the bottom left side of the circle.
Step 4:
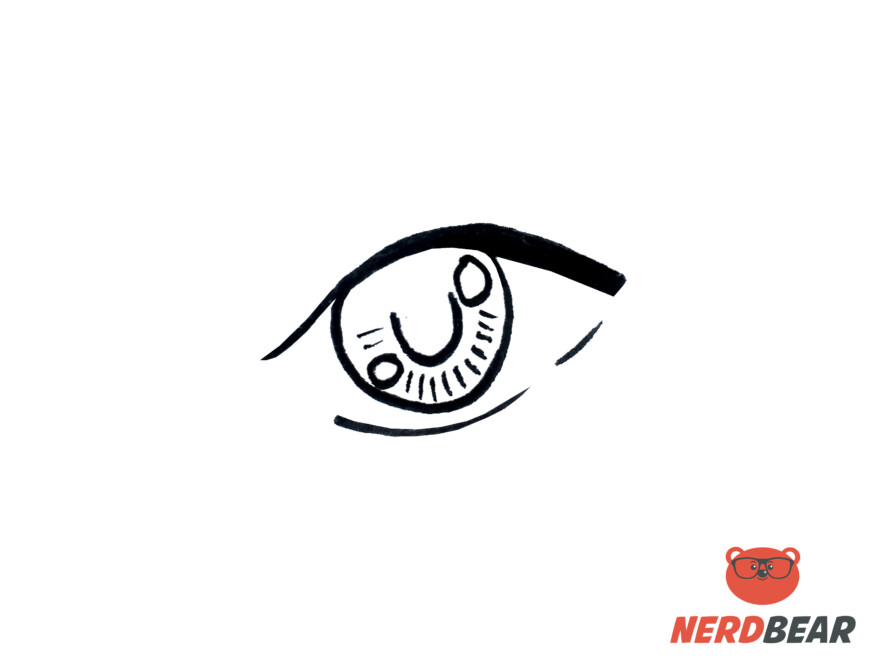
Add short lines around the U shape. Vary the length of the lines as you go along. This is an optional choice; you can leave this part out if you’d like.
Step 5:
Fill in half of the iris as well and the U shape. While doing so avoid the highlight parts.
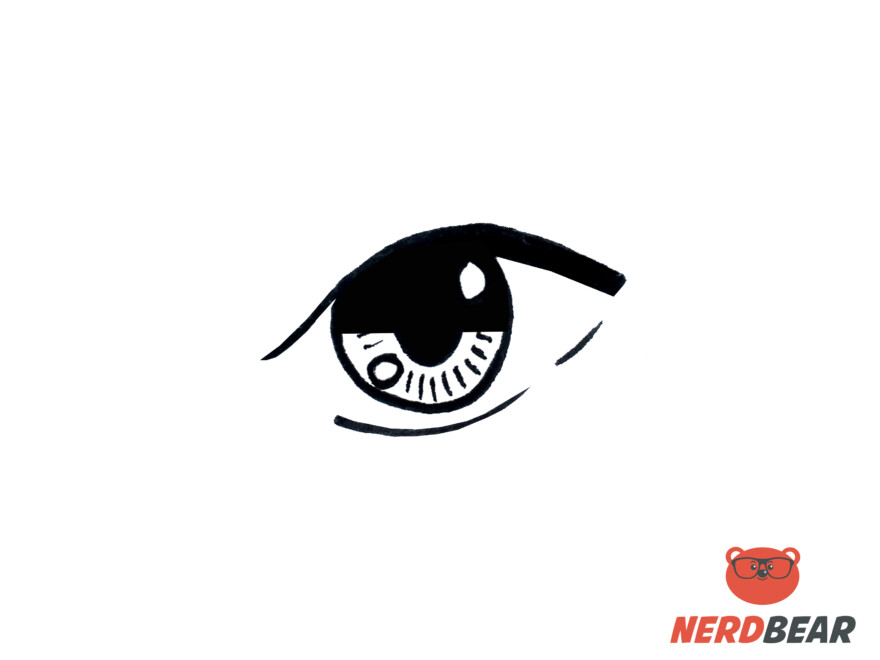
Step 6:
Drag the color down and feather out the fill you just did to create a smooth transition.
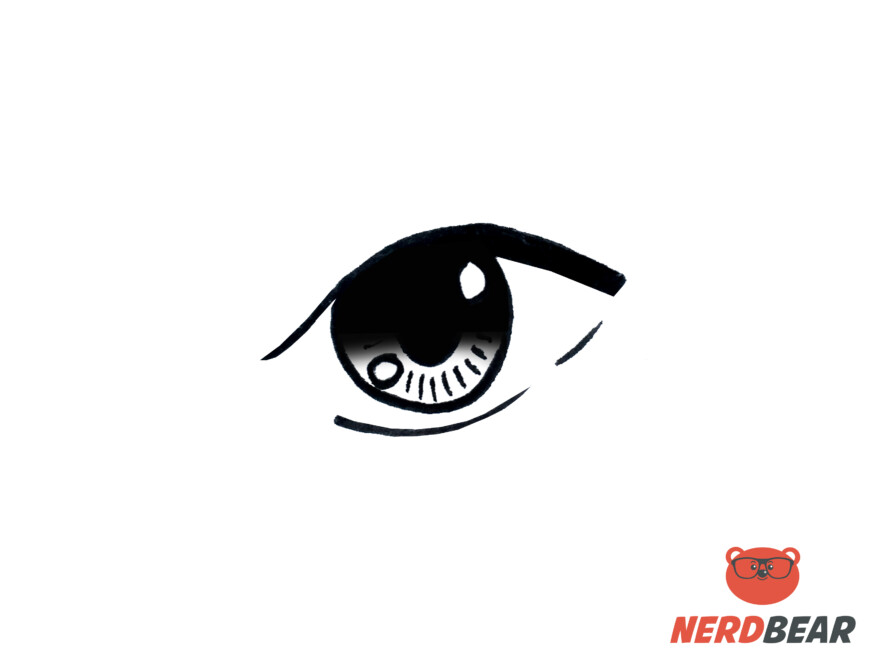
Step 7:
To create eyelashes, start by flicking lines around the eyelash line. The lines need to curve and taper to a point.
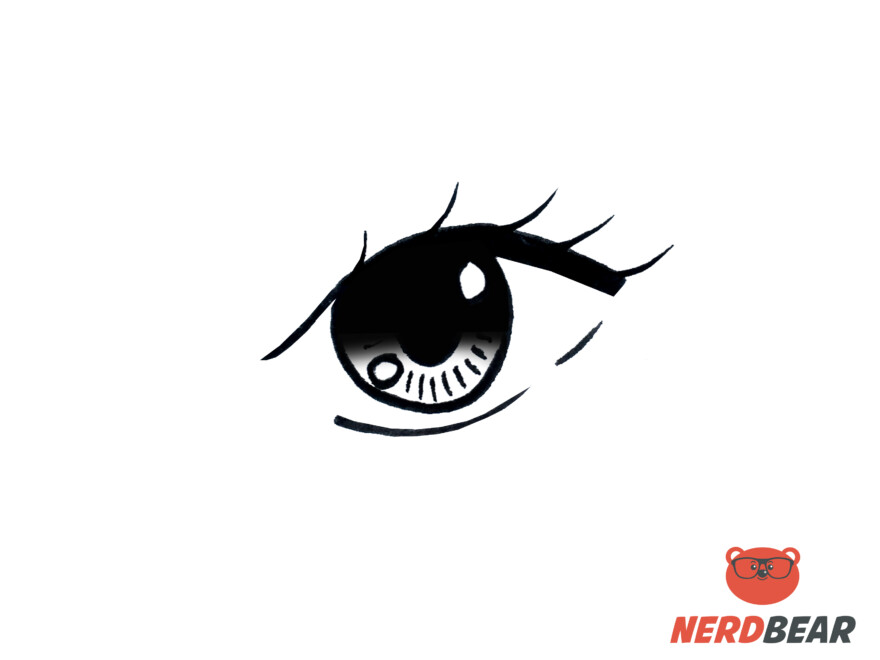
Step 8:
Add a curved line to connect the end of each lash back to the eyelash line.
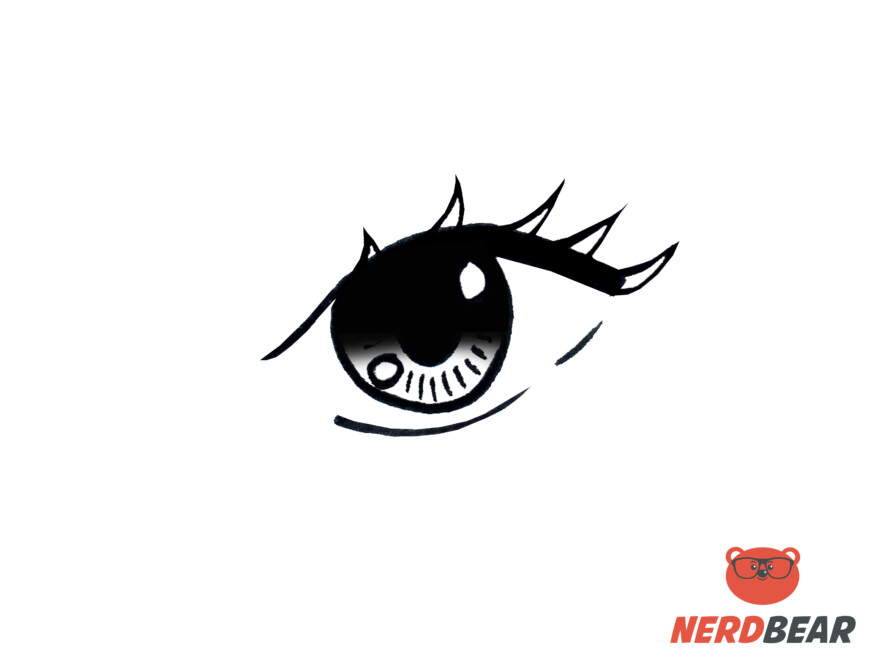
Step 9:
Finish the eyelashes by shading in the gaps.
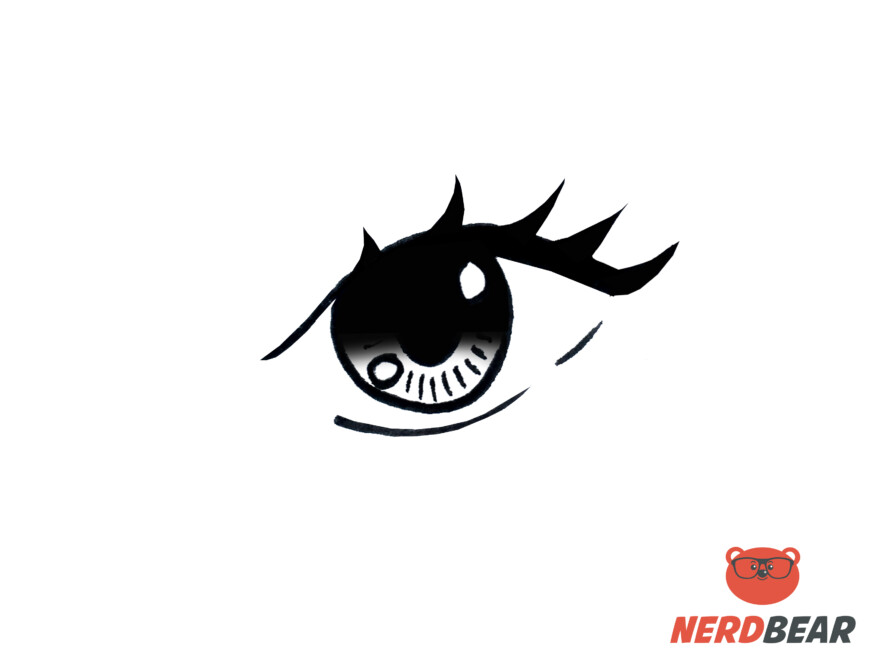
Step 10:
The final step is to add a curved line just above the eyelash line for the eyelids. You can also add lower lashes by flicking short lines just below the lower lash line. Make sure that each lash tapers to a point.
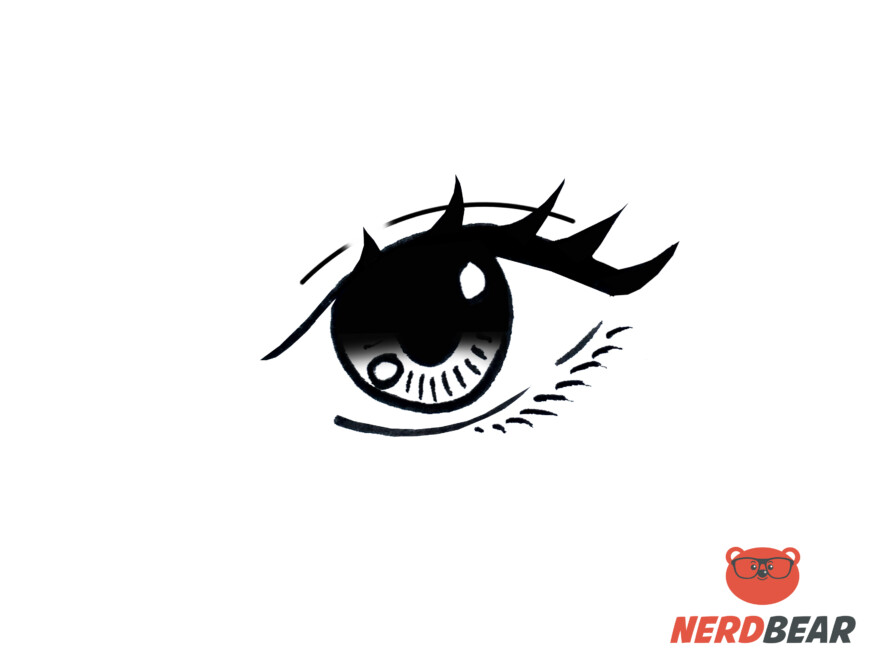
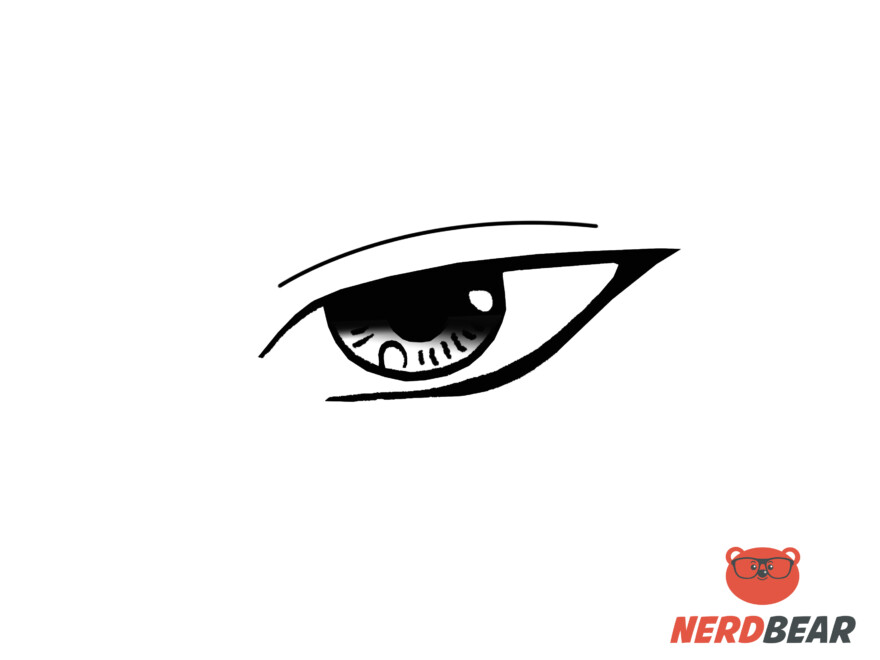
How To Draw Sharp Masculine Anime Eyes
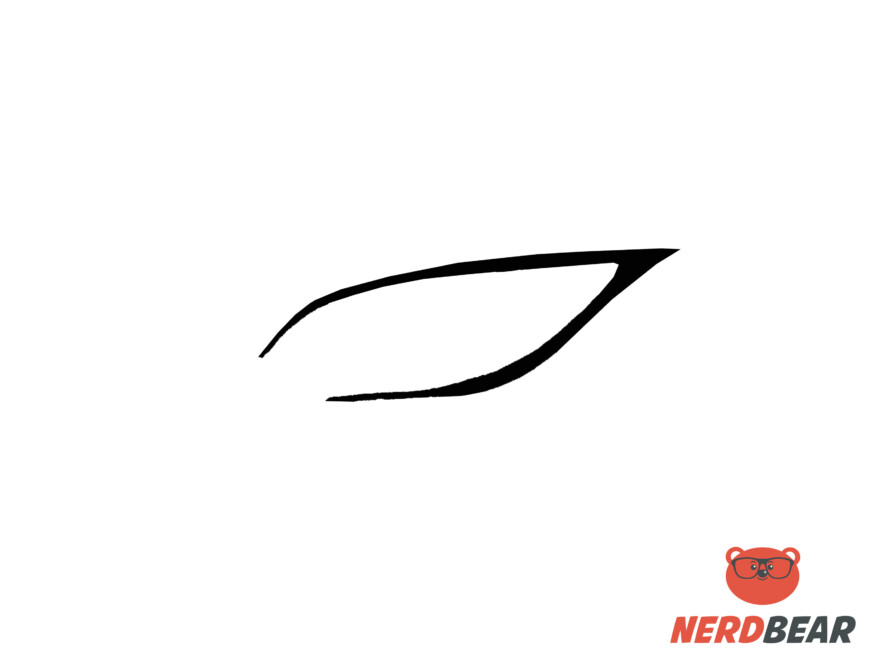
Step 1:
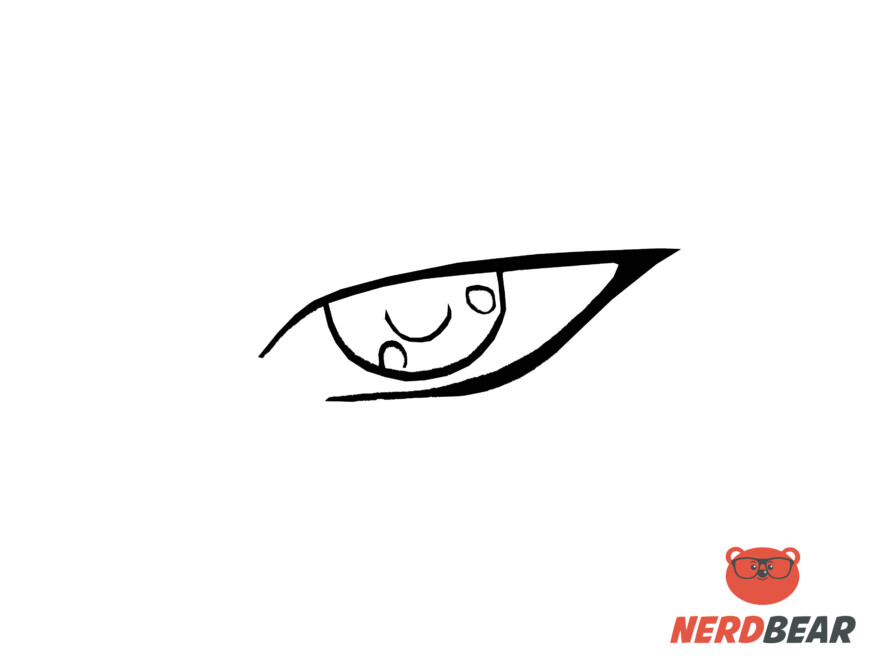
Create the shape of the eye. Create a sharp point for the outer eye and keep the lines streamlined. Taper the lines as it nears the inner eye.
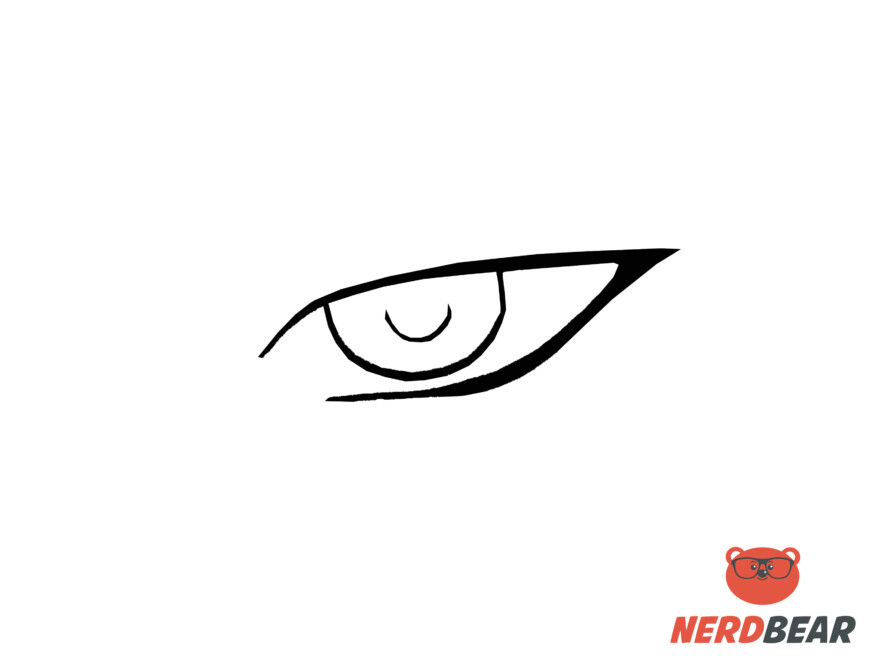
Step 2:
Create the iris by drawing a half circle just below the eyelash line. Add a U shape in the middle of the circle to serve as the eye’s pupil.
Step 3:
Mark where the highlights of the eye would be by drawing two small circles inside the eye. One on the Top right side and a smaller one on the bottom left side of the circle.
Step 4:
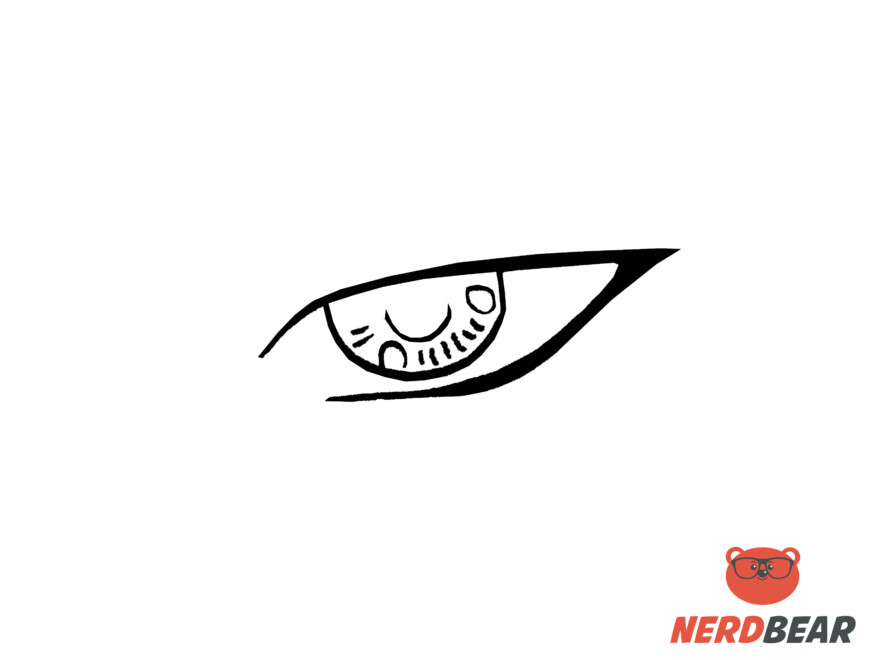
Add short lines around the U shape. Vary the length of the lines as you go along. This is an optional choice; you can leave this part out if you’d like.
Step 5:
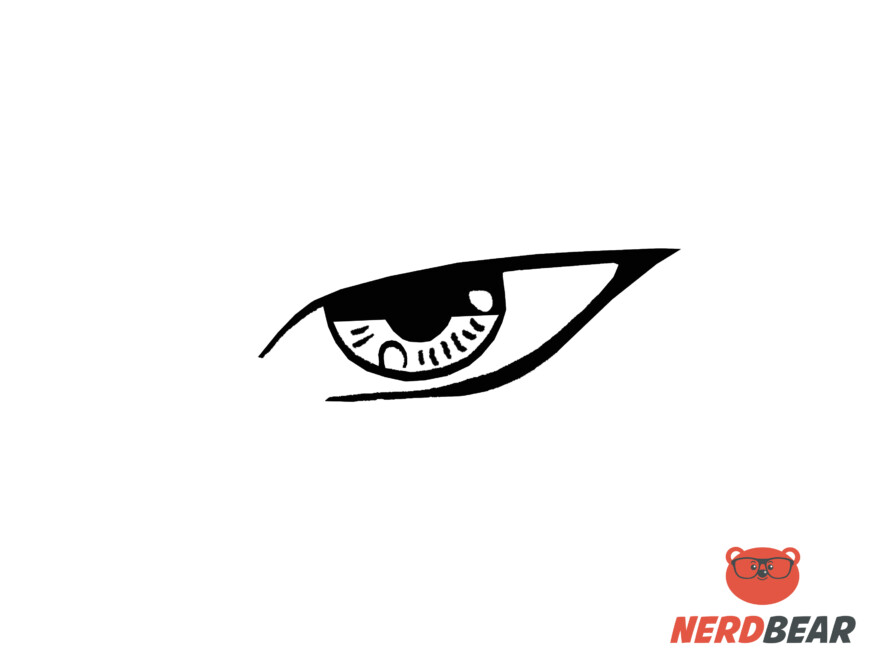
Fill in half of the iris as well and the U shape. While doing so avoid the highlight parts.
Step 6:
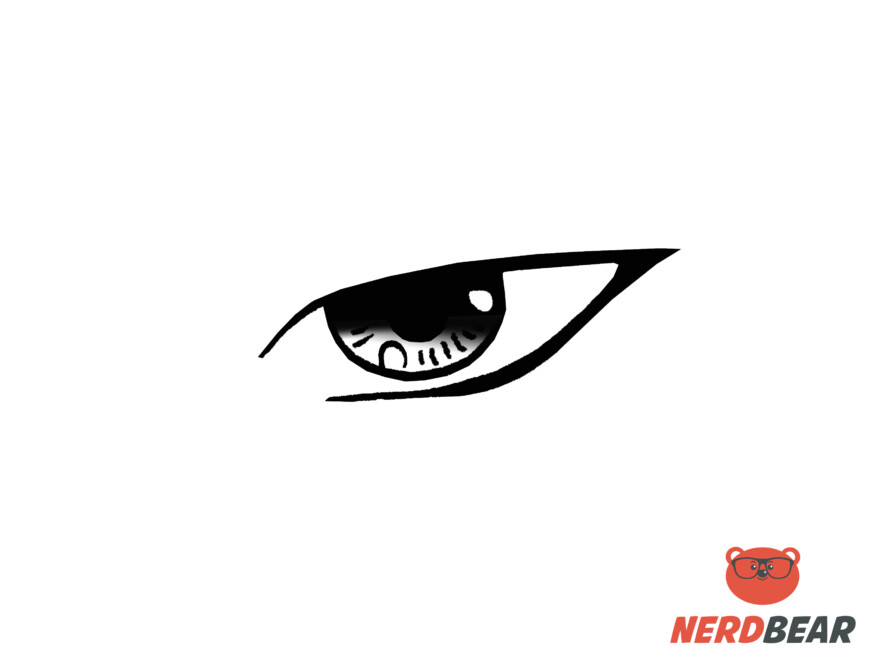
Drag the color down and feather out the fill you just did to create a smooth transition.
Step 7:
The final step is to add a curved line just above the eyelash line for the eyelids.
How To Draw Realistic Anime Eyes
Step 1:
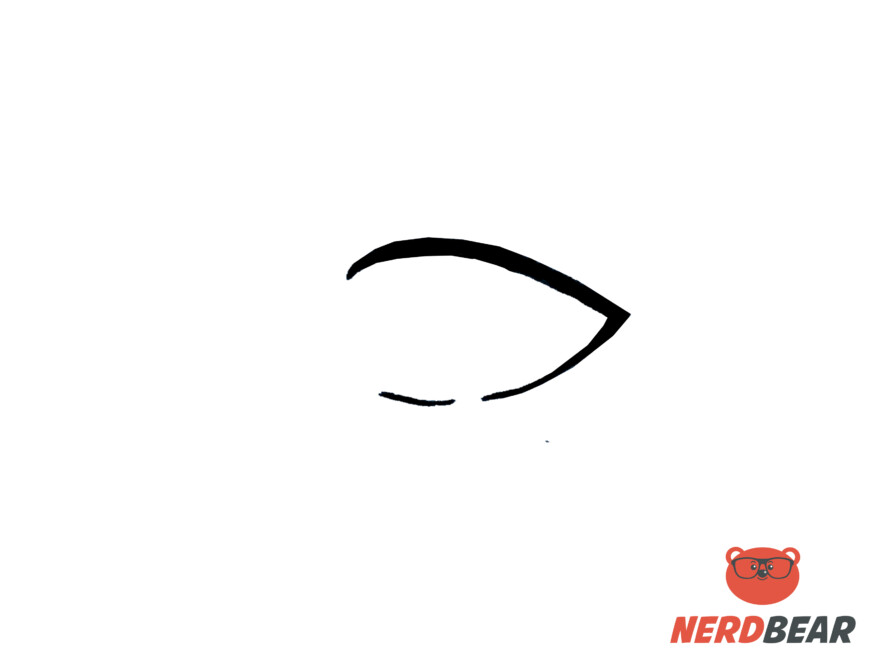
Create the eyelash line by drawing a thick curve. Add a sharp point at the outer part of the eye and curve down to create the lower lash line. Taper the lines as you draw the lower part of the eye.
Step 2:
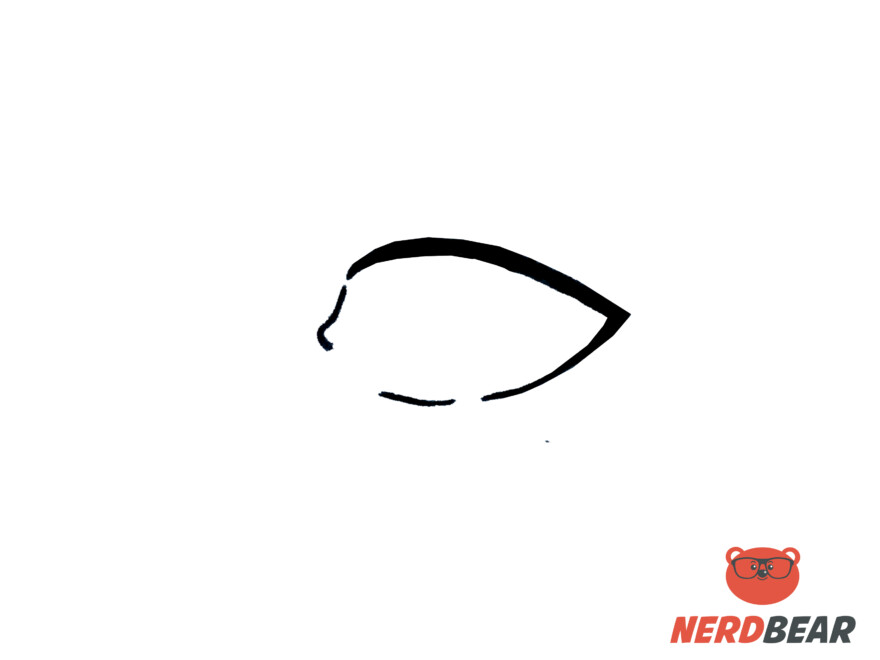
Add the shape of the tear duct by drawing a small half circle that extends to a line.
Step 3:
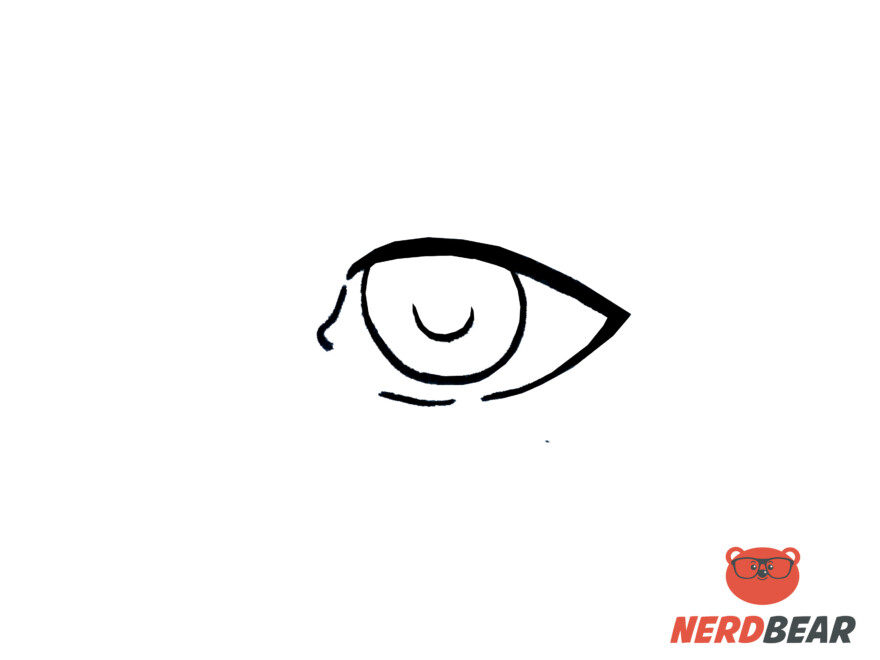
Create a circle that would overlap the eyelash line you just drew. Add a U shape in the middle of the circle to serve as the eye’s pupil.
Step 4:
Mark where the highlights of the eye would be by drawing two small circles inside the eye. One on the Top right side and a smaller one on the bottom left side of the circle.
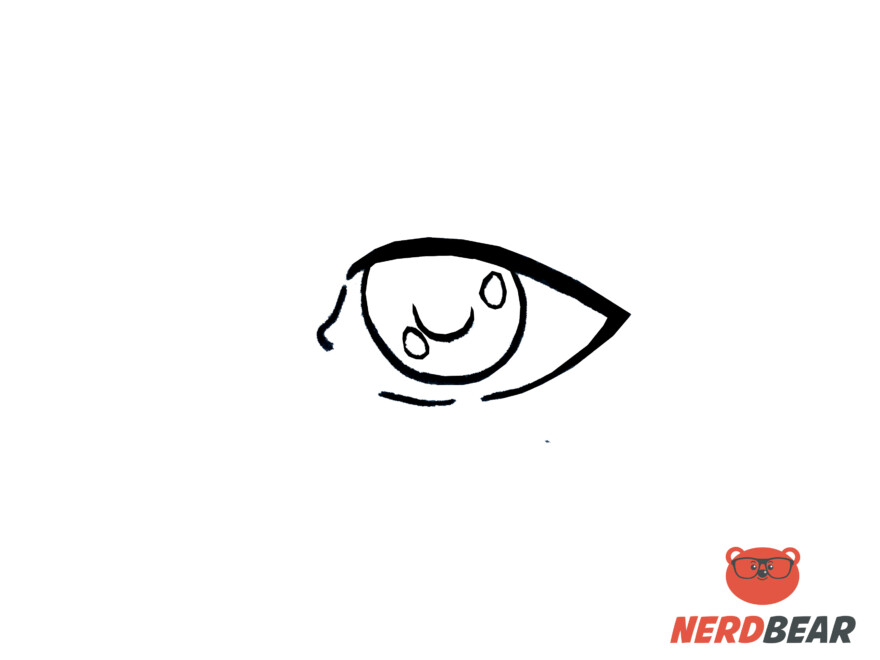
Step 5:
Add short lines around the U shape. Vary the length of the lines as you go along. This is an optional choice; you can leave this part out if you’d like.
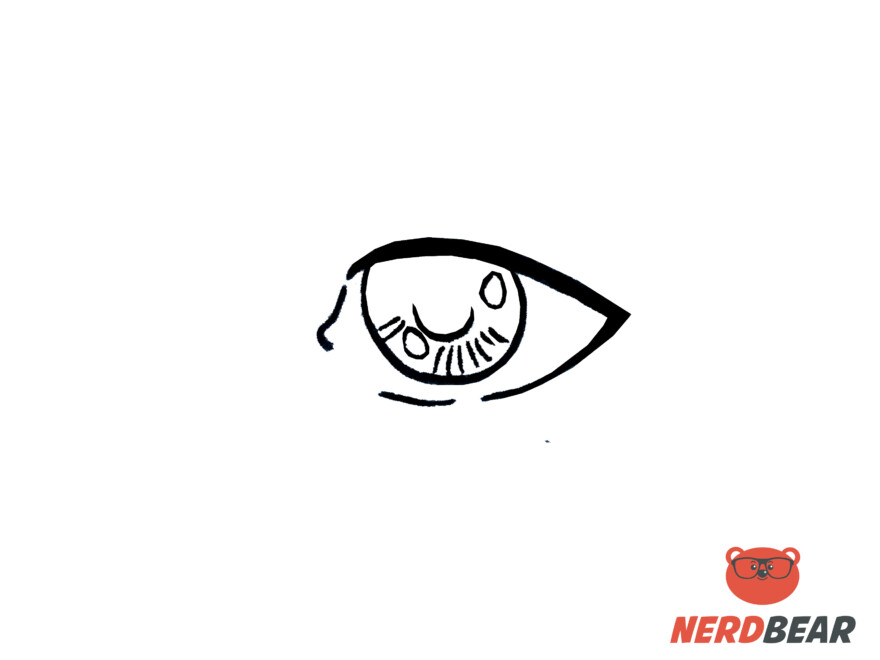
Step 6:
Fill in half of the iris as well and the U shape. While doing so avoid the highlight parts.
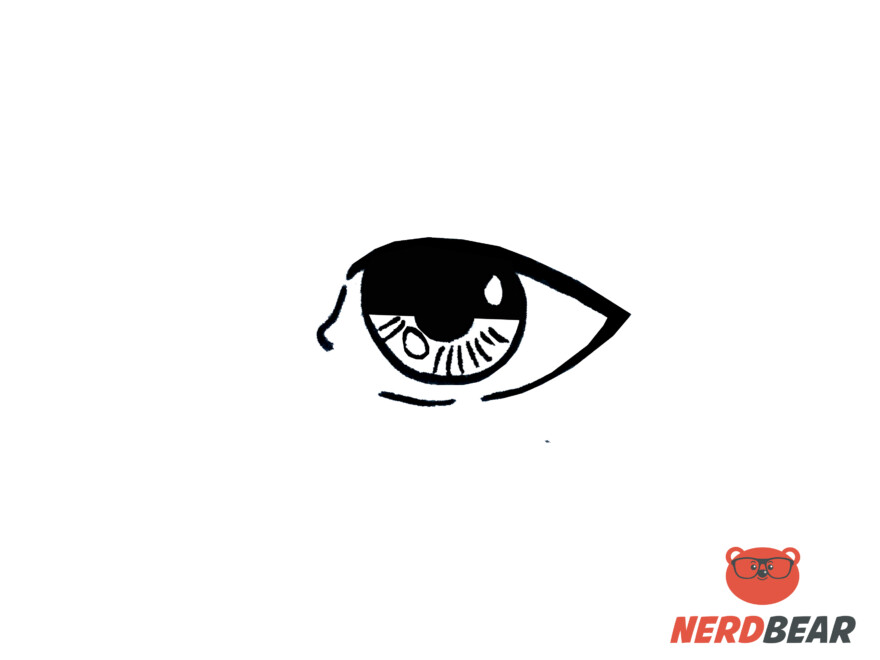
Step 7:
Drag the color down and feather out the fill you just did to create a smooth transition.
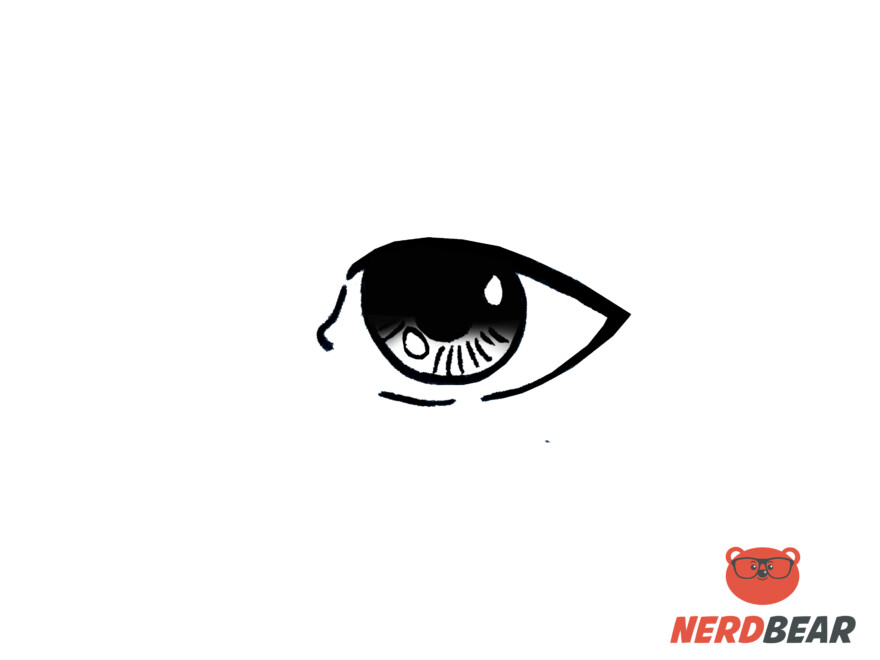
Step 8:
The final step is to add a curved line just above the eyelash line for the eyelids.
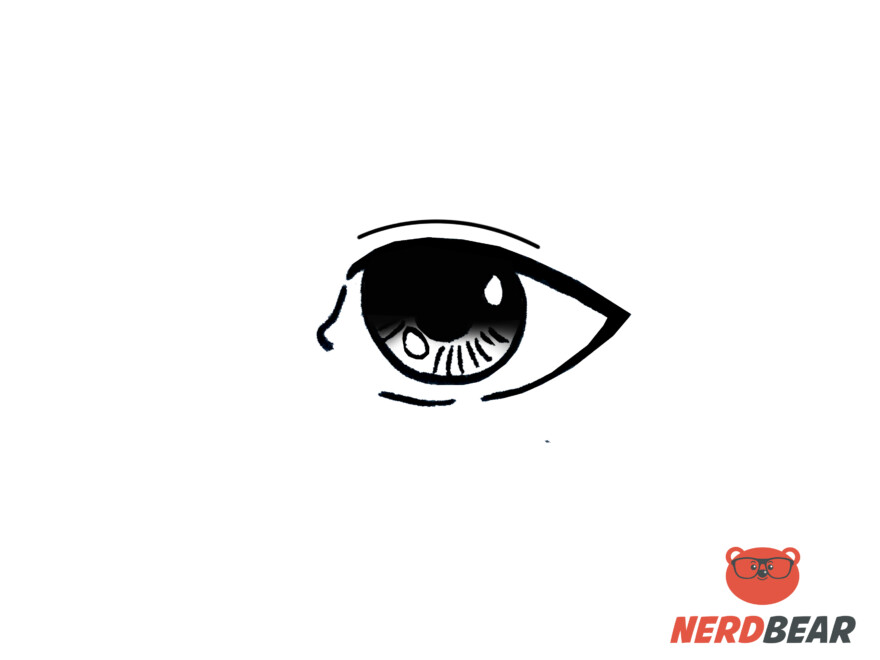
How To Draw Side Profile Anime Eyes
Step 1:
Create the eyelash line by drawing a thick curve. Add a sharp point at the outer part of the eye and curve down to create the lower lash line.
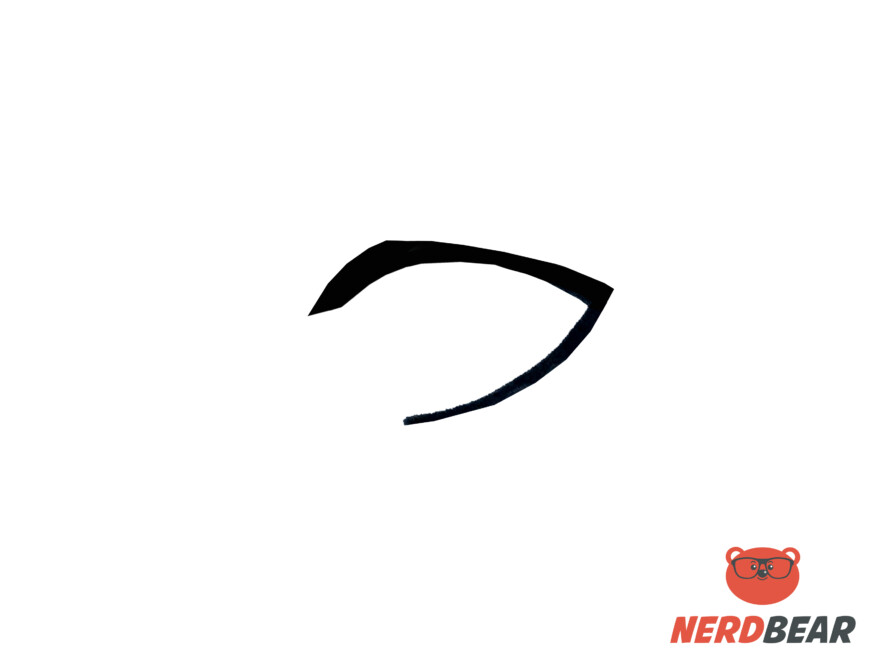
Step 2:
Create a thin oval shape that would overlap the lash line you just drew. Add a U shape in the middle of the circle to serve as the eye’s pupil.
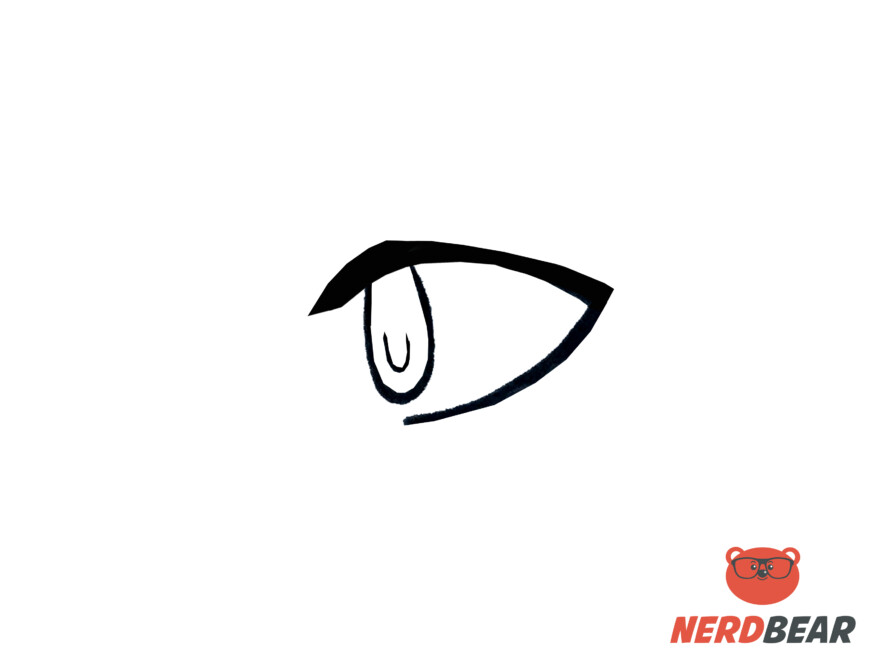
Step 3:
Mark where the highlights of the eye would be by drawing small circles inside the eye.
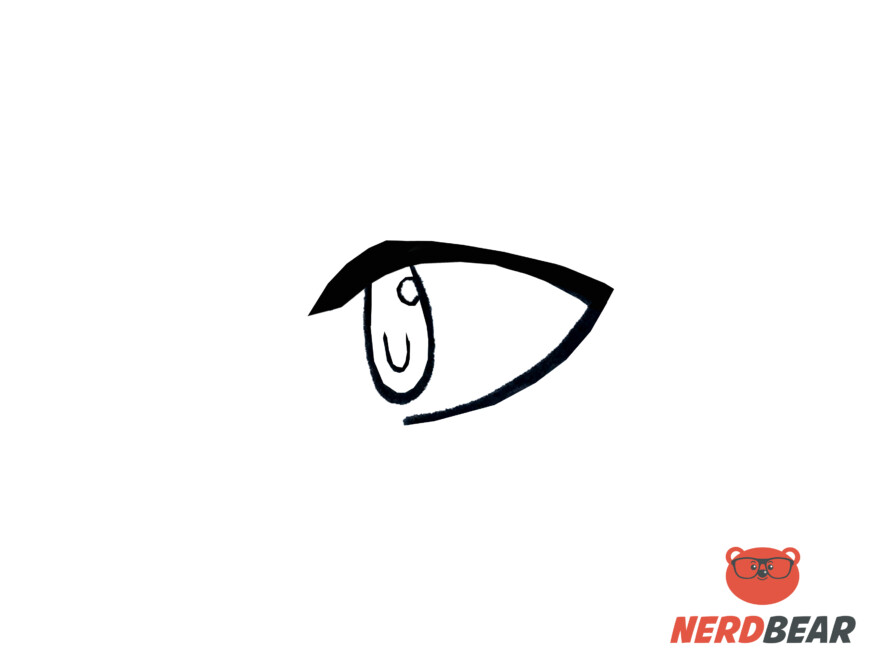
Step 4:
Add short lines around the U shape. Vary the length of the lines as you go along. This is an optional choice; you can leave this part out if you’d like.
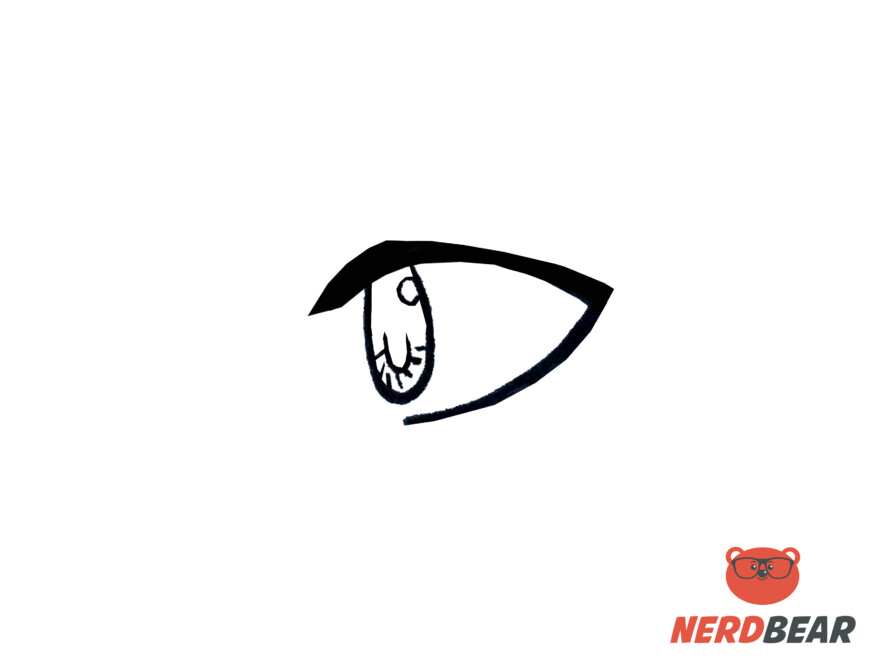
Step 5:
Fill in half of the iris as well and the U shape. While doing so avoid the highlight parts.
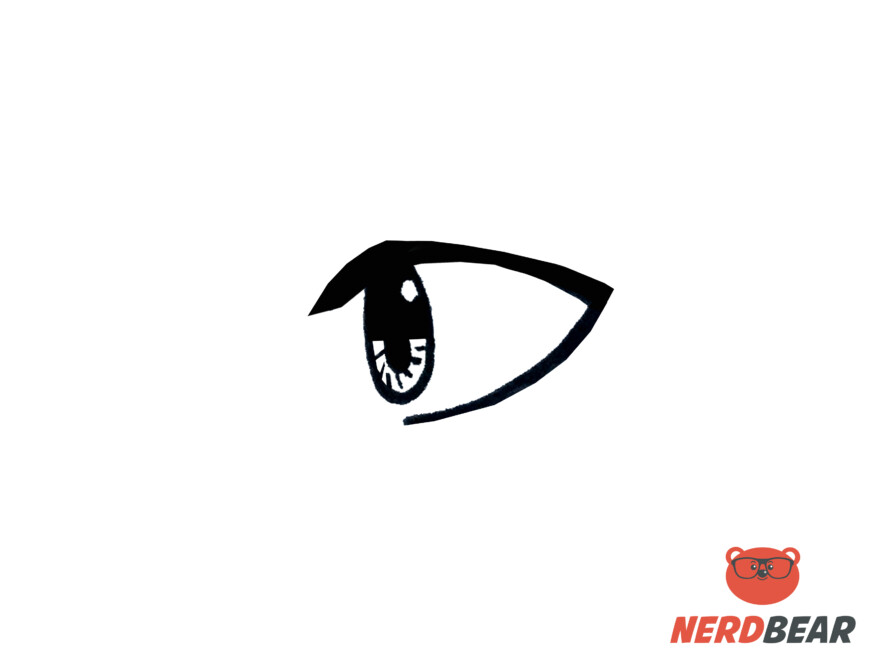
Step 6:
Drag the color down and feather out the fill you just did to create a smooth transition.
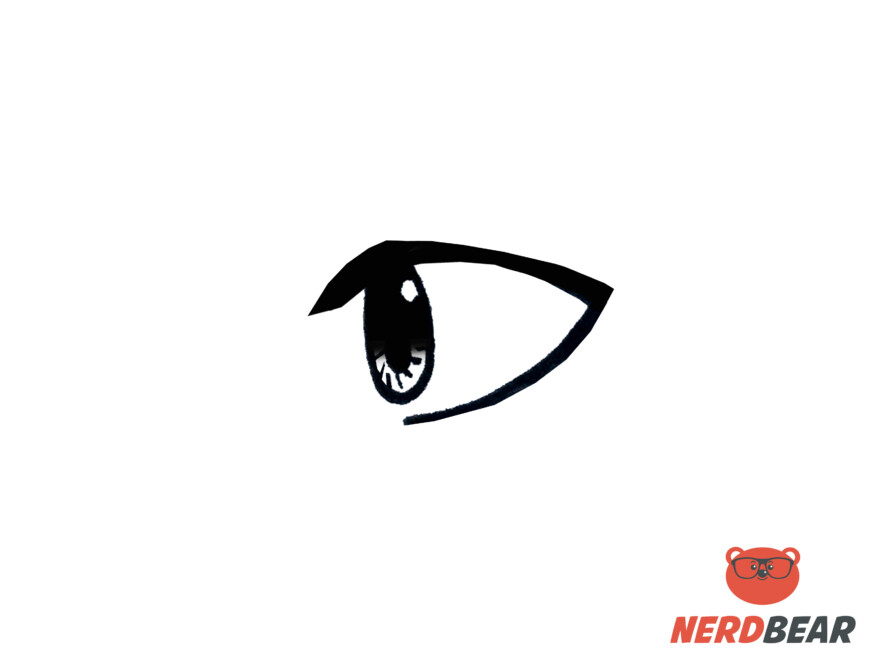
Step 7:
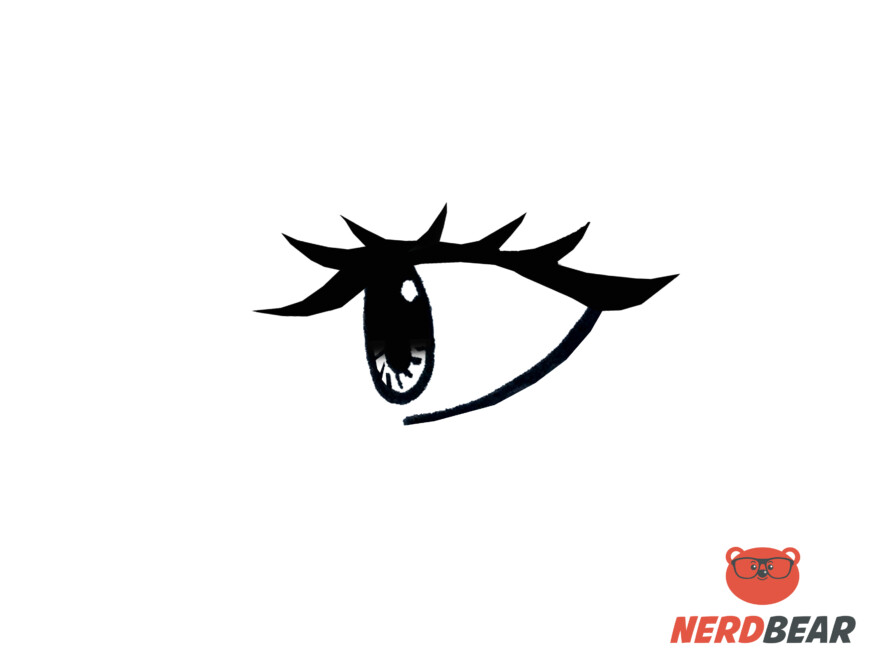
To create eyelashes, start by flicking lines around the eyelash line. The lines need to curve and taper to a point. Add a curved line to connect the end of each lash back to the eyelash line.
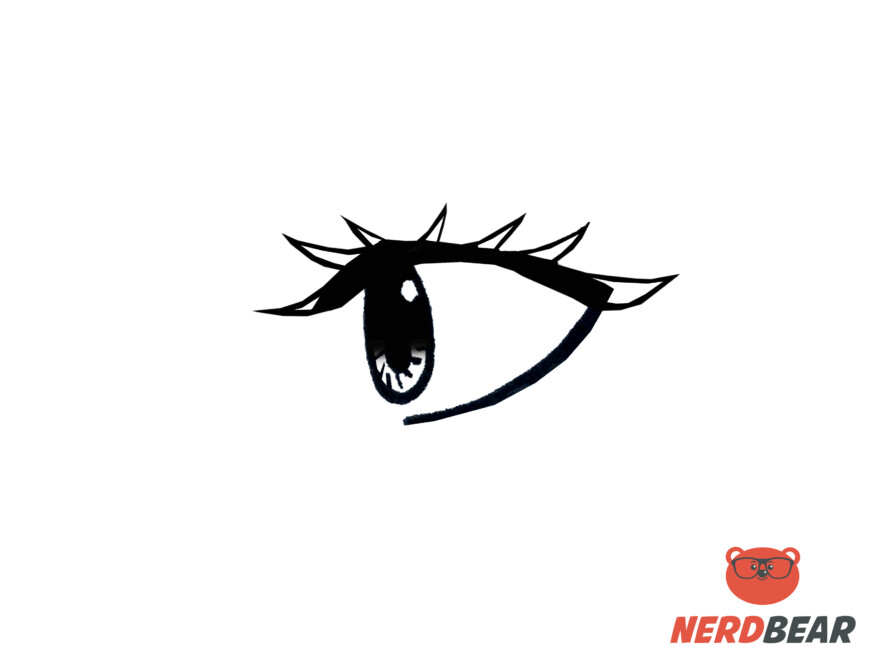
Step 8:
Finish the eyelashes by shading in the gaps.
Step 9:
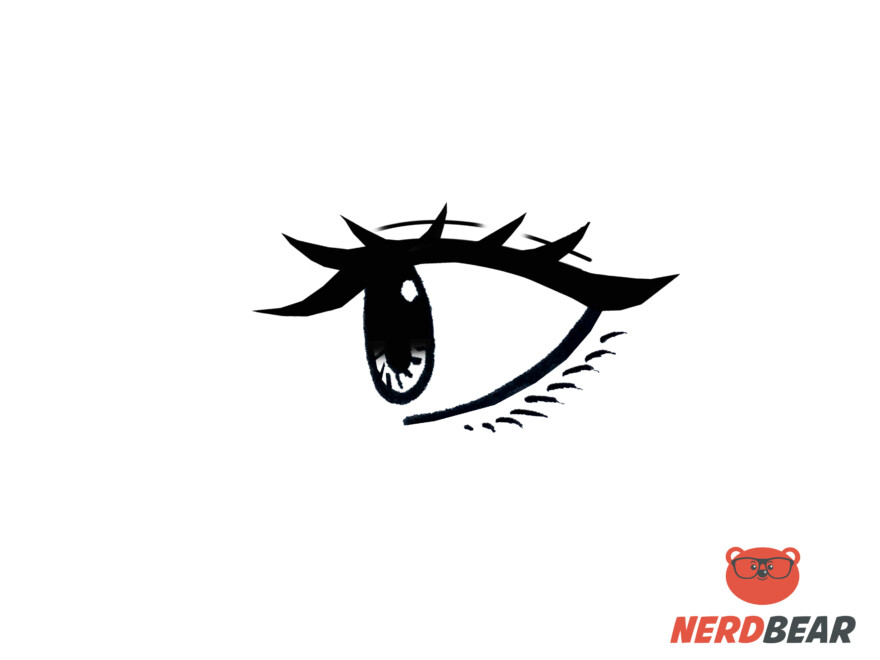
The final step is to add a curved line just above the eyelash line for the eyelids. You can also add lower lashes by flicking short lines just below the lower lash line. Make sure that each lash tapers to a point.
How To Draw Side Profile for Big Anime Eyes
Step 1:
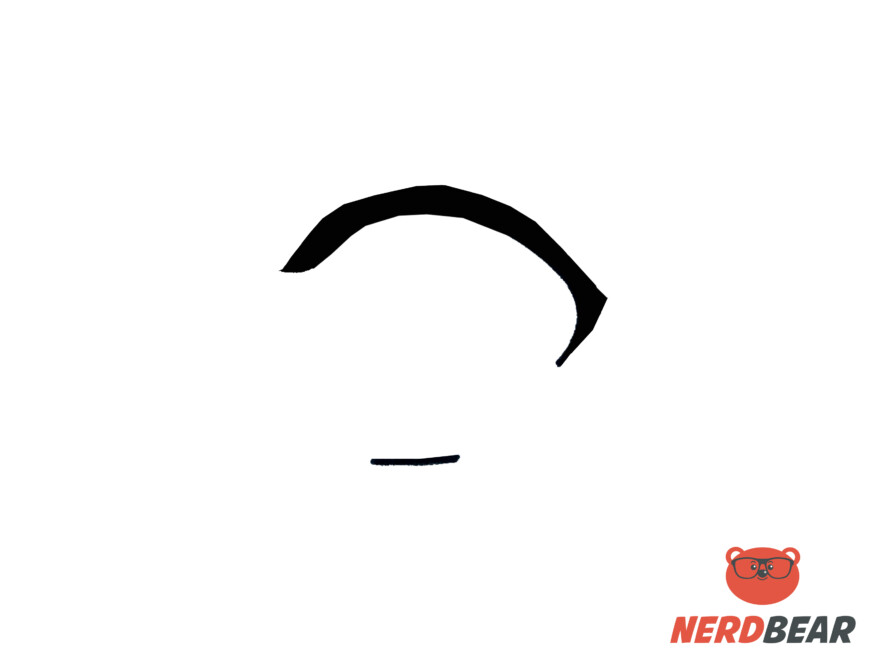
Create the eyelash line by drawing a thick curve. Add a sharp point at the outer part of the eye. To draw the lower part of the eye, just add a straight line.
Step 2:
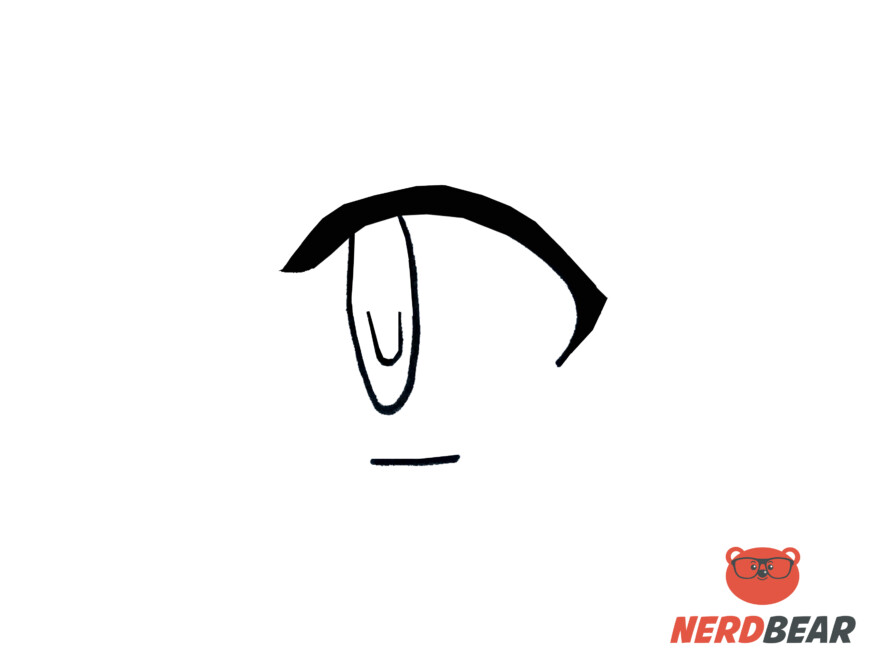
Create a thin oval shape that would overlap the lash line you just drew. Add a U shape in the middle of the circle to serve as the eye’s pupil.
Step 3:
Add short lines around the U shape. Vary the length of the lines as you go along. This is an optional choice; you can leave this part out if you’d like.
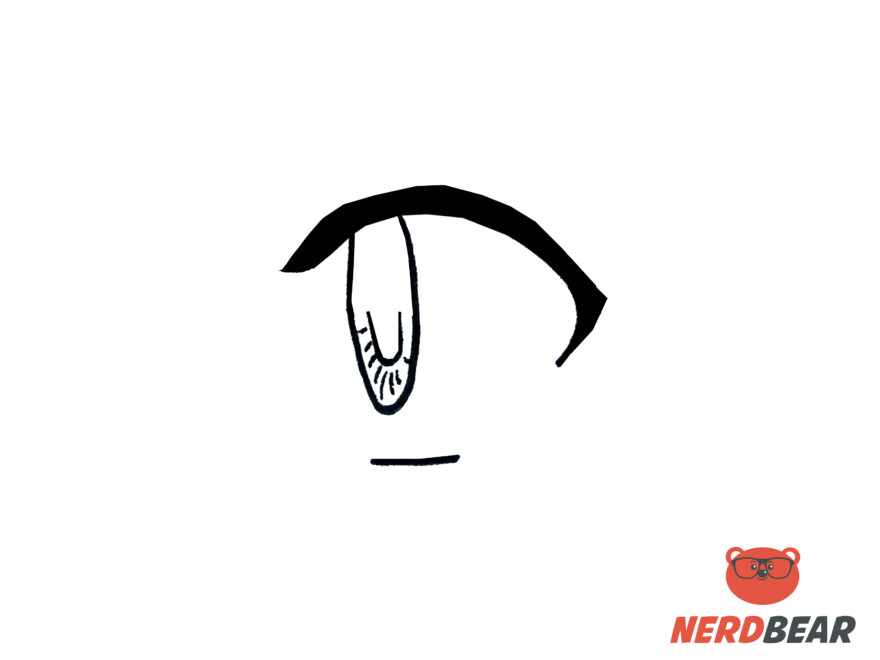
Step 4:
Mark where the highlights of the eye would be by drawing small circles inside the eye.
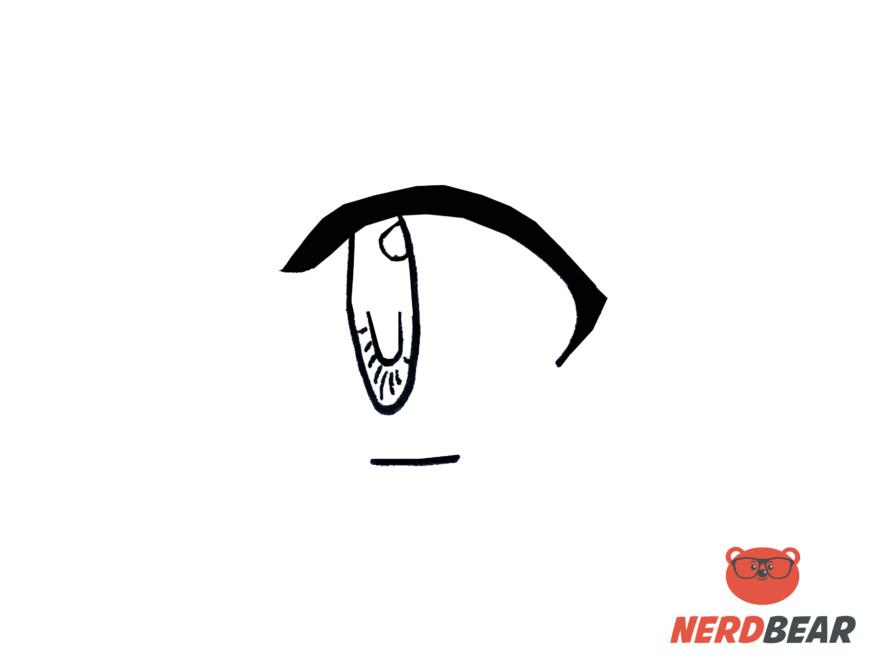
Step 5:
Fill in half of the iris as well and the U shape. While doing so avoid the highlight parts.
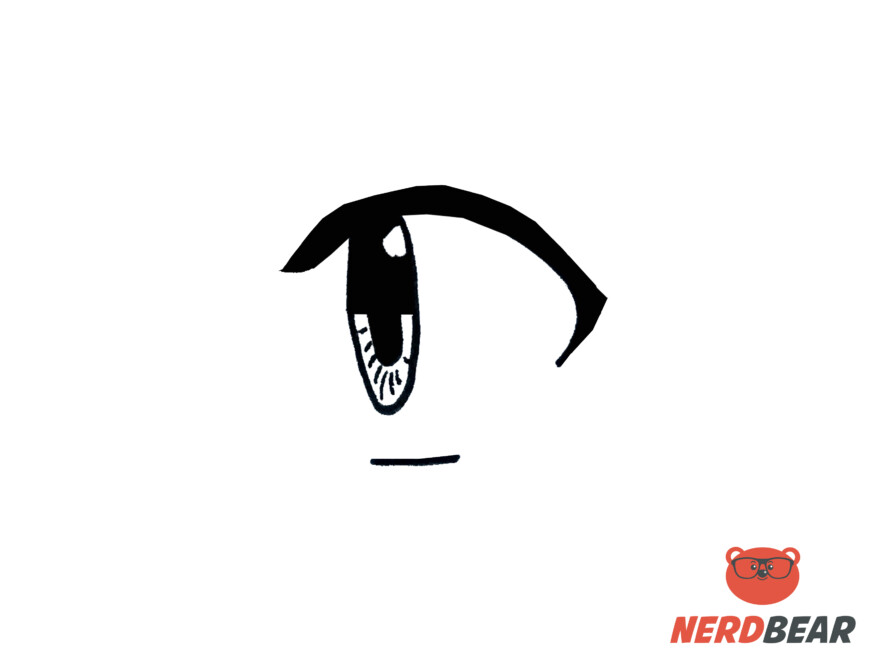
Step 6:
Drag the color down and feather out the fill you just did to create a smooth transition.
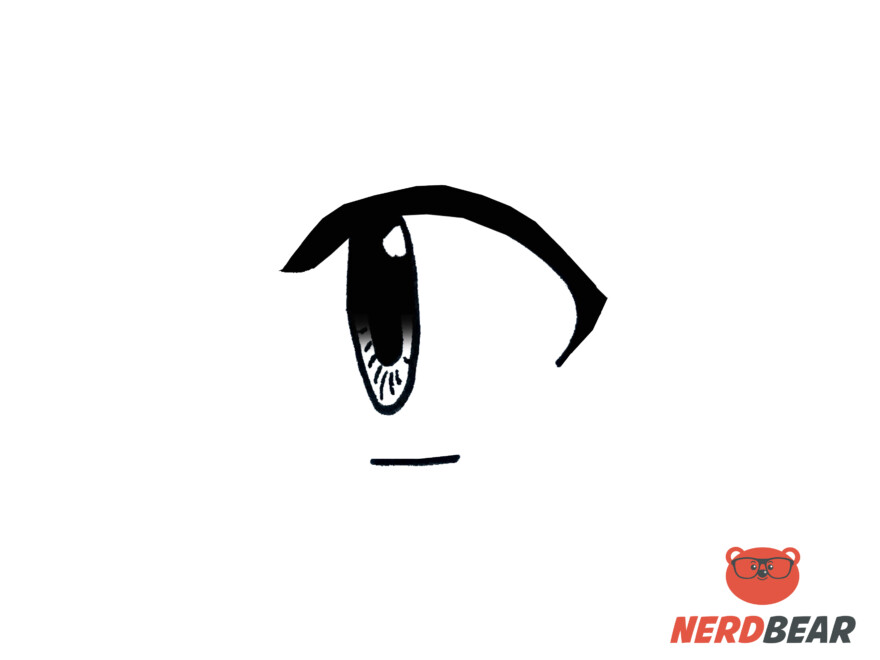
Step 7:
To create eyelashes, start by flicking lines around the eyelash line. The lines need to curve and taper to a point. Add a curve line to connect the end of each lash back to the eyelash line.
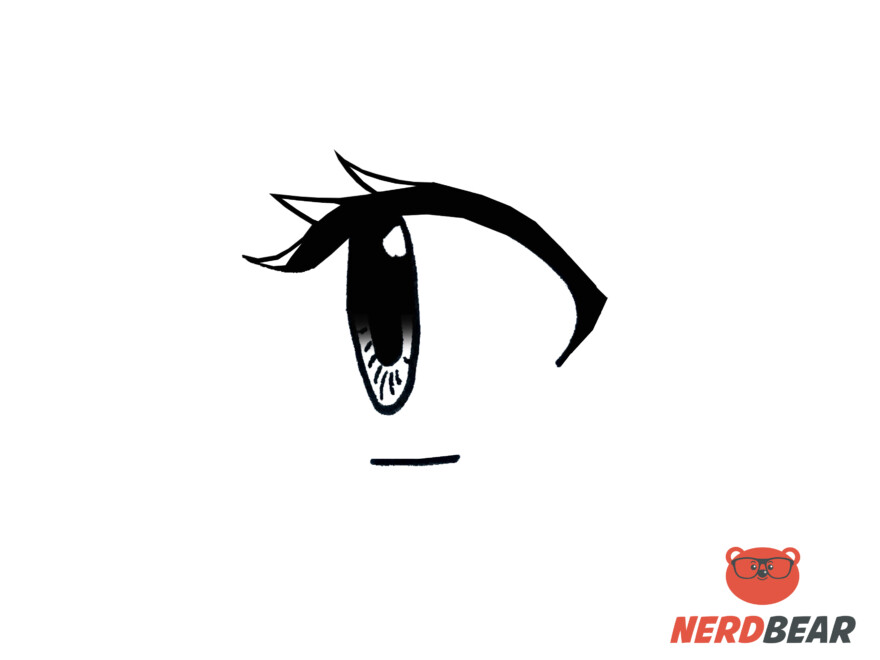
Step 8:
Finish the eyelashes by shading in the gaps.
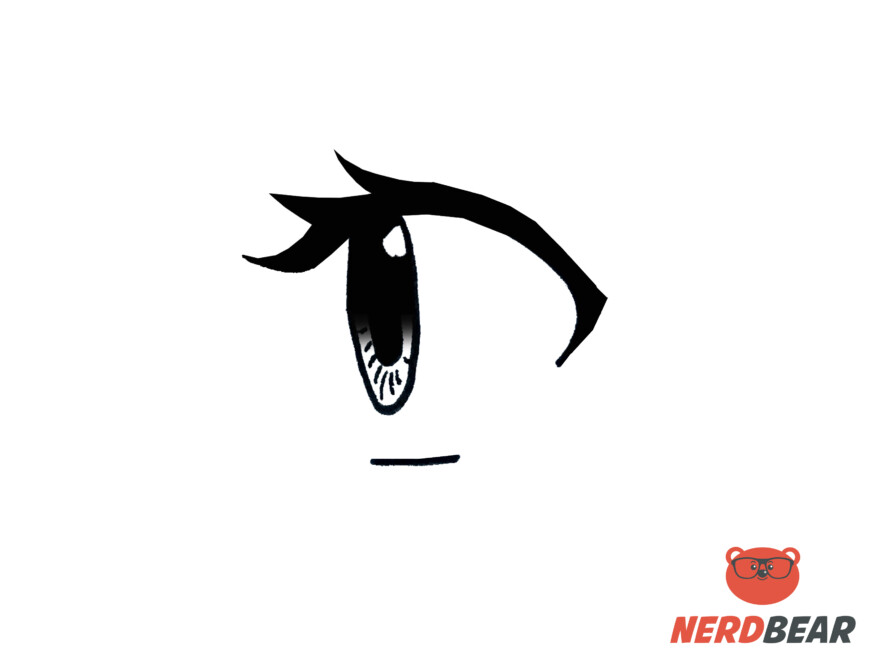
Step 9:
The final step is to add a curved line just above the eyelash line for the eyelids.
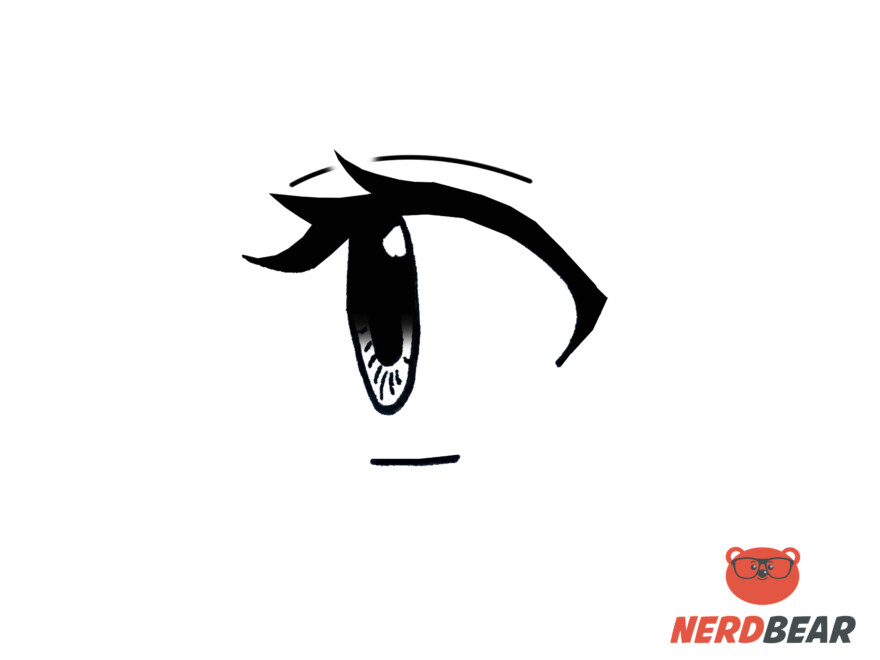
How To Draw Anime Smile Eyes
Step 1:
Start by creating a curve line.
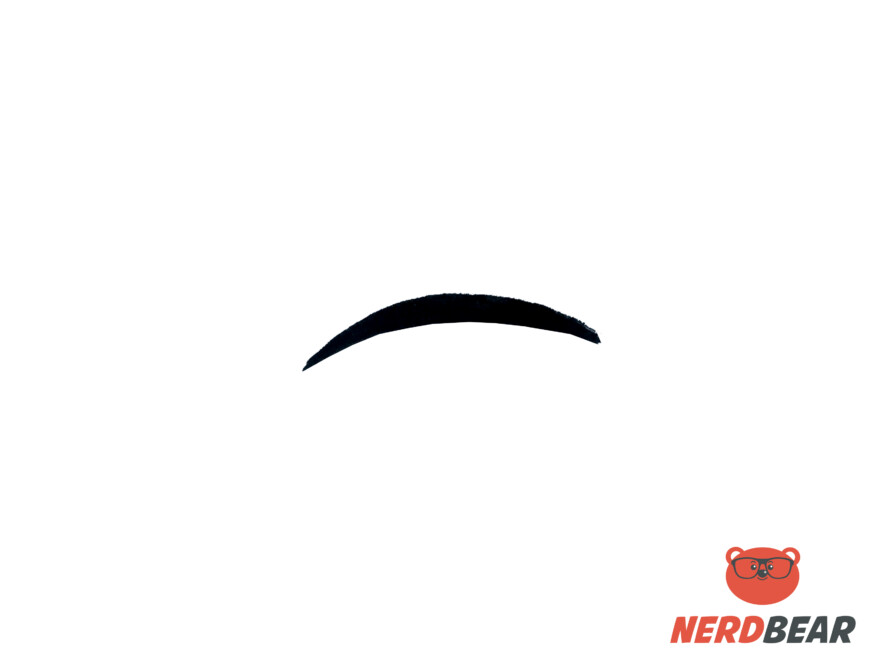
Step 2:
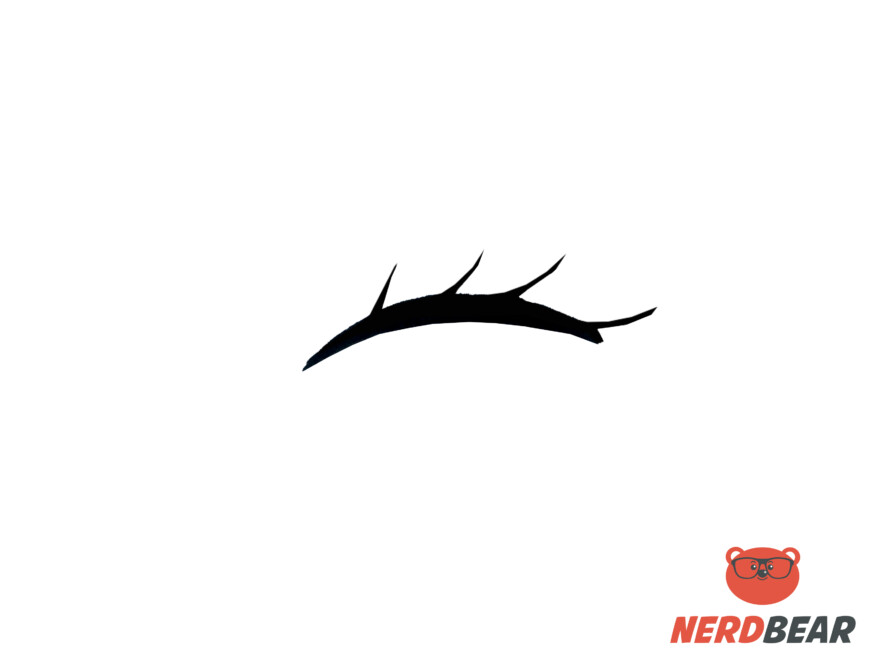
To create eyelashes, start by flicking lines around the curve line you just added. The lines need to curve and taper to a point.
Step 3:
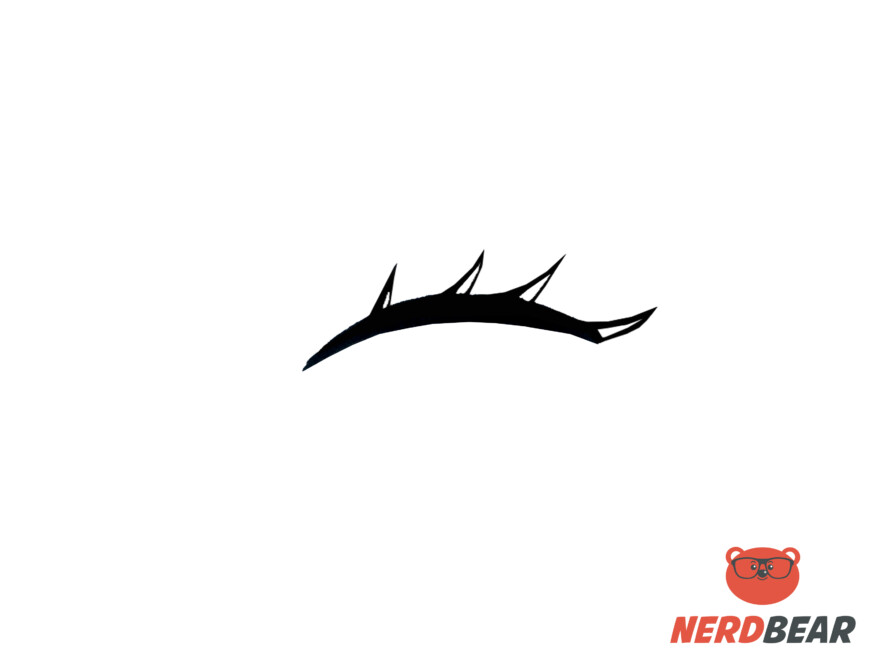
Add a curved line to connect the end of each lash back to the eyelash line.
Step 4:
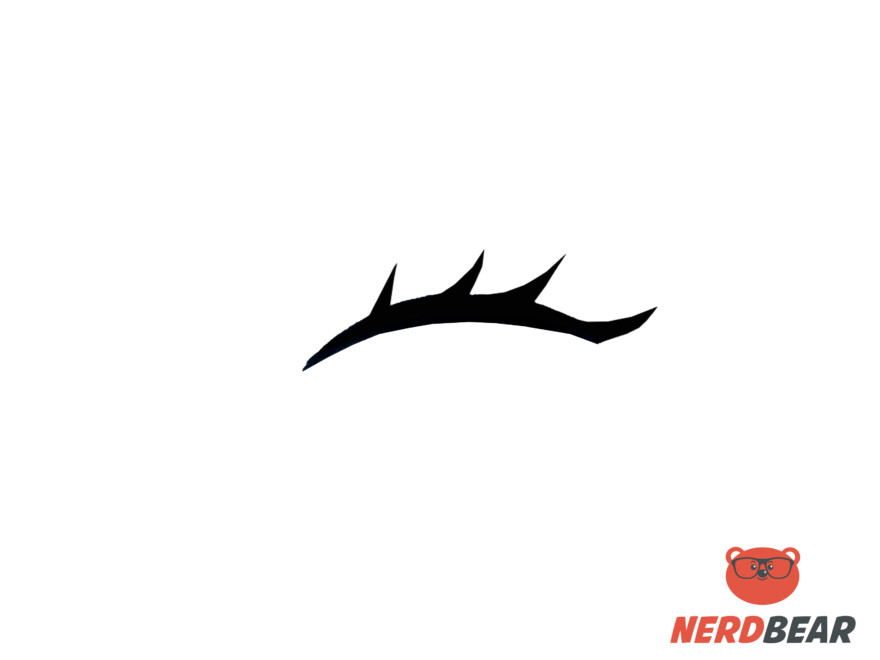
Finish the eyelashes by shading in the gaps.
Step 5:
The final step is to add a curved line just above the eyelash line for the eyelids.
