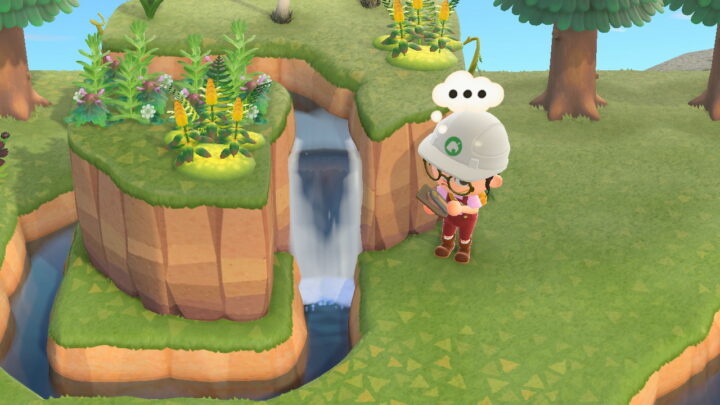
Isn’t it cool how we can change rivers and make cliffs and ponds in this game?
This wasn’t possible in older Animal Crossing games, but the power to shape the earth and waters is now in our hands in New Horizons!
Unfortunately, this feature isn’t immediately available. Ready your construction hats as I teach you how to unlock terraforming in Animal Crossing.
IMPORTANT NOTE: To respect players who want to keep certain milestones in the game as a surprise, I will mark some parts of the guide as spoilers so you can skip ahead.
Quick Links
Unlock Terraforming
You have to do some things first before you can get to terraform your island. Here’s a step-by-step guide to unlock it.
Step 1: Reach 3 Stars
You don’t get terraforming the moment you step out of that DAL plane.
In fact, you have to do some beautification to your island first before being handed the responsibility to change the land.
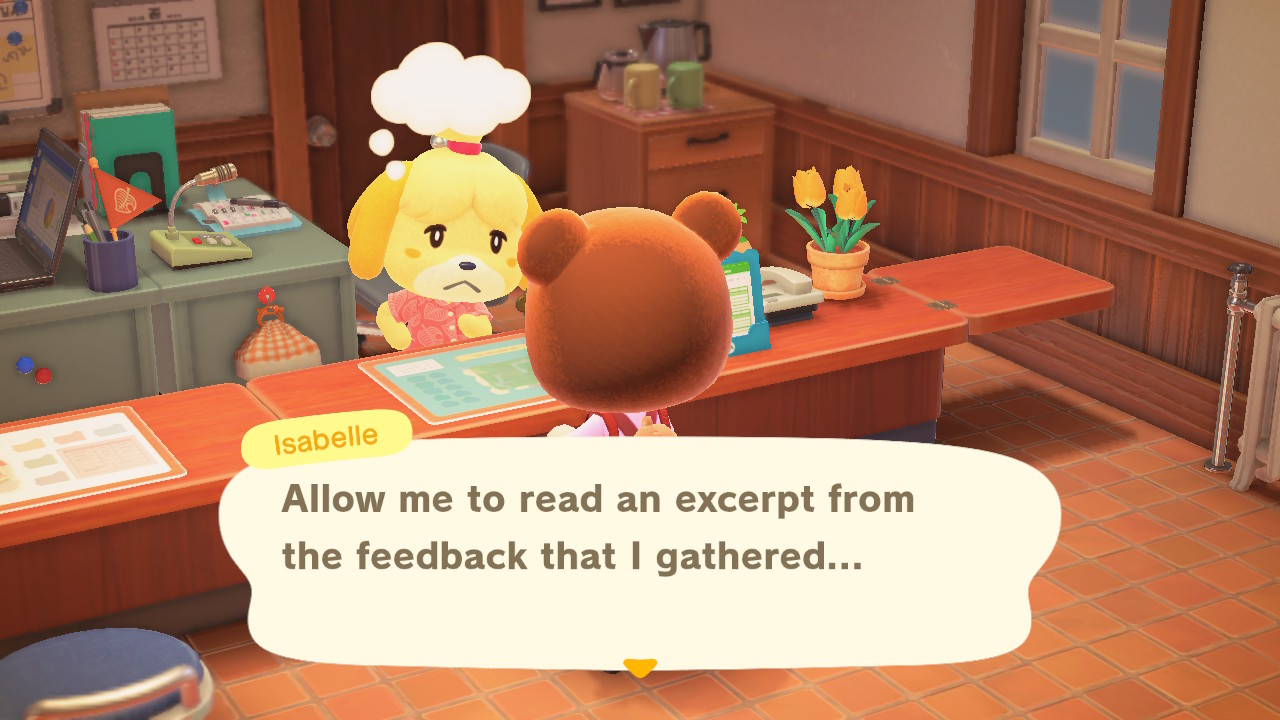
Talk to Isabelle in Resident Services to know the current rating of your island. Ratings are evaluations to check how well-kept and thriving your island is.
Choose “island evals.” from her options to know how your island is at the moment.
How’s the evaluation? Not too good? No need to worry. Isabelle is very nice and will give suggestions on what you can do to improve your ratings.
As a bonus, she’ll ask some NPCs to give their testimonials about your island.
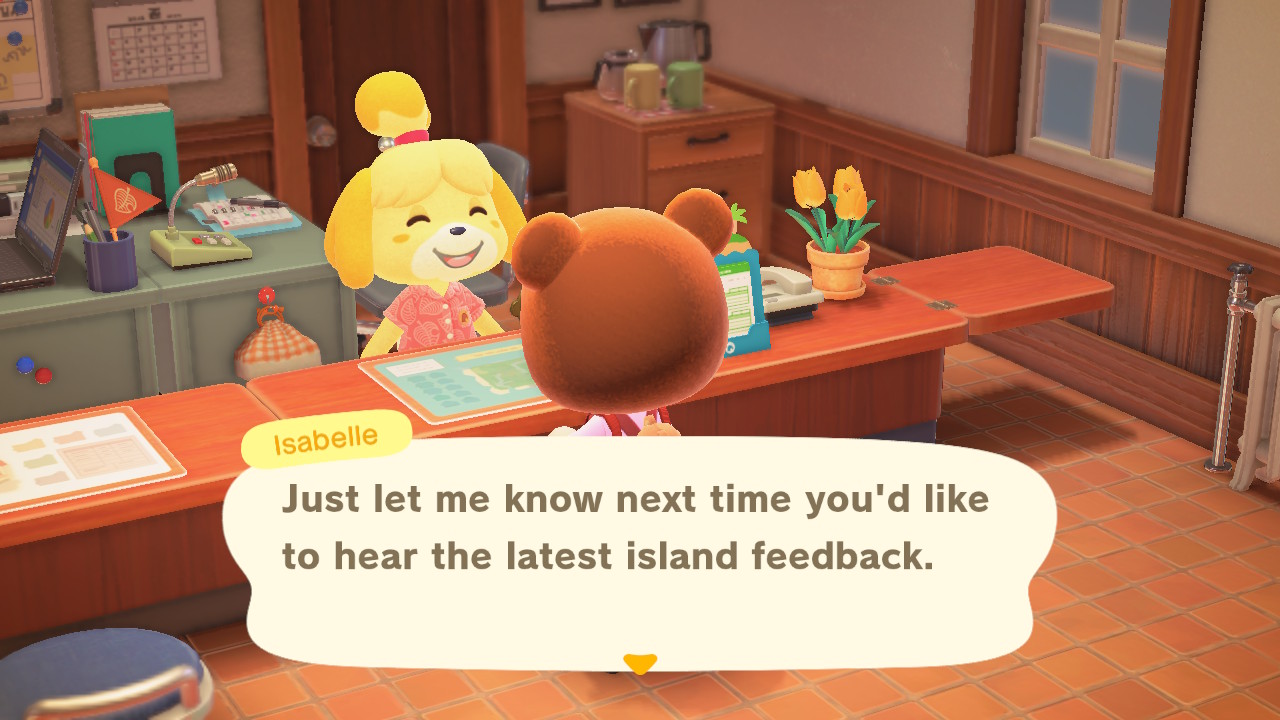
IMPORTANT NOTE: These reviews might not sound too good at first, but once your ratings go up, you’ll enjoy what they’ll say about your island.
Let’s start cleaning! You’ll be asked to uproot some weeds around your island. If you have some garbage or dropped items lying around, you’ll have to pick those up.
You can fish out some trash from your rivers, ponds, and sea.
TIP: Weeds and garbage can actually be used for some DIY recipes, so it’s a good idea to keep them in your storage.
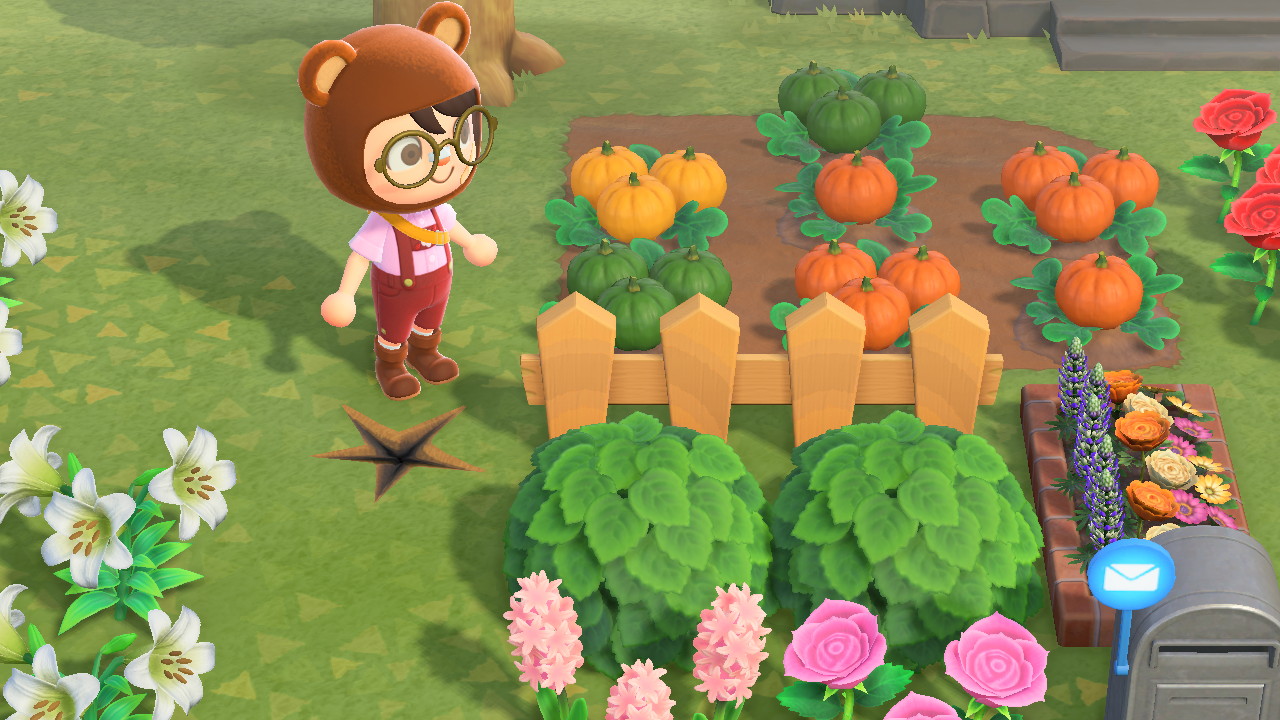
You will also need to put up some fences. There are fence DIY recipes redeemable from your Nook Stop.
They will need different kinds of materials, like grass, wood, and iron nuggets, to name a few.
Keep asking Isabelle about your rating. Follow her suggestions, and you should get to three stars in no time.
Step 2: Get the Island Designer App
Once you get a 3-star rating, a very special event happens. SPOILER: Skip ahead if you want to keep your Animal Crossing experience as spoiler-free as possible.
Well, the very special event is a concert from K.K. Slider himself! Join your villagers in celebrating this very important milestone.
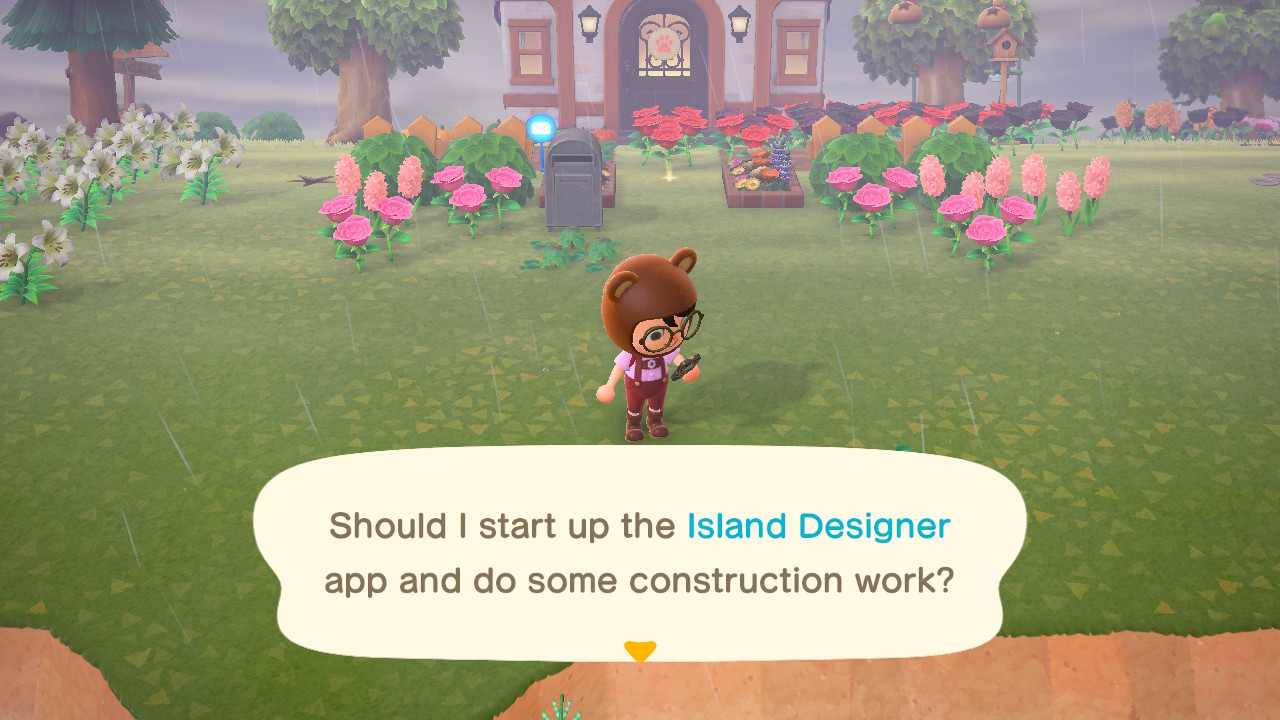
That milestone is so important that you start seeing credits! Don’t freak out—-the game’s not ending yet! After all that, Tom Nook talks to you about an app he wants to install on your phone.
This is the Island Designer app, and this will let you create paths and terraform cliffs and rivers.
Step 3: Upgrade the App
The base version of the Island Designer app will let you create simple dirt paths. Where’s the terraforming? Well, you actually have to redeem additional permits to do that.
Run to Resident Services and check your Nook Stop for these permits.
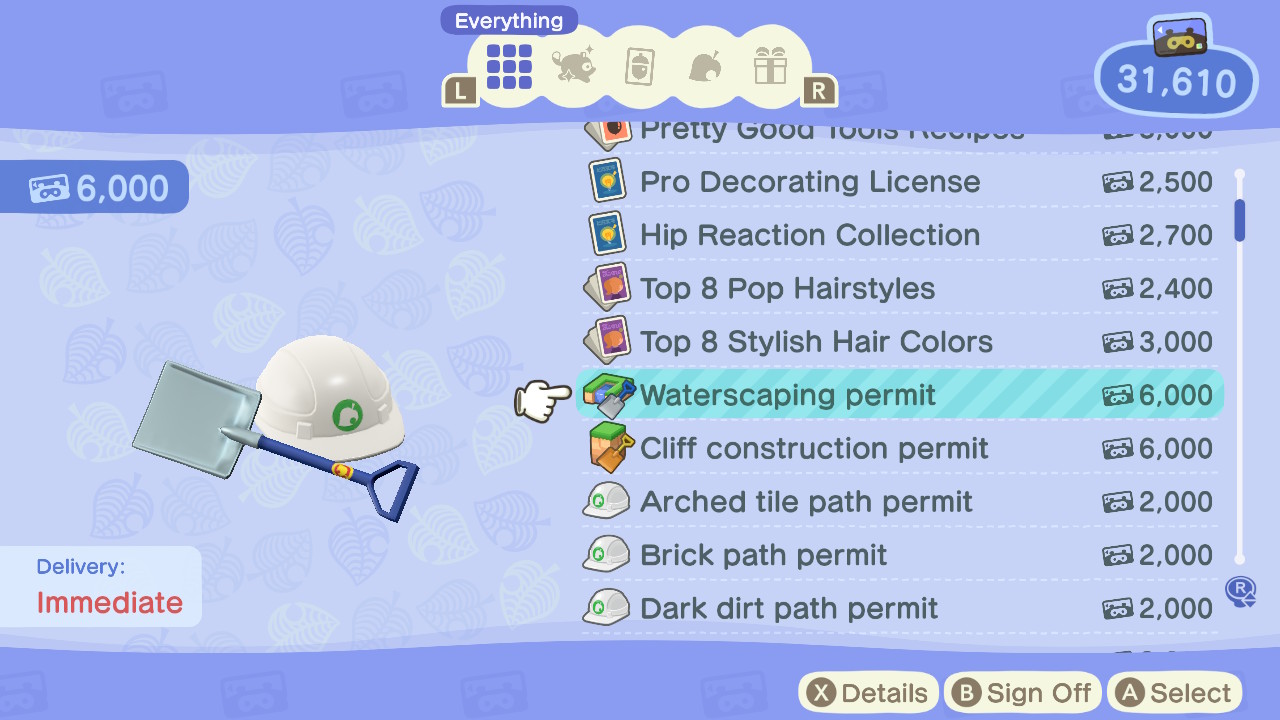
The two terraforming permits will cost 6,000 Nook Miles each. On top of that, if you want the other path designs, you have to shell out 2,000 to 2,300 Miles per path permit.
The cost to mold your island is pretty pricey!
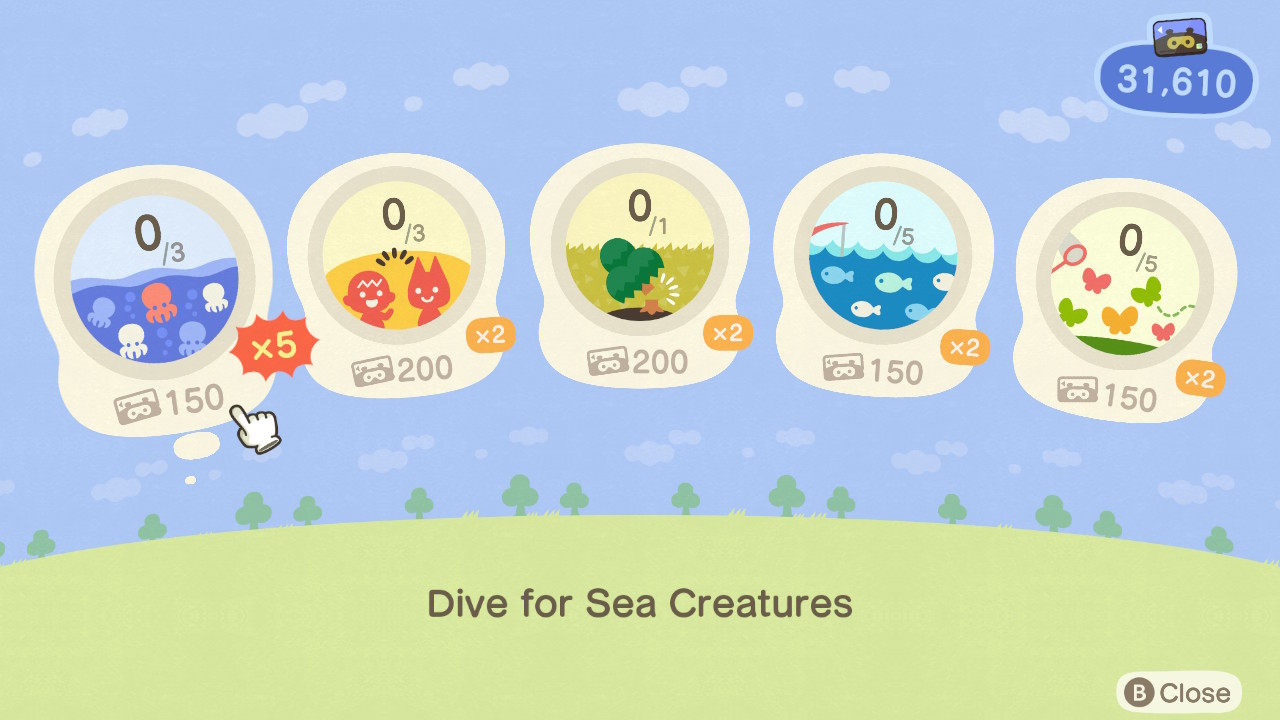
TIP: Not enough Nook Miles for the permits? Always check your Miles+ tasks and do the ones with big multipliers.
Terraform Time
Got all the permits? Good! Now we can do what we set out to do.
To terraform, open your NookPhone by pressing ZL on your controller. Go to the Island Design app. You should see two icons below the path options.
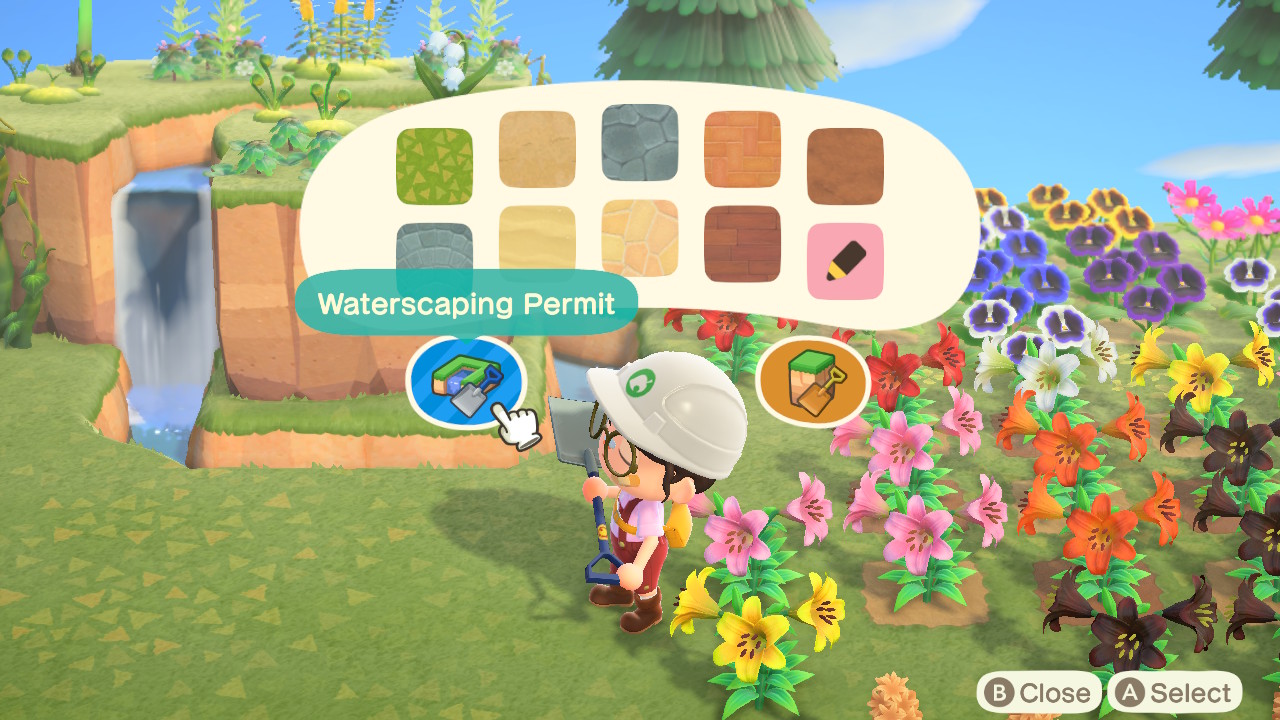
These are your Waterscaping Permit and Cliff-Construction Permit. If you want to make or destroy cliffs, choose Cliff-Construction.
If you want to change your rivers or create ponds, pick Waterscaping.
To create cliffs, face any open space and press ‘a’. Your character should start adding land out of nowhere. To destroy it, face it again and press ‘a’.
Keep doing this to form a base, then climb up to add another layer.
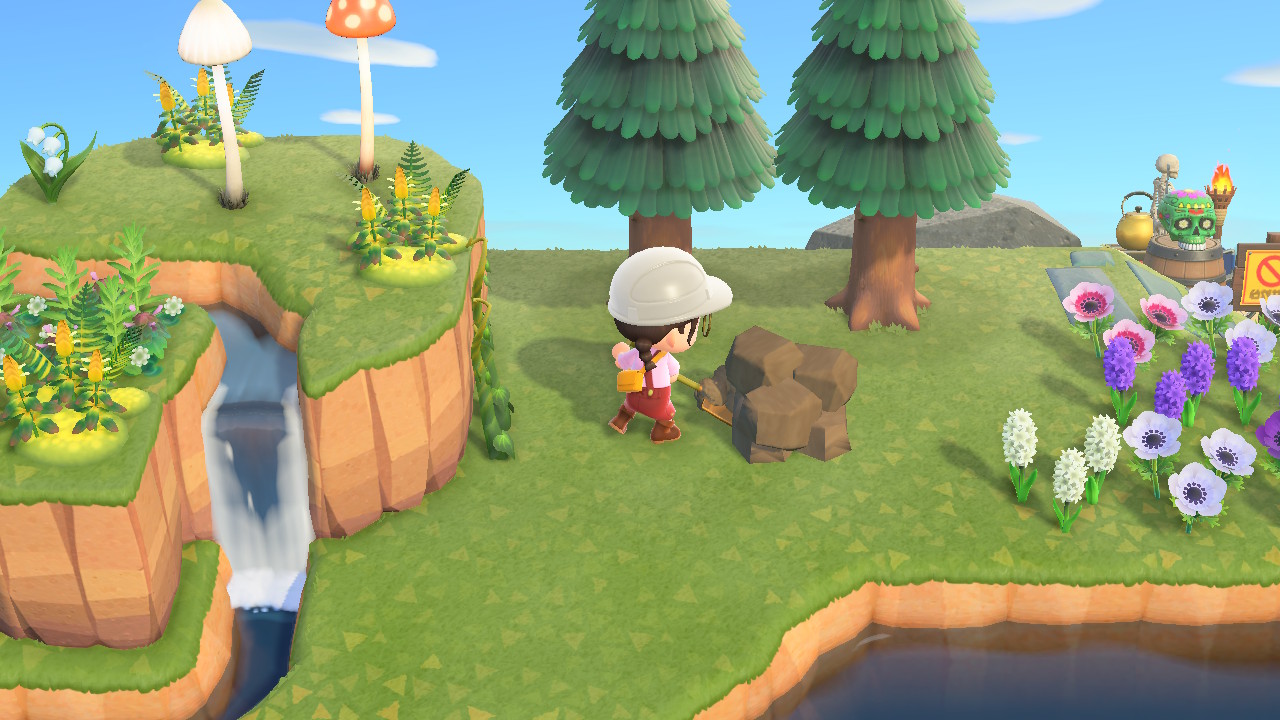
Making ponds uses the same method. Choose Waterscaping and face the area where you want your pond to be.
Press ‘a’, and your character should start digging, and water should show up. Keep doing that until you’ve formed the pond size you want.
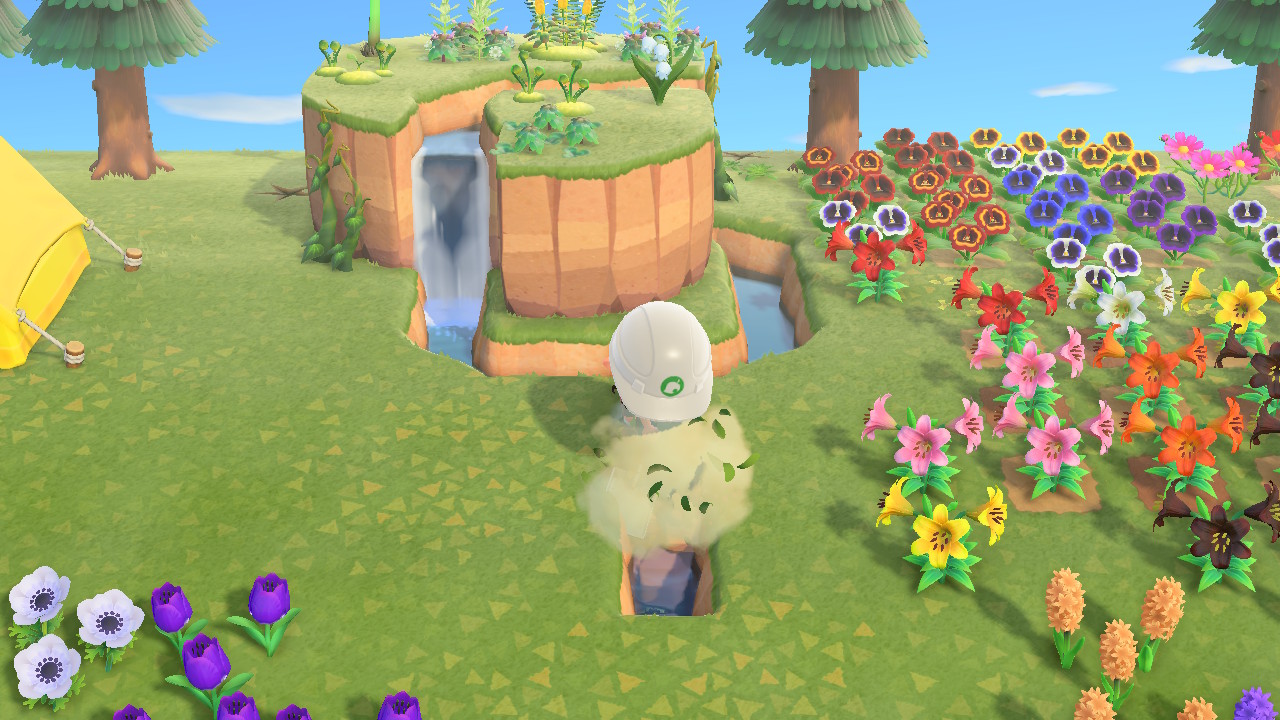
Making or changing your rivers should be the same procedure. Press ‘a’ when you want to carve out the land to make way for water, and press ‘a’ again to make curves or cover the water with land again.
TIP: Your river will immediately turn into a waterfall if it’s on a cliff’s edge.
That’s the basics of terraforming!
Terraforming Tips and Reminders+
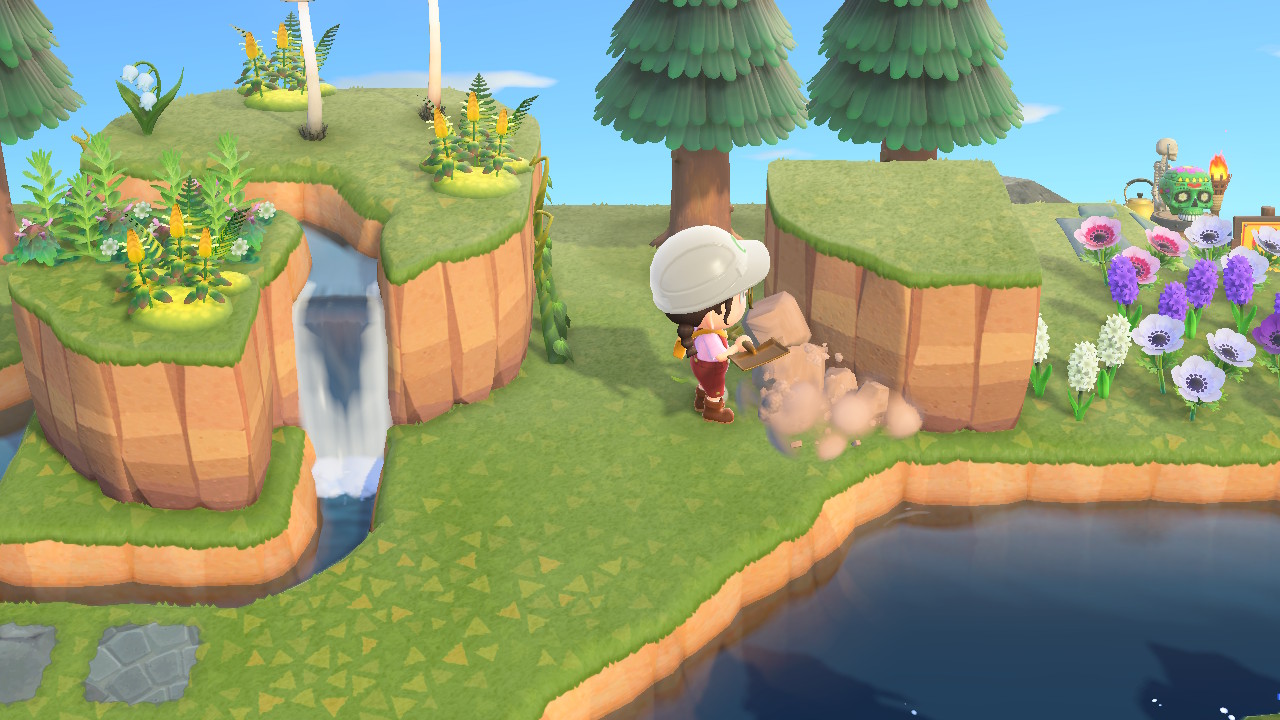
Here are some quick tips and reminders before you dig into terraforming.
- To smoothen out corners, press ‘a’ again on that tile. You can only do this when there are multiple terraformed tiles already.
- You can’t terraform your beach, plaza, island rocks, or sea.
- You can’t move buildings using Island Design. Talk to Tom Nook about moving houses and bridges. Do note that there are buildings that can’t be moved, like your Resident Services, Airport, or Pier.
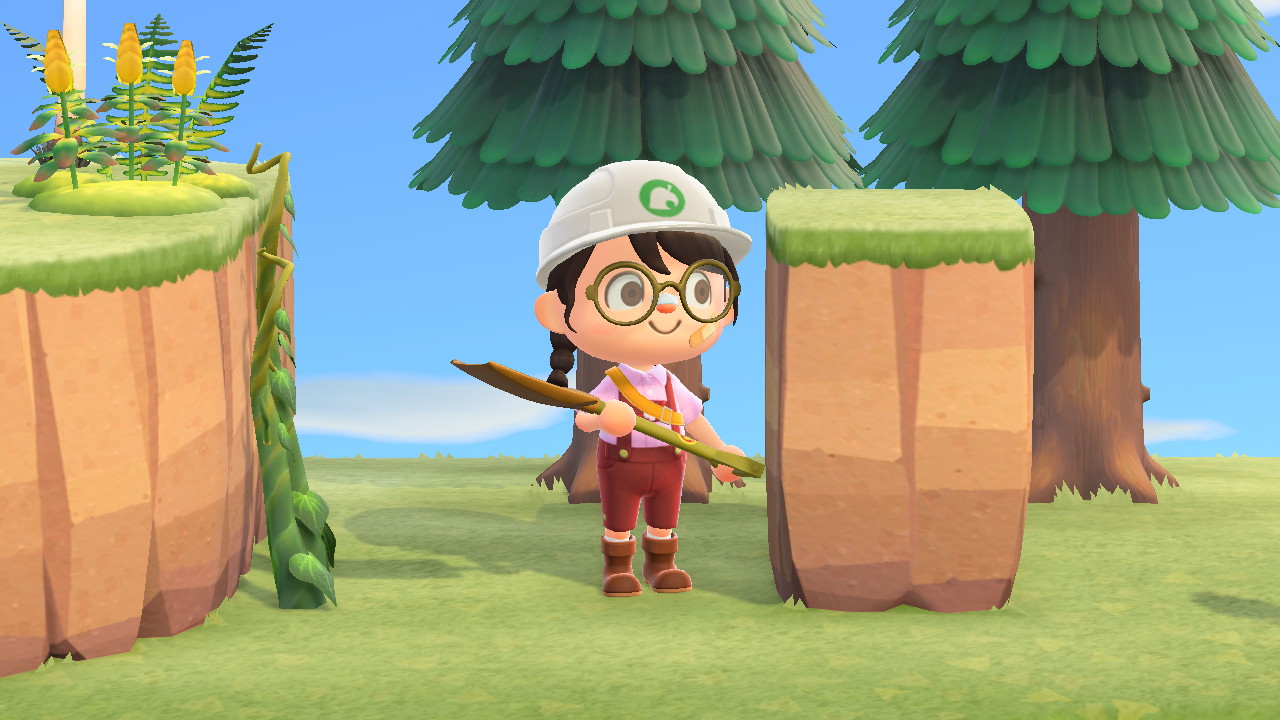
- You can’t climb the fourth level of your cliffs. You can make it, but you can’t get on it. Fans found a way to do this, but it’s up to you if you want to go against the game for this.
- You can’t start the Island Designer app when there are other players with you.
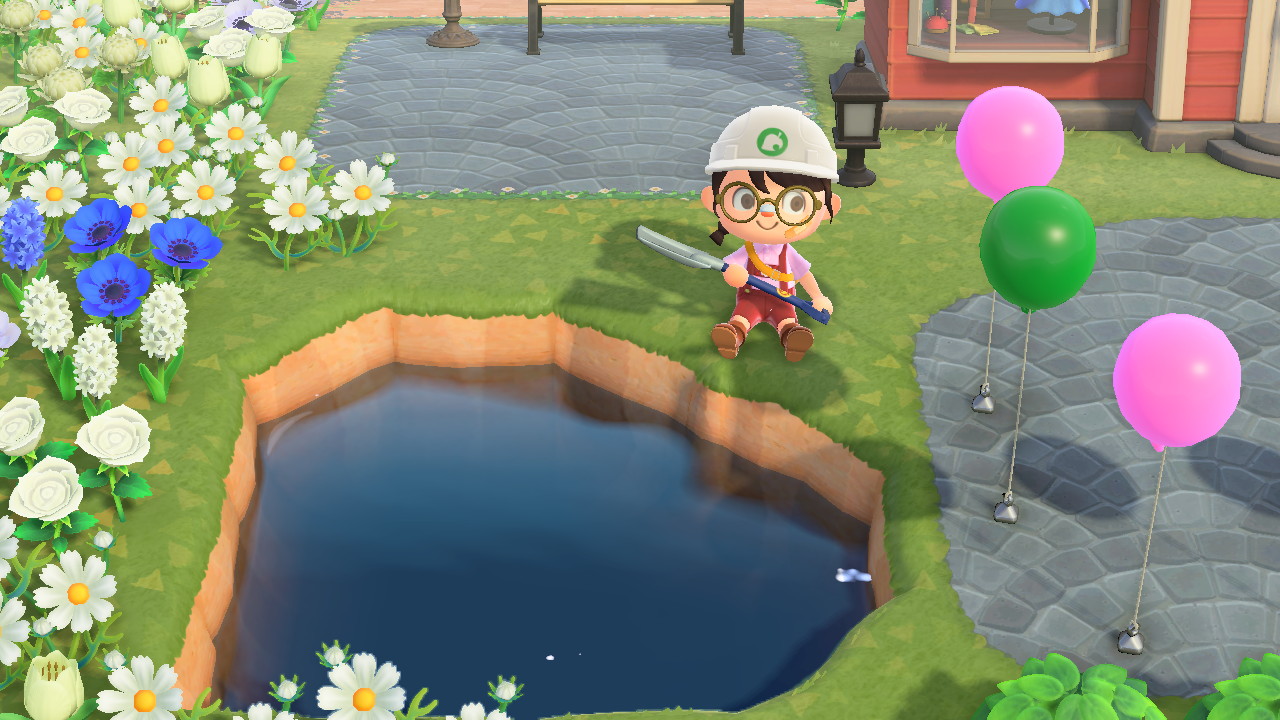
Terraforming can be a bit overwhelming and clunky at first, but you’ll eventually get the hang of it with some trial and error.
Now get out there and make the best version of your island home!

