![Heated Madness Blueprint Guide DMZ [All Locations]](https://nerdbear.com/wp-content/uploads/2023/05/DMZ-Heated-Madness-Blueprint-720x405.jpg)
With the Season 3 mid-season update well underway, there is a wealth of small changes (like the barter system) to hit the game and also one massive one, the Koschei Complex.
On top of a massive new area, two new bosses, and a weapons case, there is also a Kastov 762 blueprint that can be extracted from the Koschei Complex.
It is going to require a bit of work as the blueprint is in 5 parts and is found all over the sprawling new map. You’ll need to extract these 5 parts from the Koschei Complex.
Like weapons cases, the blueprint part will unlock for all team members, and you don’t have to extract all the parts in one deployment.
Here’s how to find the different parts of the Heated Madness Blueprint.
Quick Links
Heated Madness Blueprint Locations
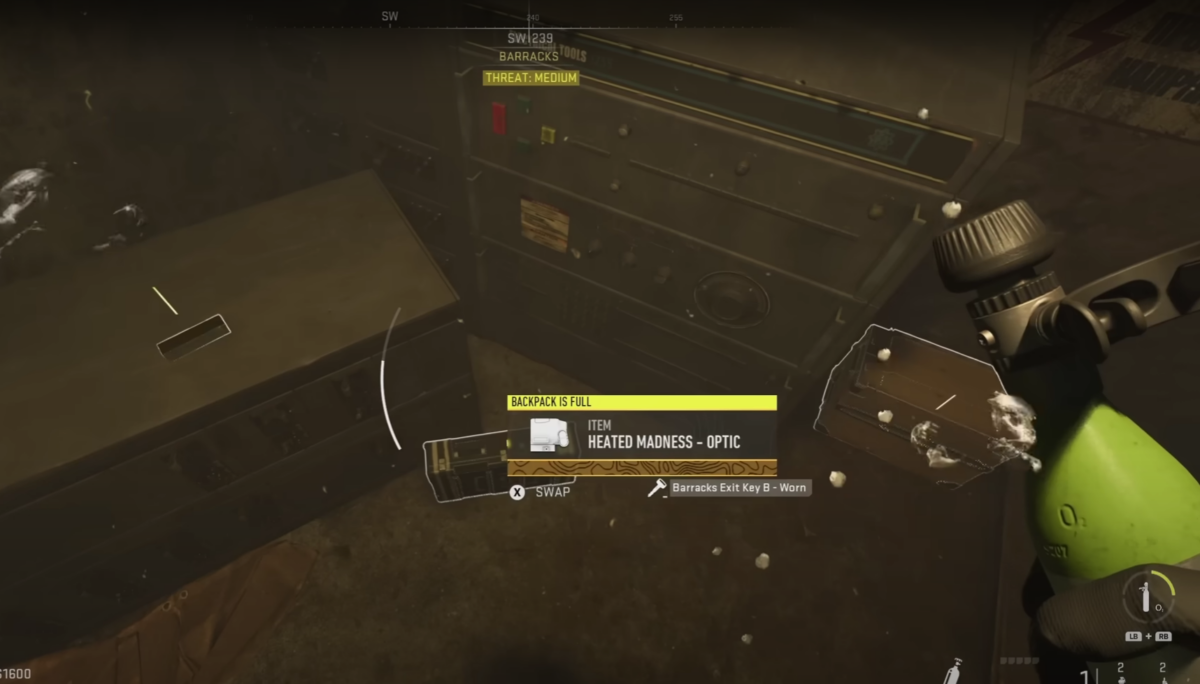
1. Optic
Best Entrance: Taraq Village – Barracks
Head for the question mark in Taraq Village. Underneath the bridge is one of the 4 entrances to the Koschei Complex.
Navigate through the flooded barracks (there are air pockets, so this doesn’t require a rebreather if you’re careful).
Once you come above the water into the room with the lasers, to the right will be a wooden board with a red X on it. Blow it up with Semtex or crawl under the lasers and defuse the C4 and use that.
You’ll need a rebreather for this next part.
Head through the newly created hole and swim straight through to the furthest room. If in doubt, just follow the red arrows, and you’ll eventually lead to some double doors and a very large room.
It will have the Optic and is a possible location for one of the Factory Wing keys.
Note: The optic can spawn in other rooms in this sunken corridor but it’s always behind the red X you blow up.
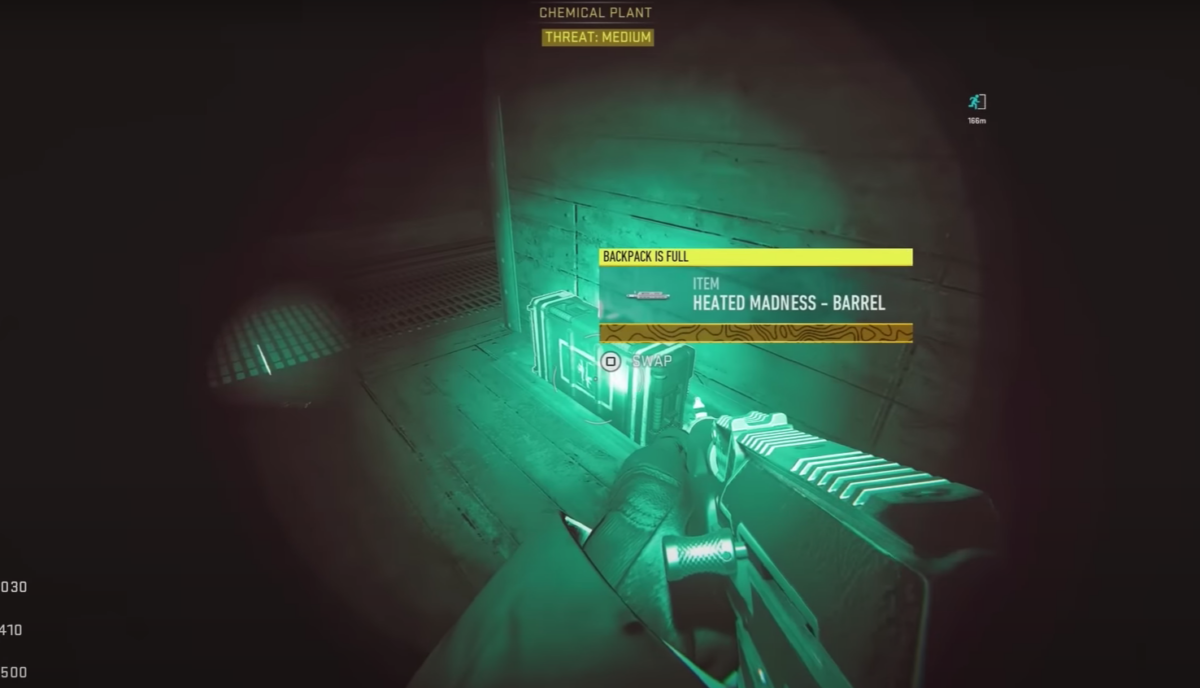
2. Barrel
Best Entrance: Any
This one is easy to find, but you might need to get a move on in case another team beats you there.
Pick any entrance to the complex that you can get to and through easily.
Once you’re through to the central Chemical Plant (you might need a battery and jumper cable to open the door).
Head to the middle, where there is rubble. Check the vents near the irradiated pool, and you’ll find it on the floor inside where you crouch.
Night Vision Goggles are highly recommended!
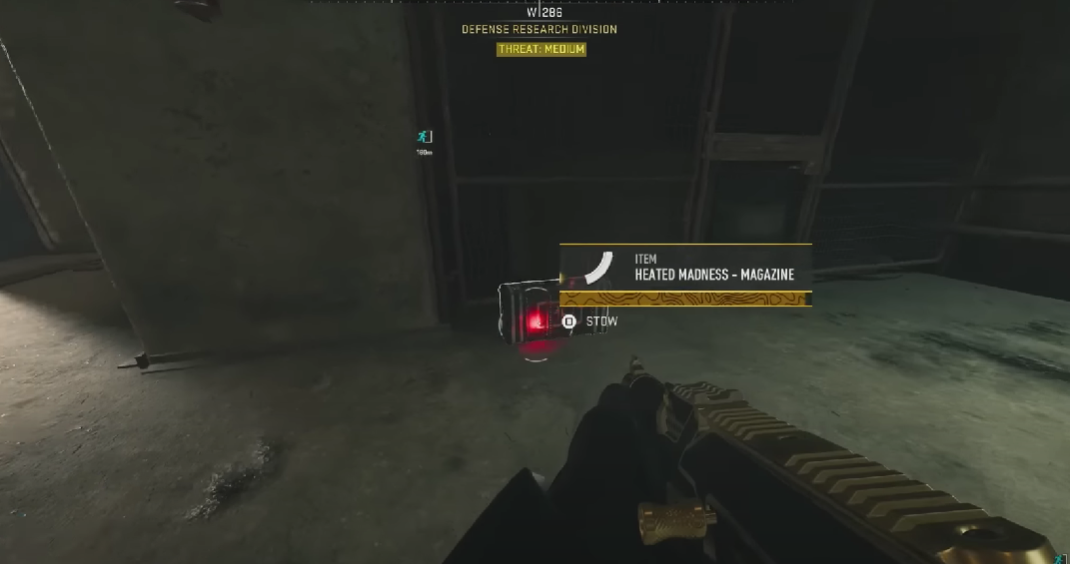
3. Magazine
Best Entrance: Oasis
Head for the Oasis and enter the Koschei Complex. It’s best to have at least a couple of radiation blockers and a gas mask before you enter the Defense Research Division.
The mag is located in one of the side bunkers that need to be closed to stop the radiation. The room might already be open, but you’ll want to search all the rooms for the mag.
It’s usually found in the last radiation room on the right-hand side.
There are also 2 keys you can find which will give you fast access to the Factory Wing.
Alternative Magazine Location
The magazine can also be found inside the Factory Wing.
Head towards the shop and look for the wooden board that says shop with an arrow pointing left through the white door.
Facing the door, turn right and head up the metal staircase. Enter the door straight in front of you.
Keep heading straight, past the table in the middle, and down the passage. You’ll turn left into a room with black and yellow stripes on the floor.
Keep heading straight down the stairs into the room with covered cargo. The wall to the left has a red arrow on it. Just next to it, you’ll find the magazine.
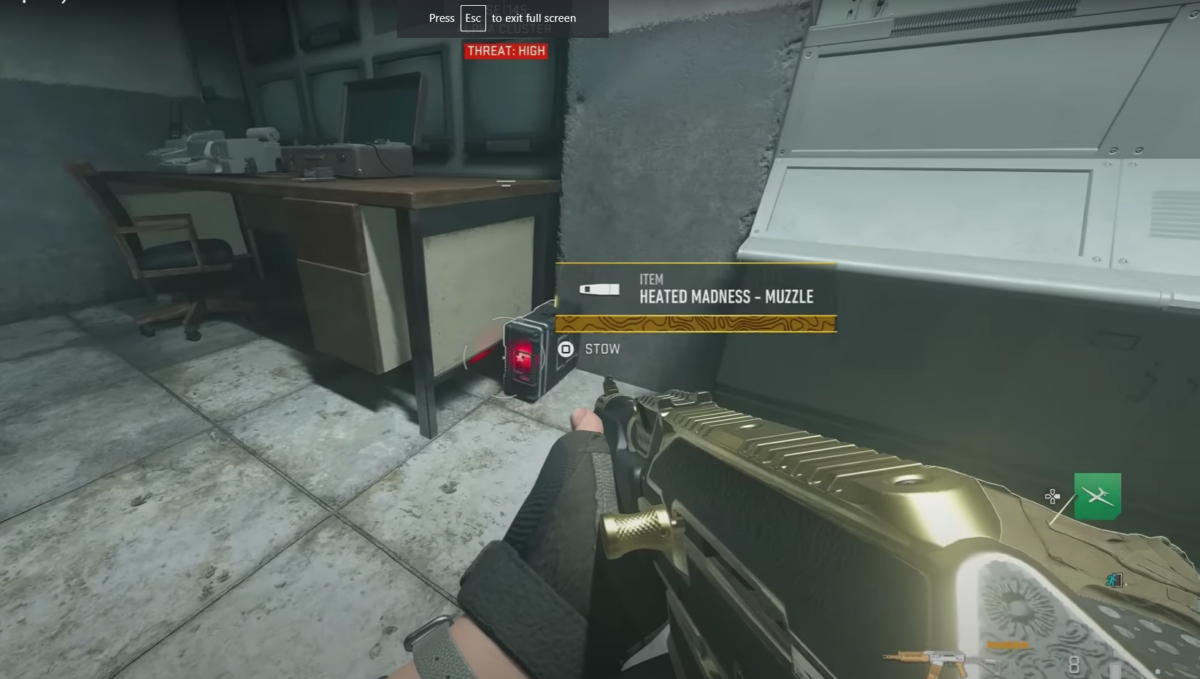
4. Muzzle
Best Entrance: Al Mazrah Parking Lot
You can use any entrance to the Koschei Complex, but we recommend the Al Mazrah Parking Lot, as this will get you into the Information Extraction section.
We also recommend getting this blueprint with the one below, as they are in the same area.
Bring at least one set of jumper cables and a car battery with you from Al Mazrah. You should be able to find another in the Information Extract section.
You’ll need one set to enter the Chemical Plant aka the Dark Area.
Once inside, head to the middle of the map and find the room that has an R4D in it.
Then head to the Alpha Cluster aka Server Room. If you exit from Information Extraction, it’ll be to the left of where you entered the Chemical Plant. Just head back to the door and then hug the wall until you see C1 or C2 above the door.
Use your other set of jumper cables and car battery to gain access.
Inside the Server Room, you’ll find the entrance to the Secret Room. You can’t miss it. It’ll be flanked by 2 Sentry Guns and is a yellow door like the Factory Wing doors.
Equip the R4D and look for the 3 symbols above the keypad. These 3 symbols correspond with digits that can be found around the server room.
Note: These codes are random and will change with every infil.
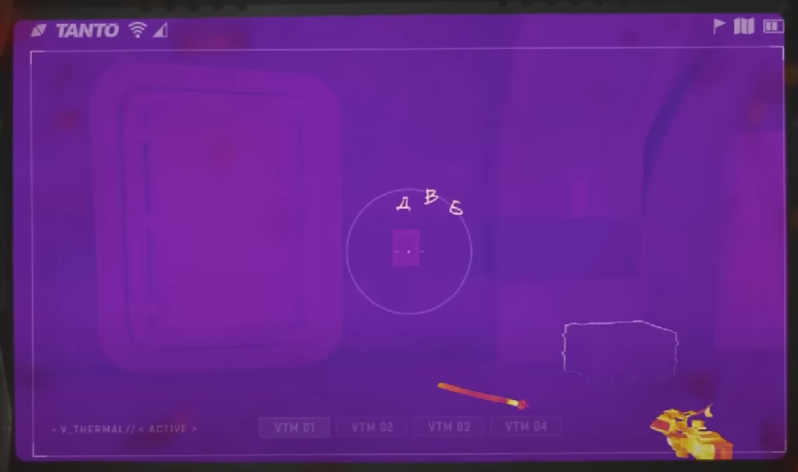
You then need to find the 3 blackboards dotted around the server room. Each blackboard will have a bunch of random chemical diagrams on it, but hidden within each is the number you need for the secret door.
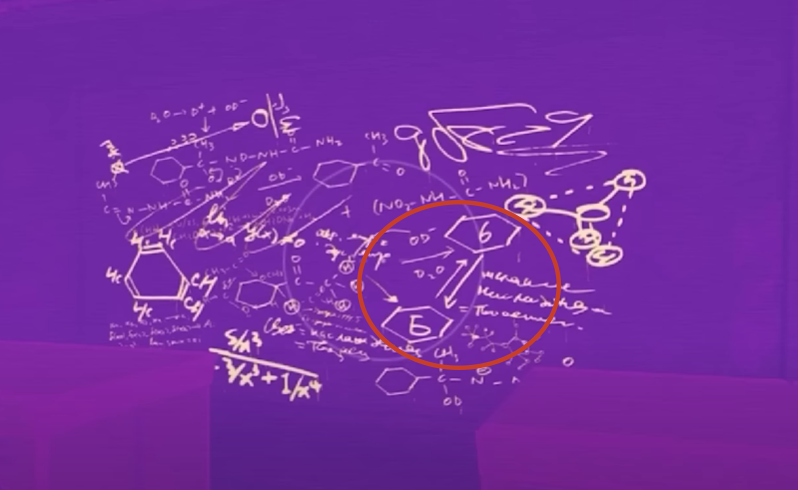
So in this example, the 6-looking letter is (ironically) a 6 and is the third number for the code for the door. Find the other two, enter them in the keypad in the correct order and you’ll be granted access.
Once inside the secret room, you’ll find several loot boxes and the Heated Madness Muzzle blueprint.
5. Underbarrel Grip
Best Entrance: Al Mazrah Parking Lot
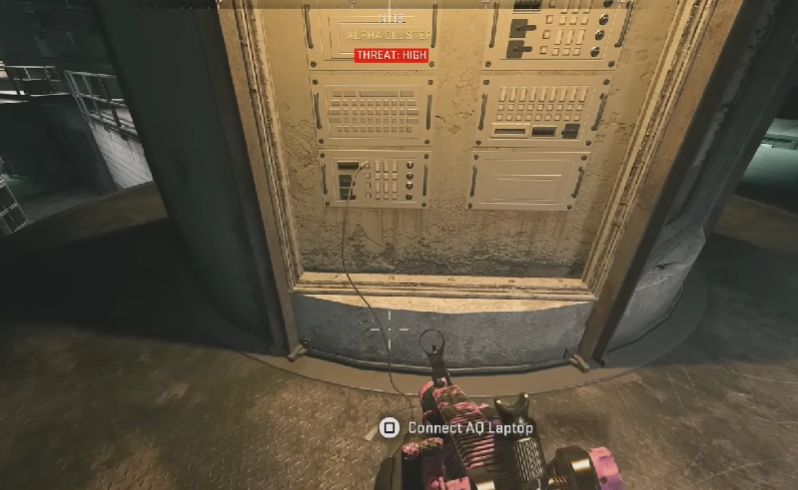
See the above for how to get into the Alpha Cluster aka Server Room. On your way there, it is recommended you pick up 3 AQ laptops, as you’ll need those shortly.
Inside the Alpha Cluster you are looking for these big circular servers. They’ll have a wire sticking out, and a prompt will appear where you can connect the AQ laptop.
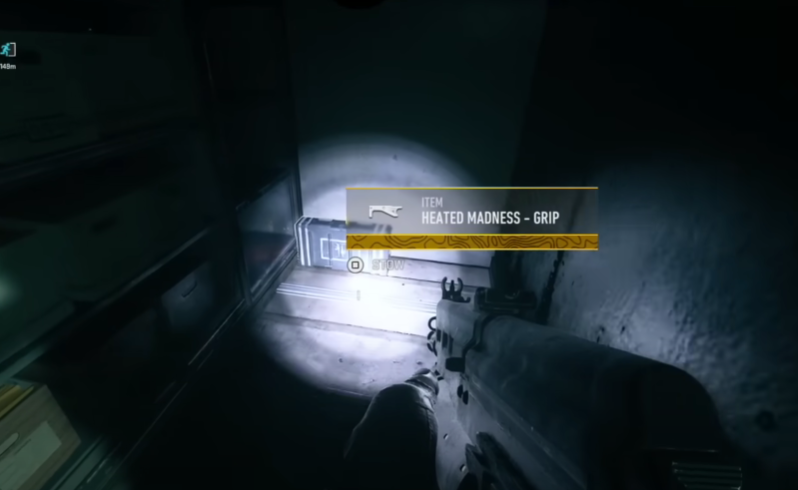
Do this with the other 2 servers that are high up, and then in the corner of the server room look for a door high that’s surrounded by green steel scaffolding.
Climb up and open the door and you’ll find the blueprint to the left after you walk in.