Like fishing, catching bugs, and planting fruit trees, collecting fossils is a classic Animal Crossing activity.
It’s back in New Horizons, to the glee of collect-a-thon fans, and Nintendo has even increased the number of collectible fossils, giving us more hours of fossil fun.
If you can’t wait to start your fossil collection but can’t figure out where to start, check this guide to learn how to dig fossils in Animal Crossing. Archeological excavation outfit encouraged.
Quick Links
Fossils General Info
Before we dig in (heh) and learn how to get fossils, let’s get these common FAQs out of the way first.
What Are Fossils?
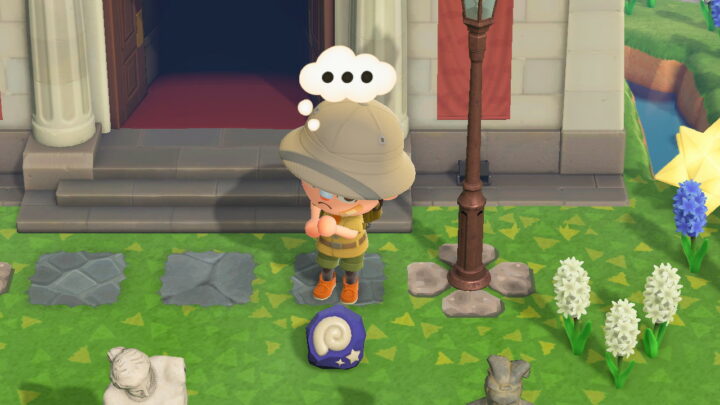
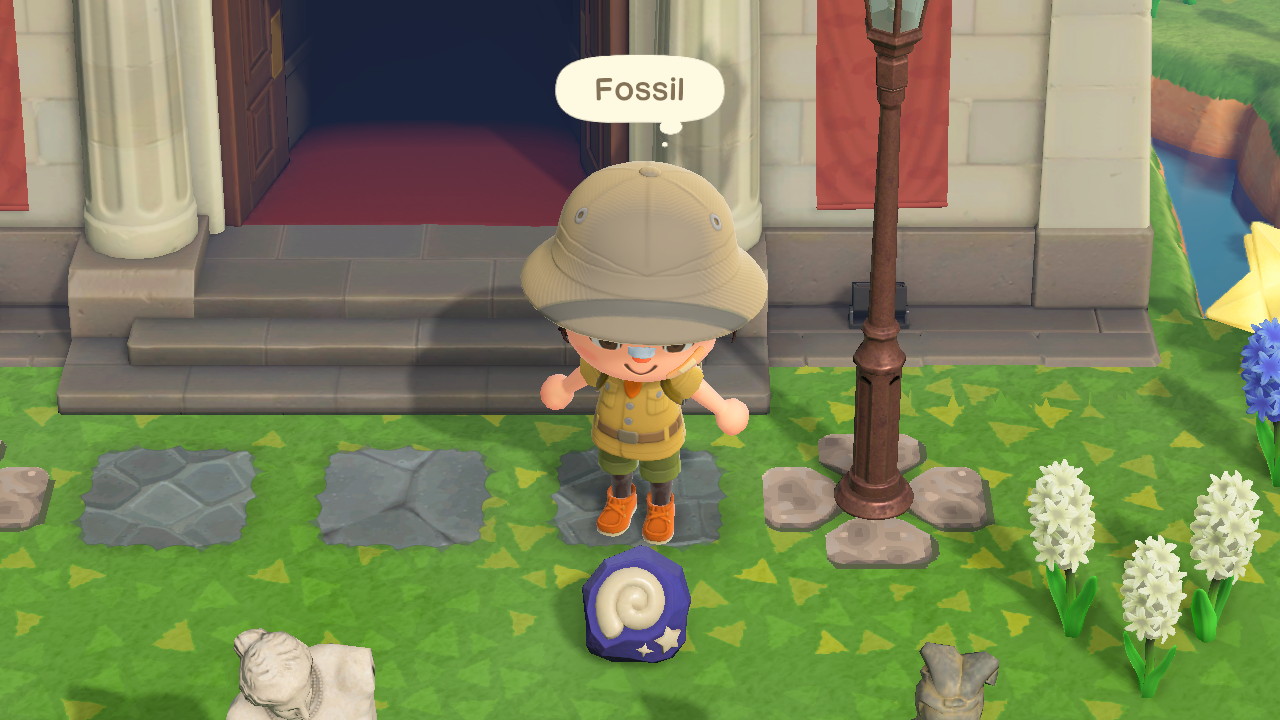
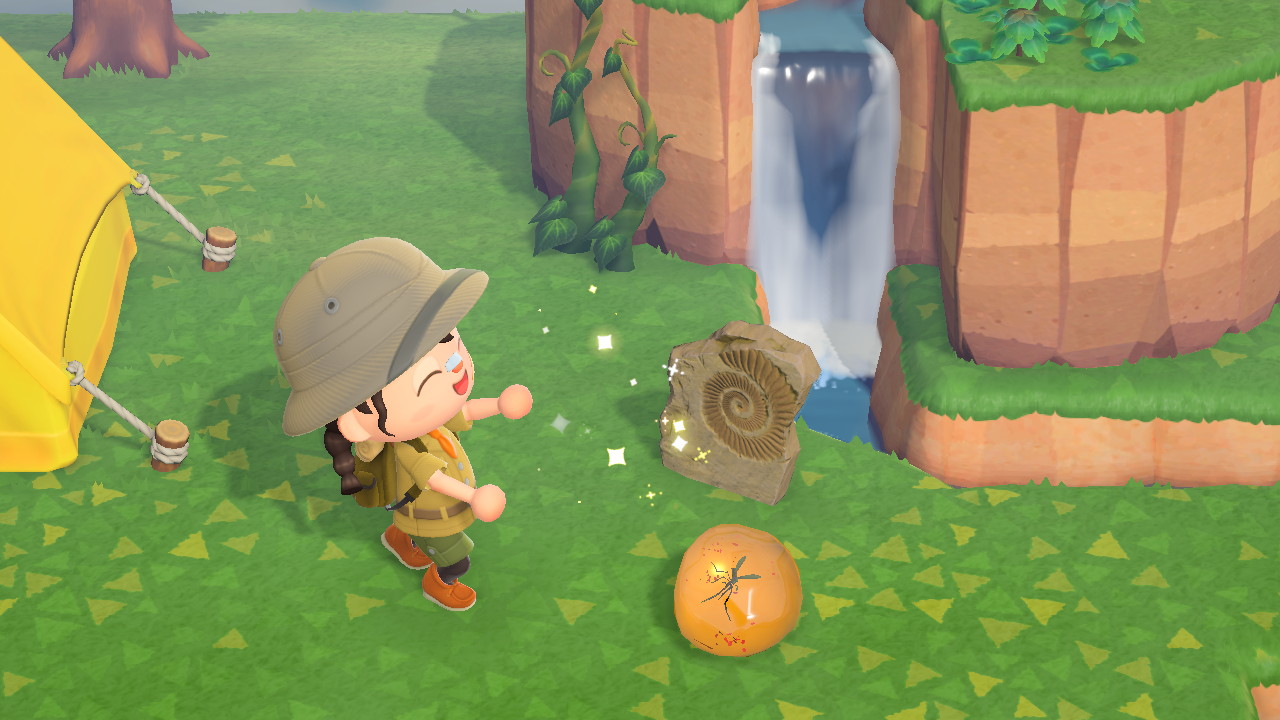
Fossils are collectible items that can be dug from the ground. They are roundish in shape, blue violet in color, and have a white swirly shell (ammonite) and stars on top.
What Do You Do With Fossils?
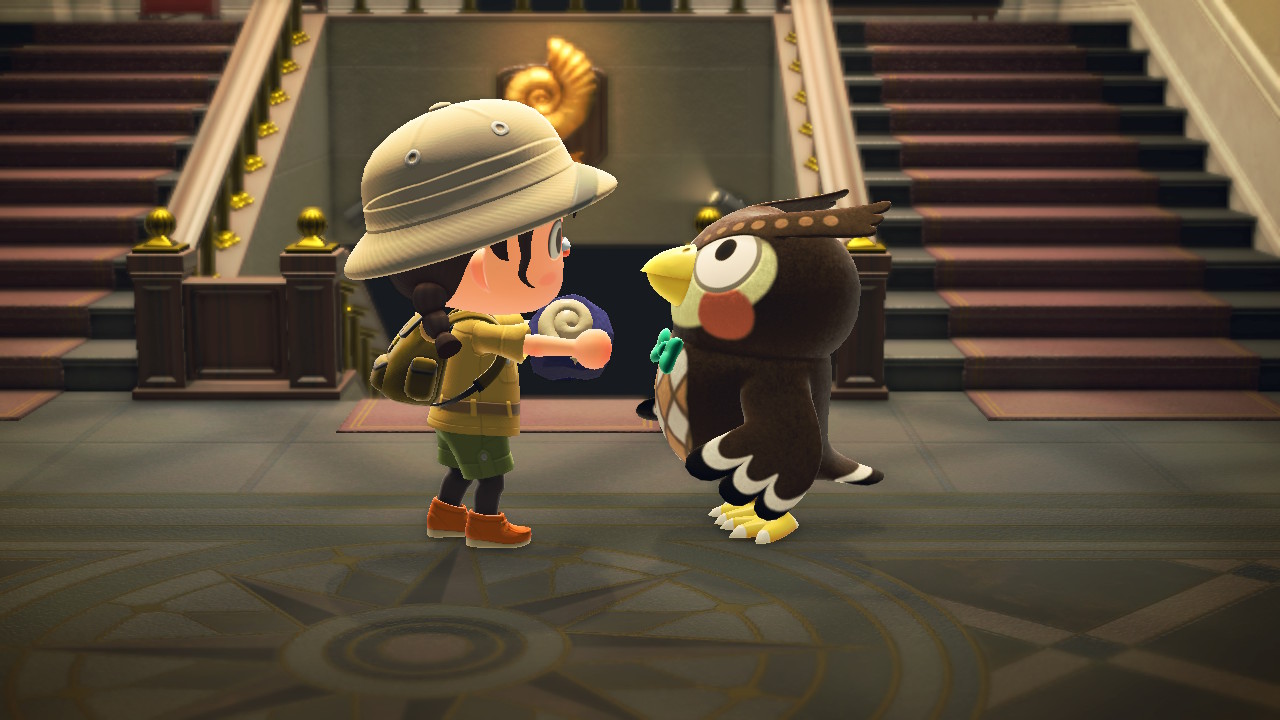
You donate them to Blathers to complete your island museum. Once Blathers identifies it, the fossil could be a bone of a dinosaur or hardened tree resin!
How Many Fossils Are There?
Nintendo increased the number of assessed fossils from 67 in New Leaf to 73 in New Horizons.
Steps To Do To Dig Fossils in Animal Crossing
Now that we’ve learned what fossils are let’s start digging for them!
Step 1: Unlock Fossils and Shovels
If only we could dig the earthy soil with our bare hands! Sadly, such ways are too crude for this game. The reality is that we can’t dig out fossils without a shovel!
At the start of the game, you give critters to Tom Nook to invite his critter and fossil enthusiast friend, Blathers.
Once his tent is set up, talk to Blathers to unlock digging for fossils. He will tell you to look for them at unexplored areas of your island.
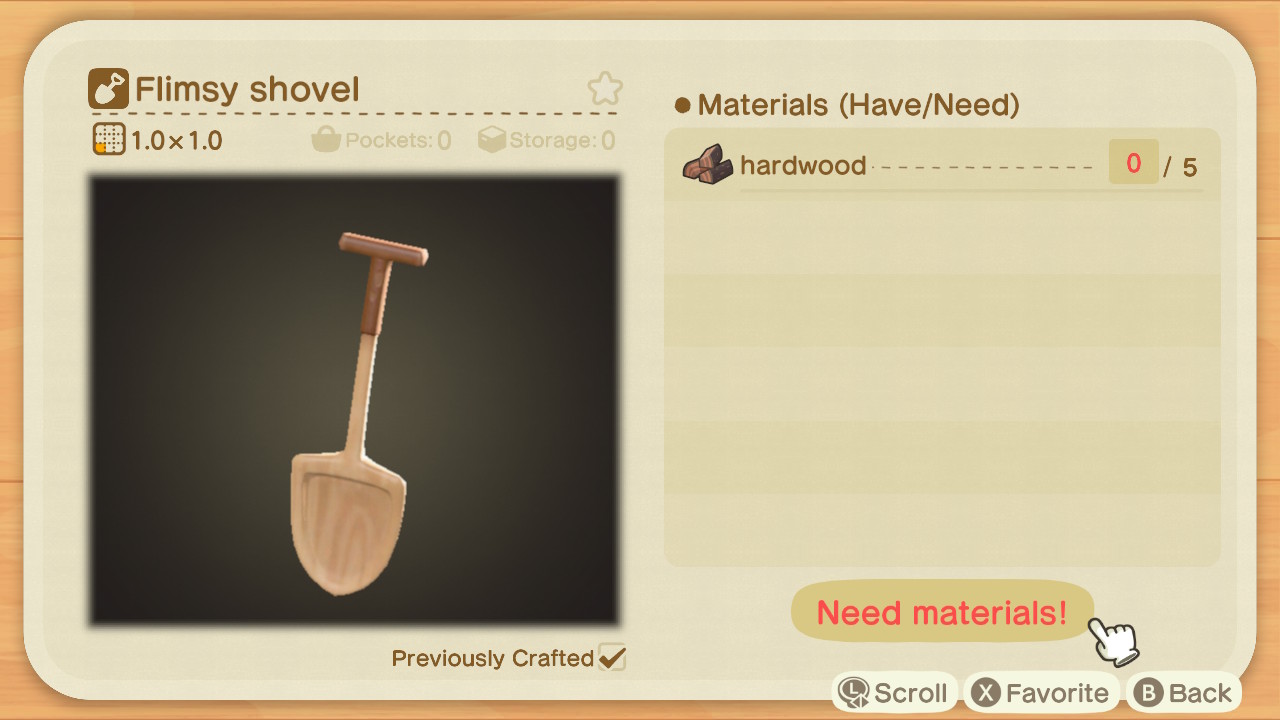
To get to these parts of your island, you need a Vaulting Pole. He’ll give you a recipe for this and a recipe for a Flimsy Shovel for the fossils.
This is your beginner shovel. True to its name, it is rather flimsy and breaks after 20 uses, but it digs, and that’s what we need.
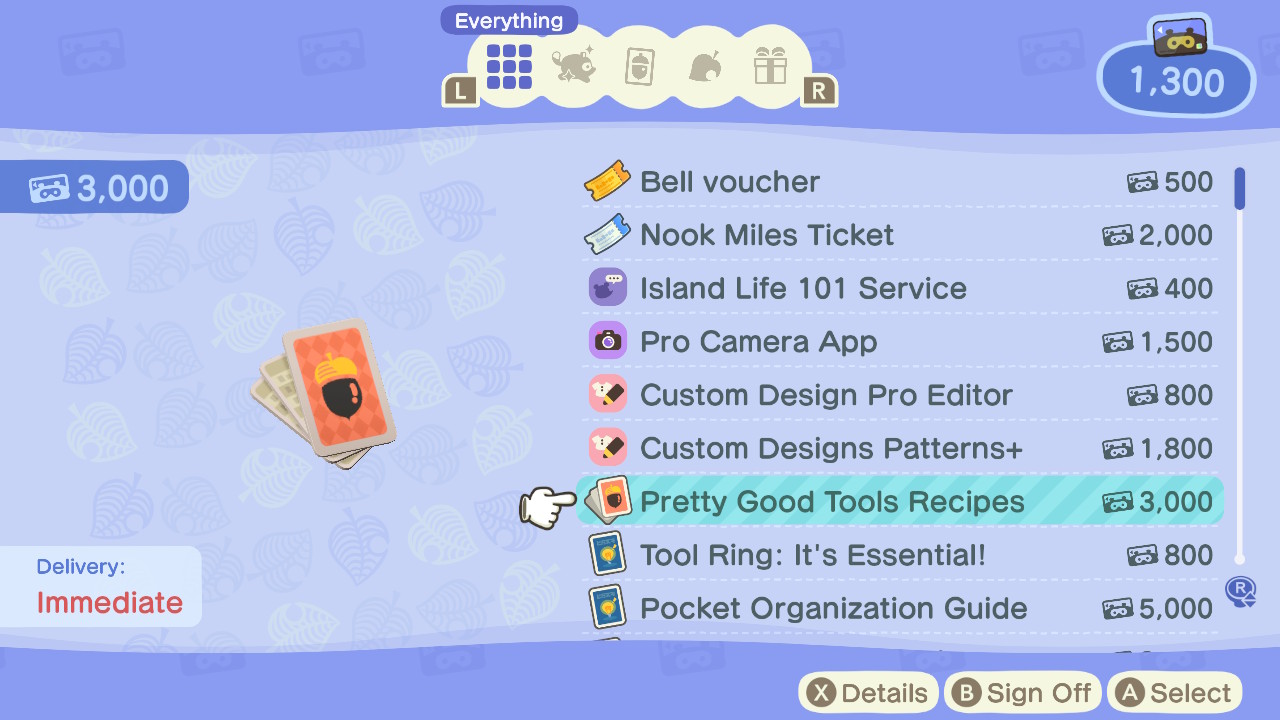
If you’re tired of it breaking immediately, it’s time to upgrade your tool. Head to your Nook Stop inside Resident Services to get the Pretty Good Tools Recipes.
This recipe pack contains upgrades for your Axe, Fishing Rod, Watering Can, Net, and Shovel.
Step 2: Ready Your Shovel
Now that you have your shovel recipes craft a couple to bring with you when you go fossil hunting.
For a Flimsy Shovel, you will only need 5 pieces of Hardwood. You can get these from chopping trees.
Trees will randomly drop Wood, Softwood, or Hardwood, so you might have to chop a few trees to gather enough for a shovel.
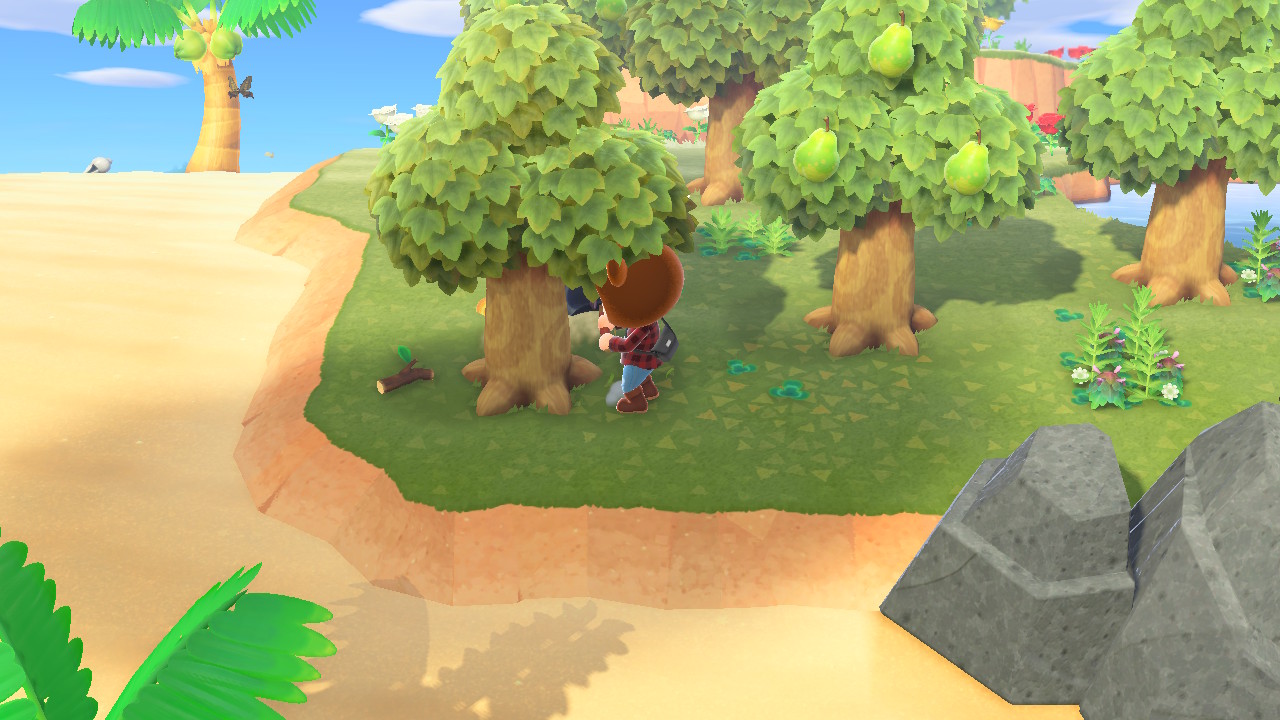
IMPORTANT NOTE: If you don’t want to cut down trees, use a Flimsy Axe or a Stone Axe when chopping. An Axe can cut down trees.
For a regular Shovel, gather one Iron Nugget and craft one Flimsy Shovel.
You can get Iron Nuggets from hitting rocks, but rock drops can be random as well. Rocks can drop Stone, Clay, Iron Nuggets, or a rare Gold Nugget.
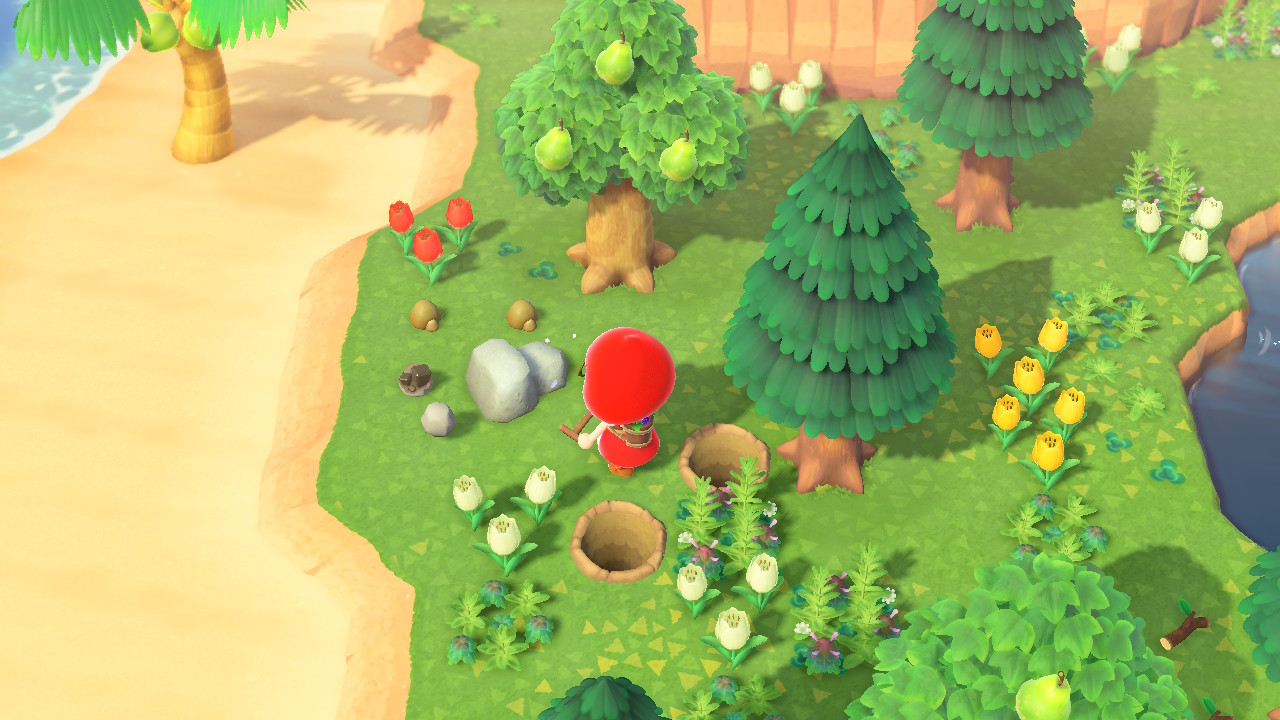
TIP: To get more Iron Nuggets, you can go to a Mystery Island and hit the rocks there. You can do the Rock Trick to get eight materials per rock. To do it, dig one hole beside you and another hole behind you. Refer to the pic below for a visual guide on how to do it.
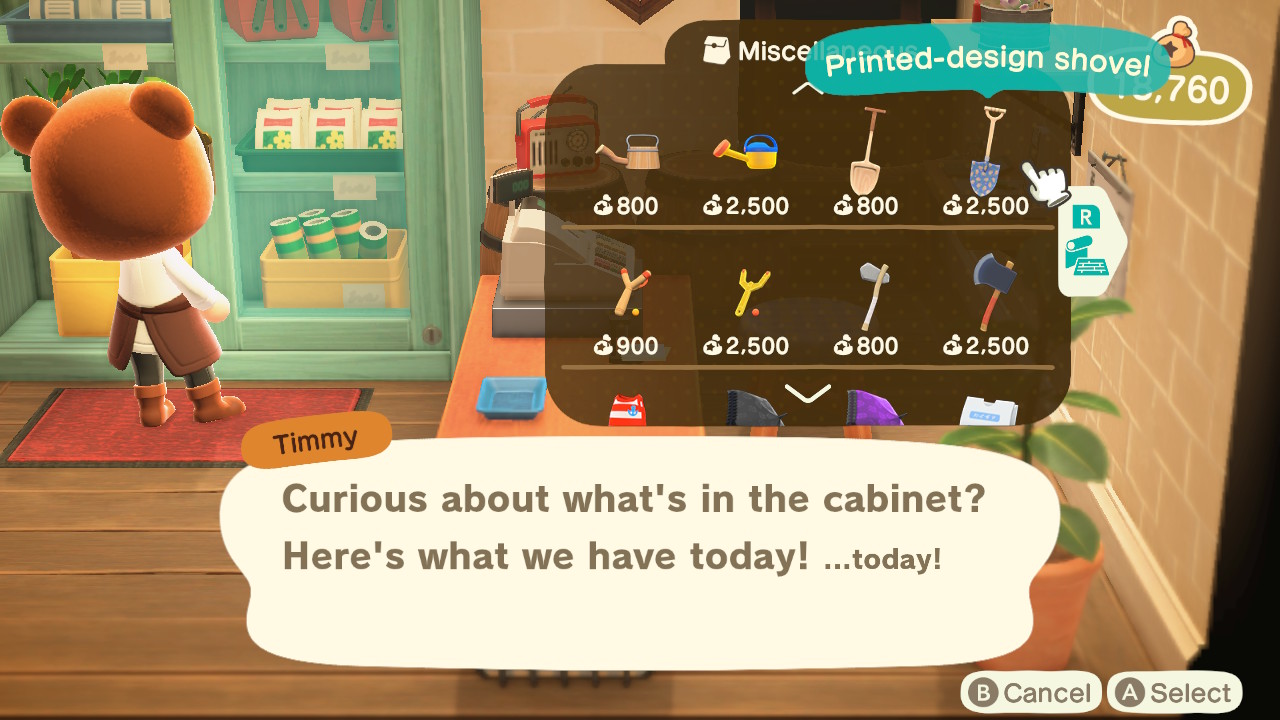
If you’d rather buy ready-to-use shovels, there are a few creatively-designed ones from your Nook’s Cranny.
These are only available when you upgrade the store. You can get different colored shovels like the Colorful Shovel, Printed-Design Shovel, and the Outdoorsy Shovel.
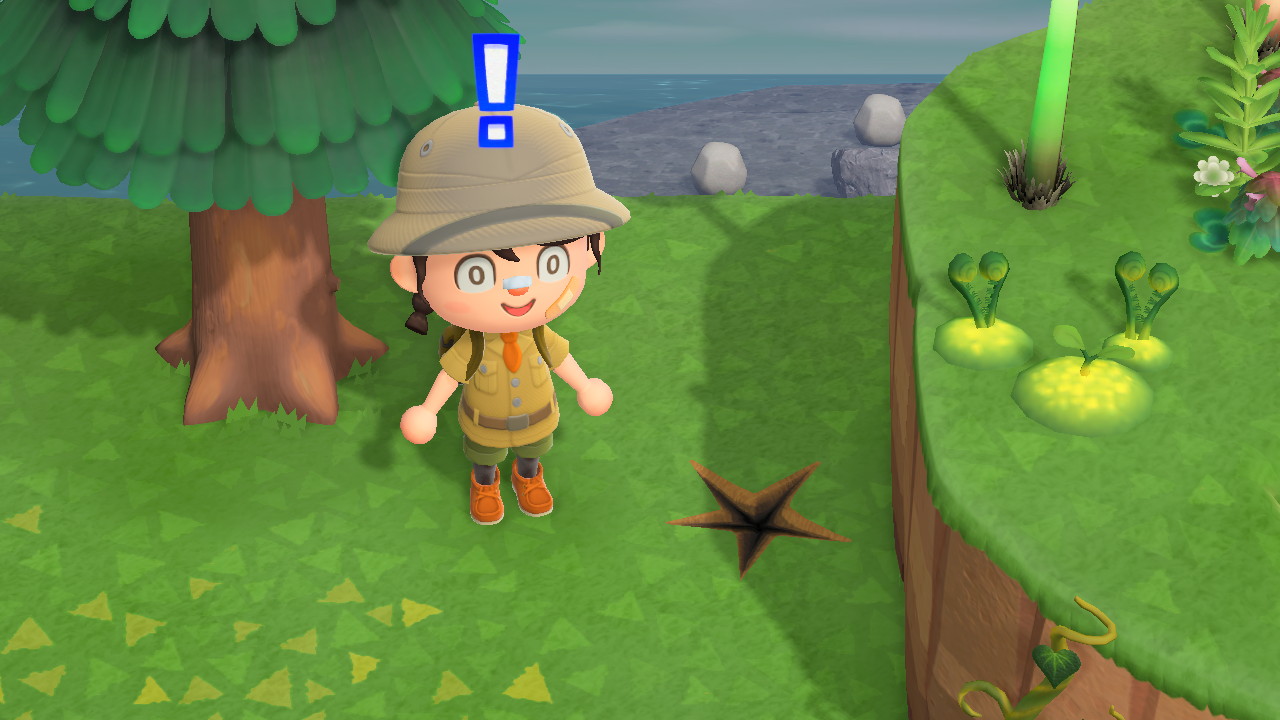
Step 3: Look for Marks on the Ground
Time to hunt those fossils! They’re hard to miss, but it’s best to keep an eye on the ground at all times.
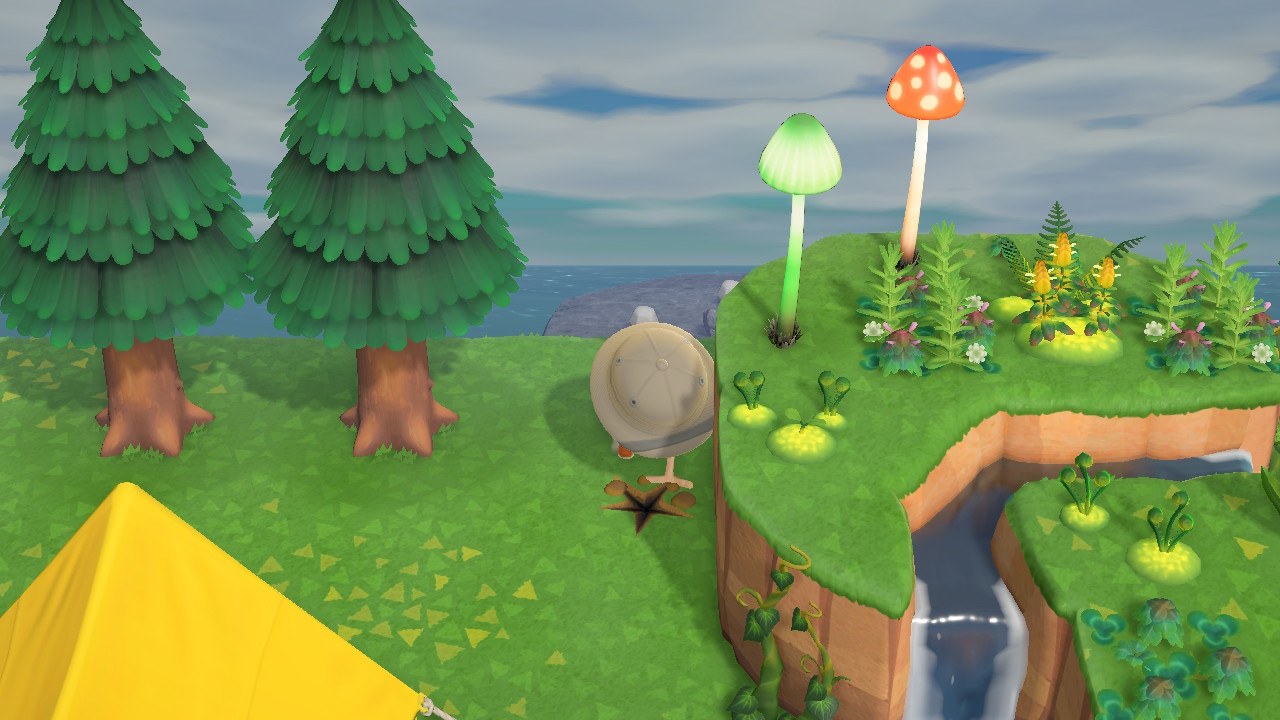
Fossils are buried underground, and you’ll know where they are buried because of the star-shaped crack or x-mark on the ground.
IMPORTANT NOTE: There are other collectible things in the game that have a crack or mark. Bamboo Shoots and Rare Mushrooms need to be harvested by digging and will have that mark as well. Buried Pitfall Seeds will also have the same indication.
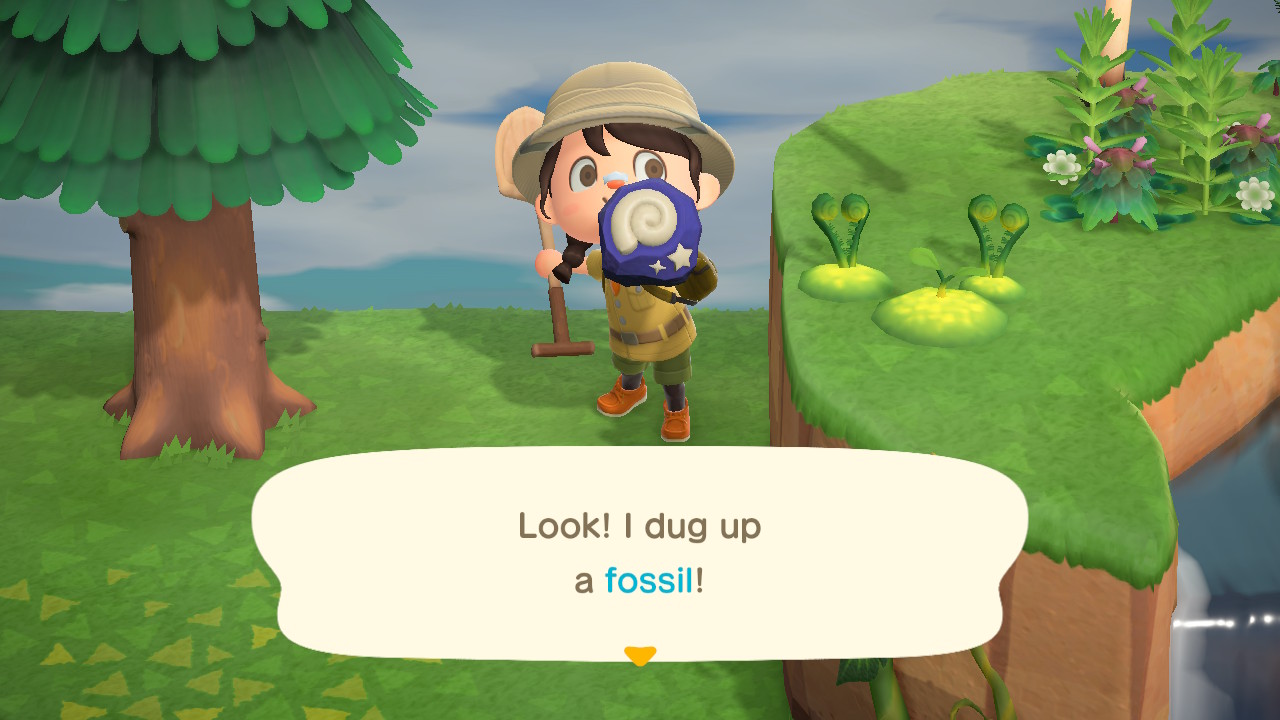
Once you see an x-mark, take out your shovel so you can dig it. Press ‘x’ to open your pocket and press ‘a’ on your shovel so you can pick ‘hold’ to carry it.
With your shovel in your hands, press ‘a’ to dig the mark. Tada! You found a fossil!
IMPORTANT NOTE: You can dig up to four fossils a day on your island. It seems like more cracks will show up the next day if you don’t collect them. You can also dig one fossil on a Mystery Island.
Now that you know how to dig for fossils keep checking your island every day for them.
Give them to Blathers to complete your museum or trade your duplicates with other players to help them with their own museums.
Happy digging, fossil hunter!