
Animal Crossing: New Horizons is a game filled with chores – and yes, they’re fun chores! One of these chores is watering your flowers and vegetable crops.
You can’t water your plants without a watering can, so it’s important to get one as soon as possible.
However, there is more to watering cans in the game than just watering. With their creative designs and colors, you can’t help but want to collect them all to display.
Read on to get a detailed guide on how to get watering cans in Animal Crossing!
Quick Links
4 Steps To Get All the Watering Cans in Animal Crossing
Step 1: Get Your First Watering Can
Your first-ever watering can will be given to you early in the game. All Resident Representatives or player one of New Horizons will go through it to progress the game.
You don’t have to worry about missing it!
After island introductions and resting in your tent on your first day, you’ll wake up to a sunny morning with Tom Nook outside your tent. He wants to teach you about crafting and DIY recipes.
After getting the DIY recipes for Flimsy Fishing Rod and Flimsy Net, you will then catch critters to give to Tom Nook.
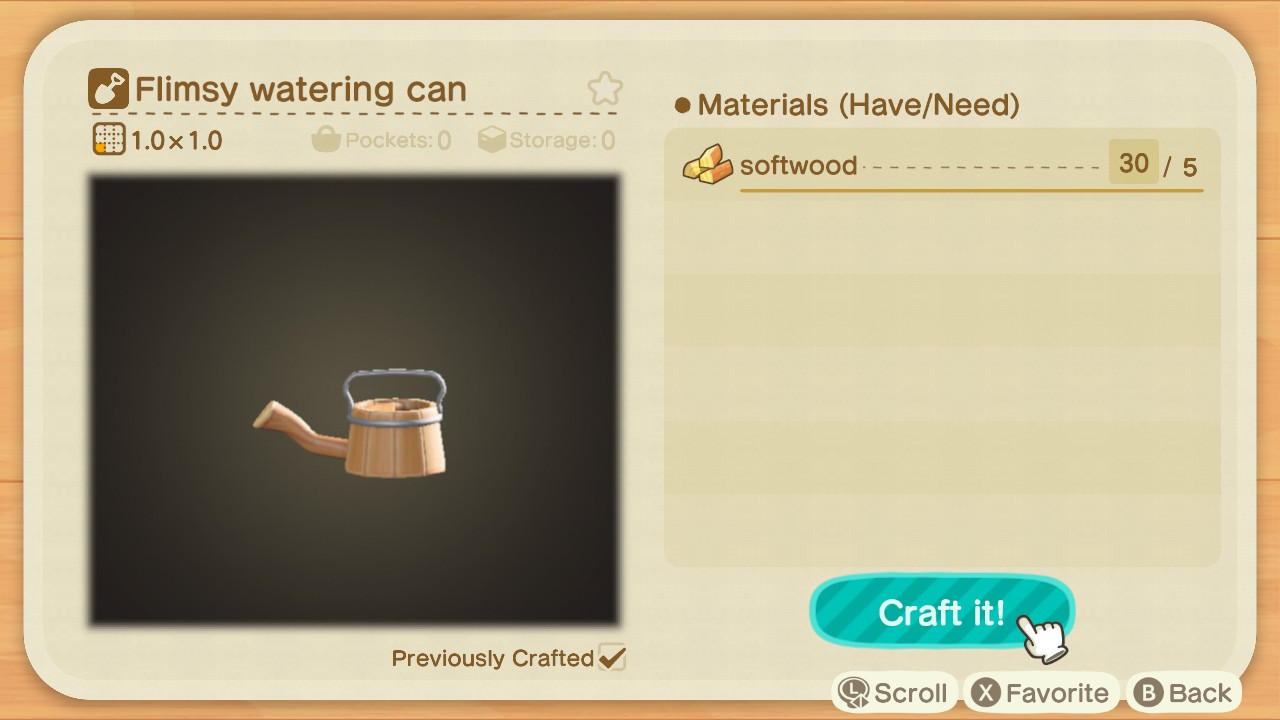
Catch and donate five bugs or fish to Tom Nook. He will be thankful for it and will give you the recipe for Flimsy Watering Can! You will need 5 Softwood pieces to craft it.
The Flimsy Watering Can is your beginner watering can in the game and, as the name suggests, is rather flimsy. It will immediately break after 20 uses.
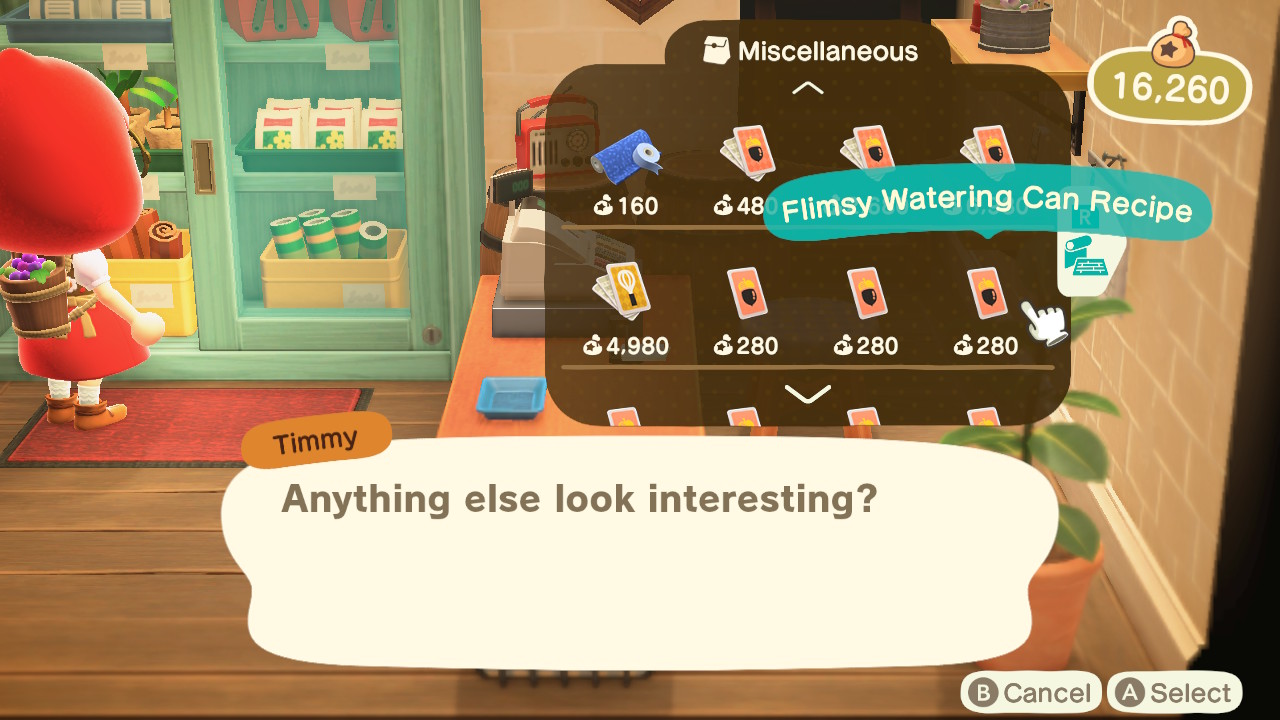
For secondary players, you can get this recipe from Timmy at Nook’s Cranny.
Step 2: Upgrade Your Tools
While it’s pretty good to have a beginner watering can as a beginner yourself. Eventually, you will broaden your horizons and will need better tools.
This is where the Pretty Good Tools Recipes will help you.
The Pretty Good Tools Recipes is a DIY recipe pack that contains all upgrades of your basic tools.
It has recipes for Axe, Stone Axe, Fishing Rod, Shovel, Net, and of course, a proper Watering Can.
This Watering Can can last up to 60 uses.
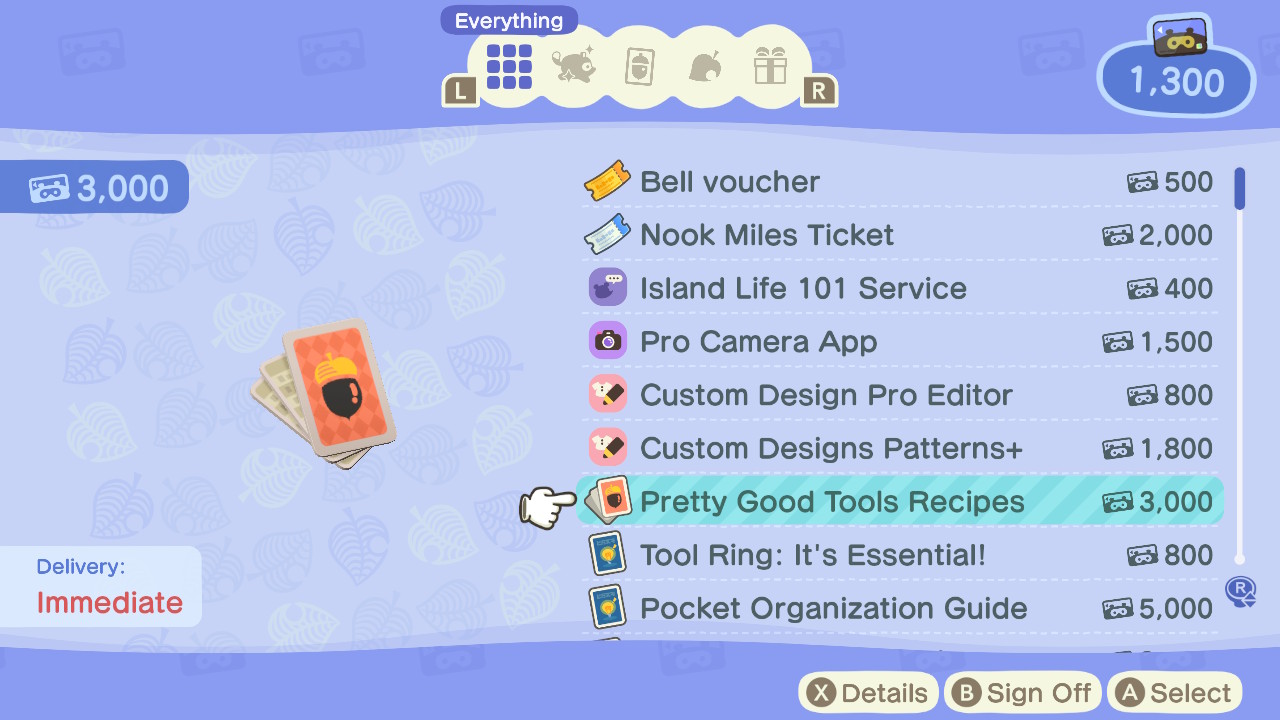
To get it, you need to redeem it from your Nook Stop for 3,000 Miles.
If you can’t find your Nook Stop, head to your Resident Services and interact with the machine at the lower right corner.
Short with Miles? Here’s a TIP! Do Miles+ tasks to get Miles faster. Some Miles+ tasks have multipliers that will give you more Miles than usual. The multiplier can range from x2 to x5!

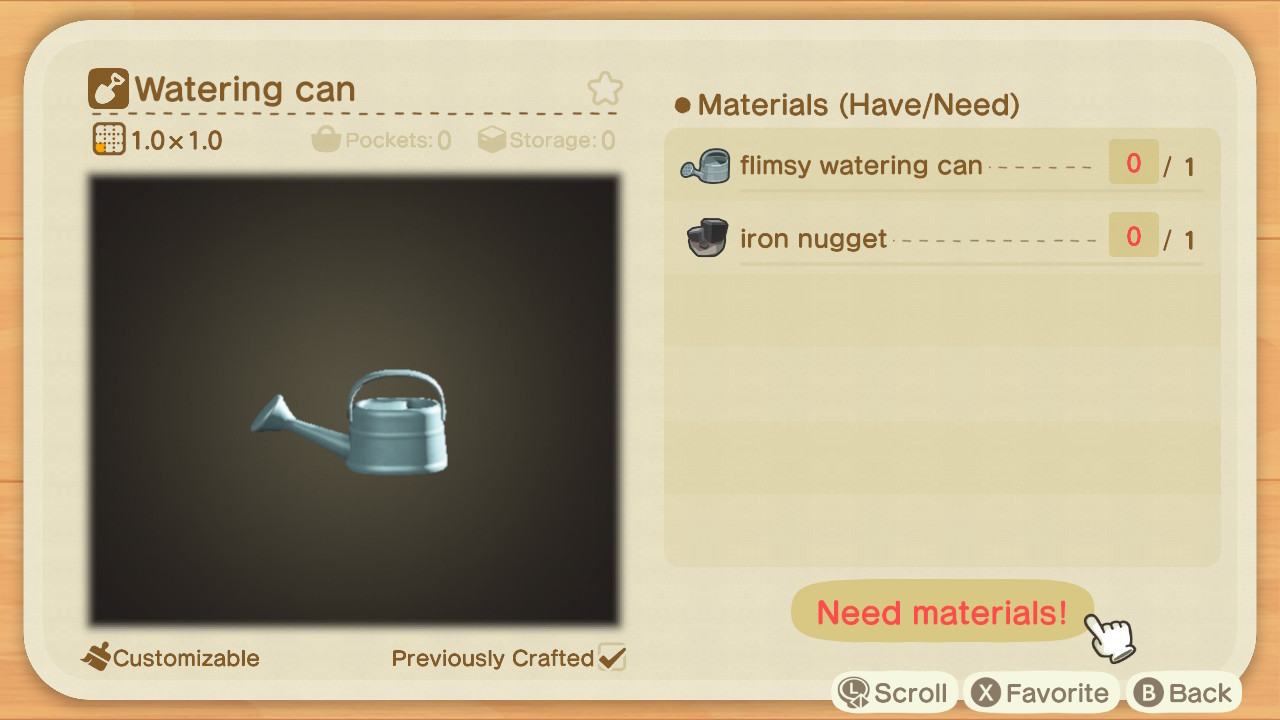
After redeeming Pretty Good Tools Recipes, you can now craft a Watering Can.
To make it, you will only need one Flimsy Watering Can and one Iron Nugget. Iron nuggets can be mined from hitting rocks.
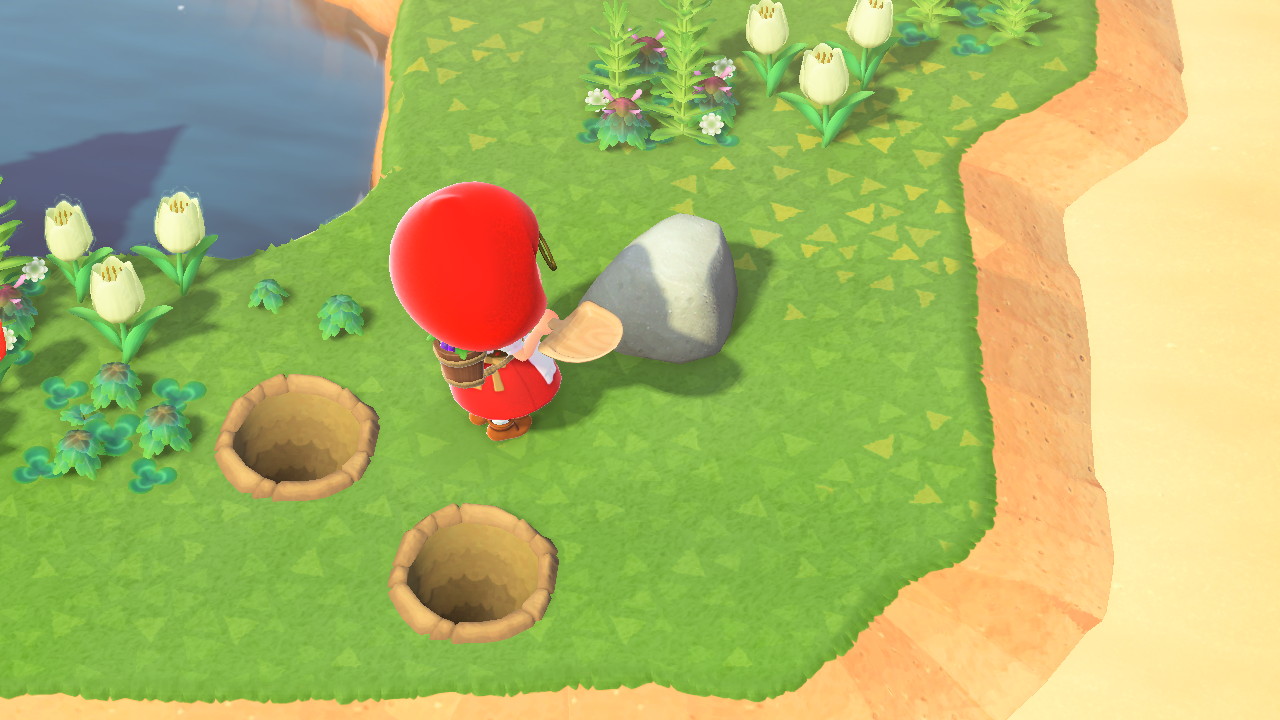
TIP: When mining rocks, don’t ever forget to do the rock trick! Doing this trick will let you get more materials per rock.
You can get eight materials per rock when you time your hitting just right. To do the trick, place two holes behind and beside you, just like in this picture below.
Your rocks will only drop materials once per day.
If you need more rock materials, a good tip is to go to a Mystery Island and hit rocks there! Redeem a Nook Miles Ticket from your Nook Stop and bring it to your airport.
Step 3: Buy the Nook’s Cranny Watering Cans
Got your Flimsy Watering can and regular Watering Can? Well, there are actually more watering cans to collect!
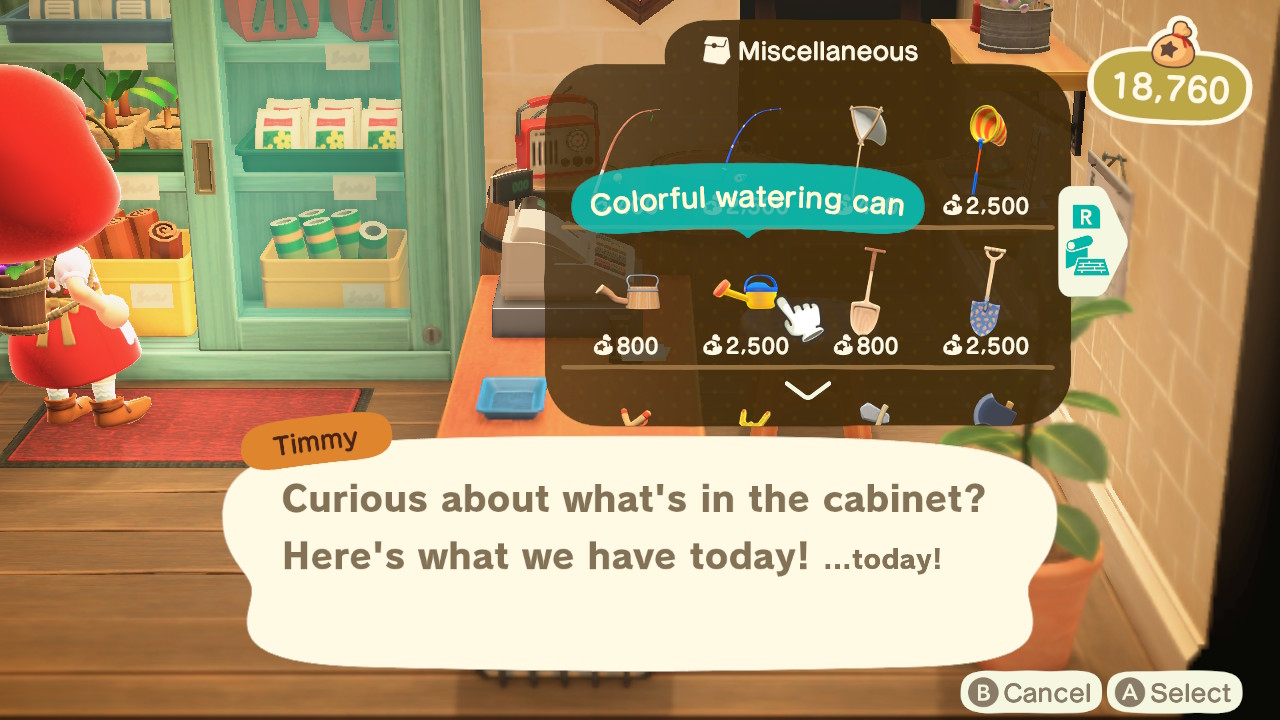
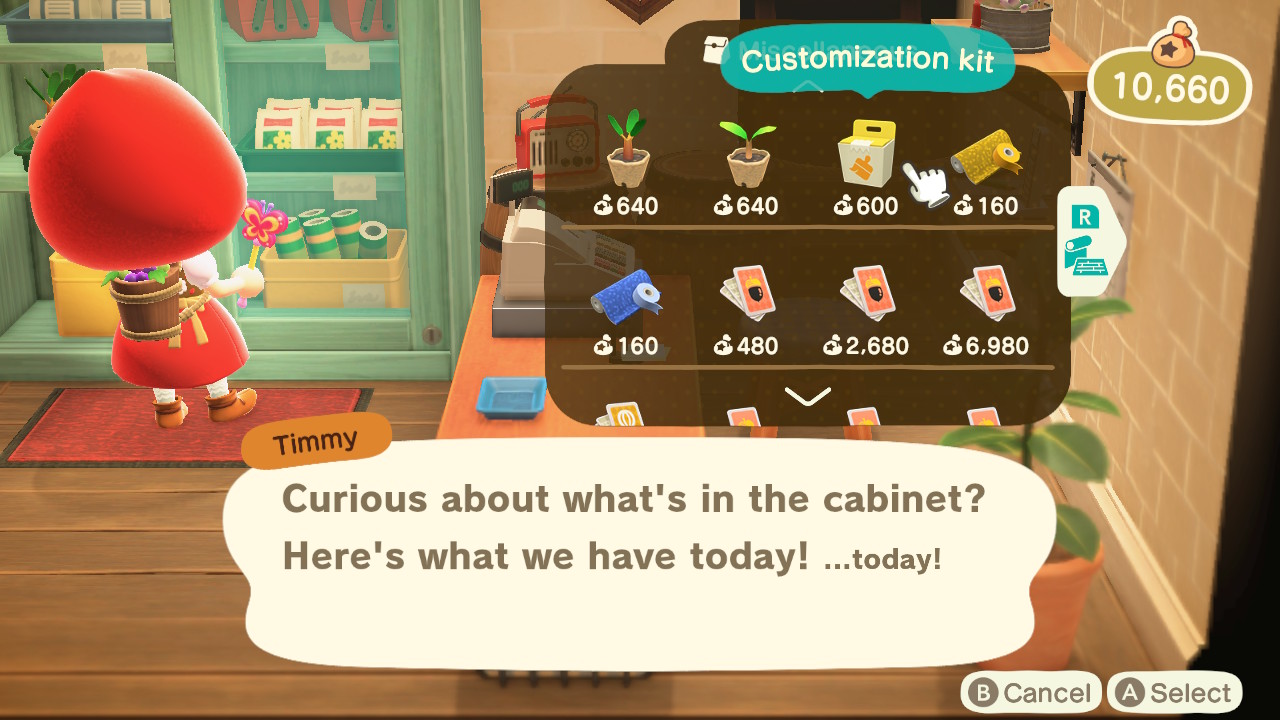
After your first Nook’s Cranny upgrade, Timmy and Tommy will have more items for sale. Check the cabinet in the store for new items.
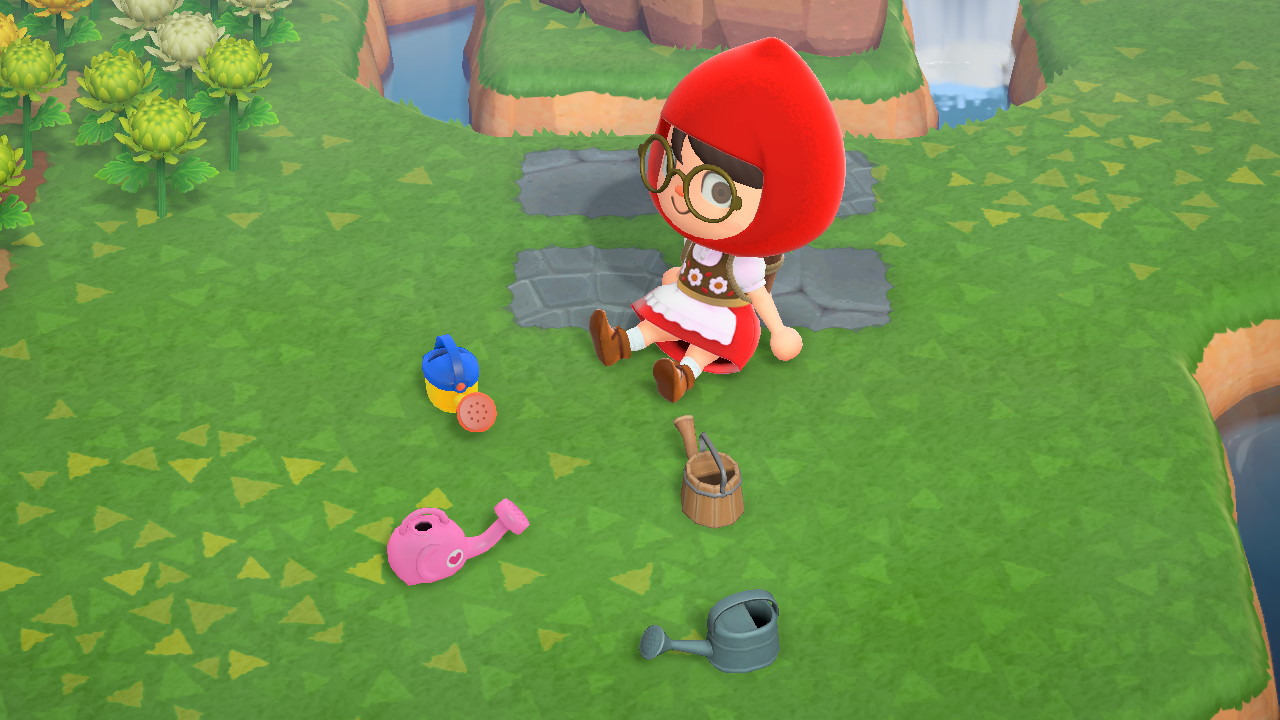
You will find pre-made or ready-to-use watering cans with wacky designs and colors.
Kinds of Watering Cans at Nook’s Cranny
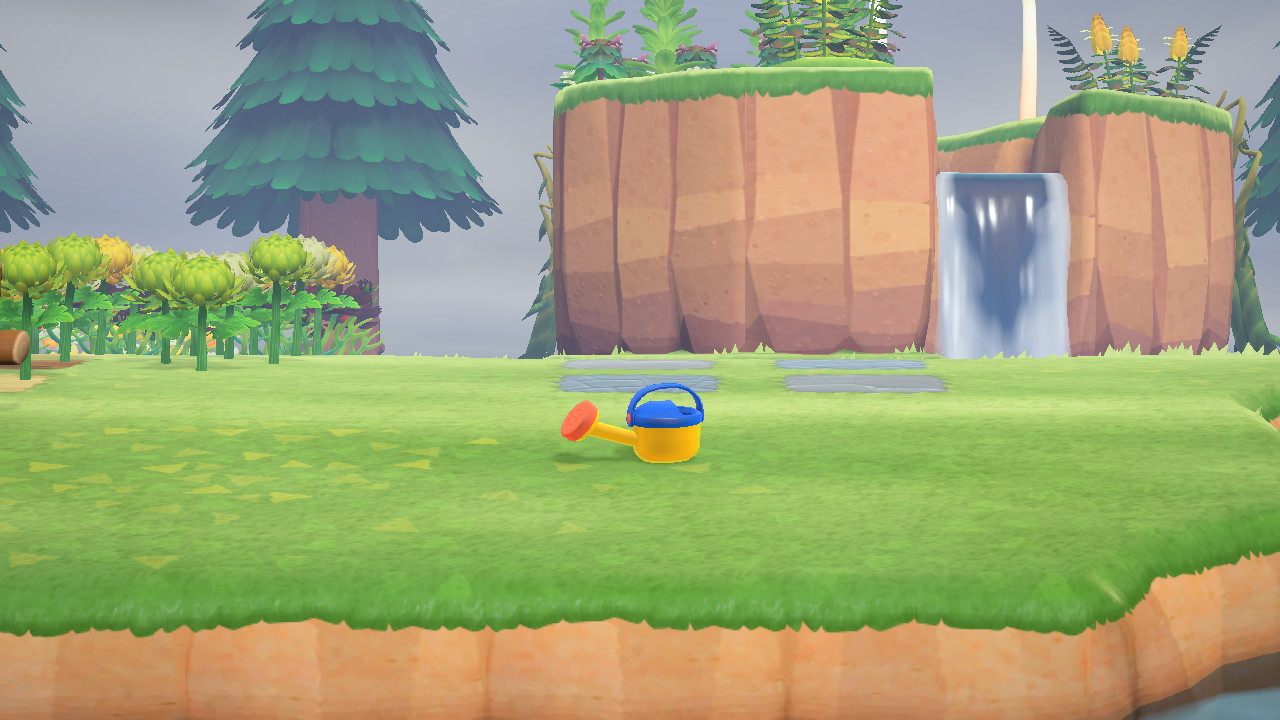
Colorful Watering Can
This watering can looks plastic-y like a toy. It’s as colorful as its name! It has eight variations.
Variations: Yellow (Yellow and Blue), Red (Red and Green), Blue (Blue and Orange), Pink (Pink and Aqua), Green (Green and Yellow), Purple (Purple and Green), White (White and Orange), and Gray (Black and Yellow).
Price: 2,500 Bells
Durability: 60 uses
Outdoorsy Watering Can
If you’re not fond of colorful and toy-like watering cans, this will suit you. It’s mostly black with just a bit of color. It also has eight variations.
Variations: Avocado (Green and Black), Orange (Orange and Black), Light Blue (Aqua and Black), Red (Red and Black), Beige (Being and Black), Pink (Pink and Black), Yellow (Yellow and Black), Black (Black and Black)
Price: 2,500 Bells
Durability: 60 uses
Elephant Watering Can
For those who want a little whimsical fun while they water their flowers, get this elephant-shaped watering can! Its different variations not only differ in color but in expressions, too!
Variations: Gray (with open default eyes), Green (with closed happy eyes), Blue (with sad or sleepy eyes), Pink (with heart eyes), Red (with angry eyes), Yellow (with tiny shocked eyes), Light Blue (with watery or teary eyes), Black (with closed or sleeping eyes).
Price: 2,500 Bells
Durability: 60 uses

Getting Nook’s Cranny Watering Cans
You’ve probably noticed that only one variation of these Nook’s Cranny watering cans shows up in the cabinet.
To get all variations of these Nook’s Cranny watering cans, you will either trade with other players or buy from their Nook’s Cranny, customize it yourself using 1 Customization Kit, or visit Harv’s Island and have Cyrus customize it for 1,000 Bells.
Step 4: Get the Golden Watering Can (Spoiler)
For those who want to keep their Animal Crossing playthrough as spoiler-free as possible, you can skip reading this step!
But for those who are curious – yes, there is a golden version of the regular watering can.
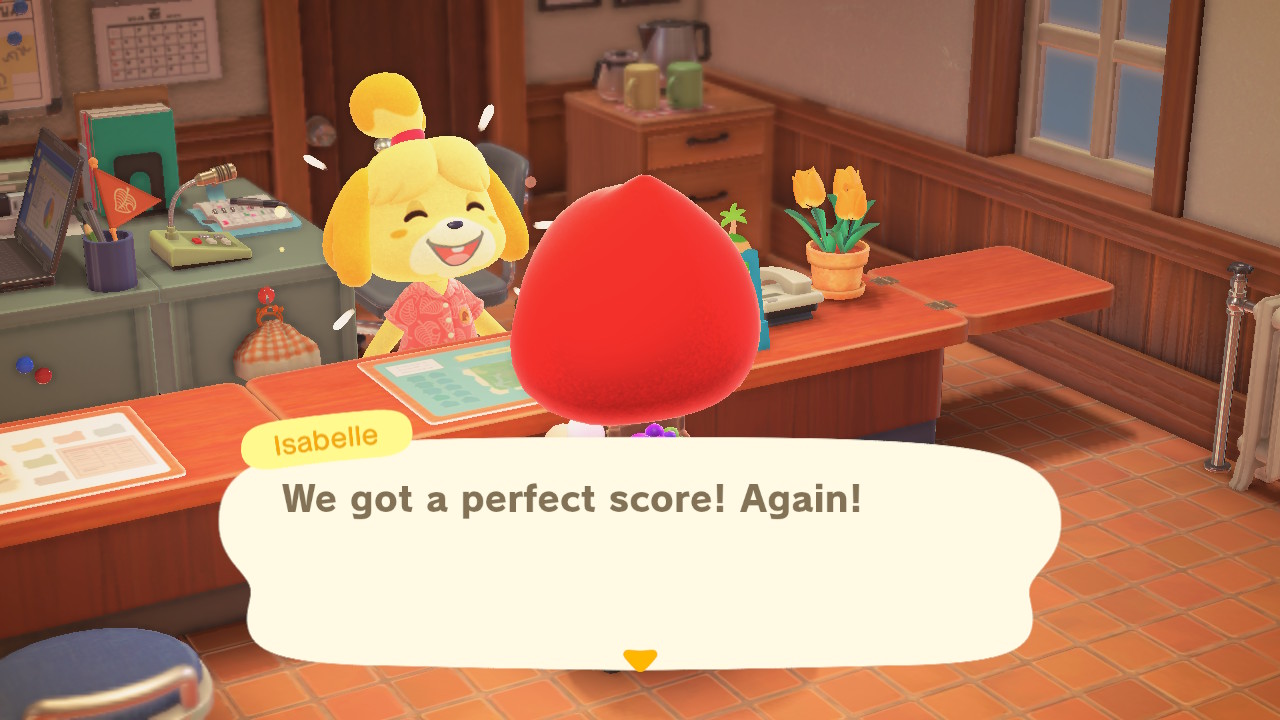
Getting it won’t be quick and easy. You have to get a five-star rating for your island!
This will involve a lot of planting, fence building, and decorating on your island.
TIP: Talk to Isabelle about island ratings. She will tell you what to do and what your island needs. Follow her instructions to a T!
After getting five stars, she will hand you the Golden Watering Can recipe. To make it, you need a regular Watering Can and one Gold Nugget.

And that’s all the watering cans in the game! Whew, that was a lot, wasn’t it? For serious collectors out there, I hope this guide has helped you on your quest to get all watering cans in Animal Crossing.