One way to turn your deserted island into a bona fide inhabited island town is by having proper paths on the ground. No more walking on the grass just to get to your Resident Services!
However, in order to unlock the feature that will let you make paths, you have to improve your island first and have someone special drop by for a visit.
If you want to keep your Animal Crossing experience as spoiler-free as possible, this guide might reveal some surprises in the game.
I’ll mark the parts with spoilers so you can avoid reading them, but be warned!
With introductions and warnings out of the way, let’s learn how to make paths!
Quick Links
Steps on How To Make Paths in Animal Crossing
Step 1: Know Your Island’s Rating
Some features in the game are locked behind certain milestones. For paths, you can’t make them yet until you improve your island’s state.
You have to get a 3-Star Rating first!
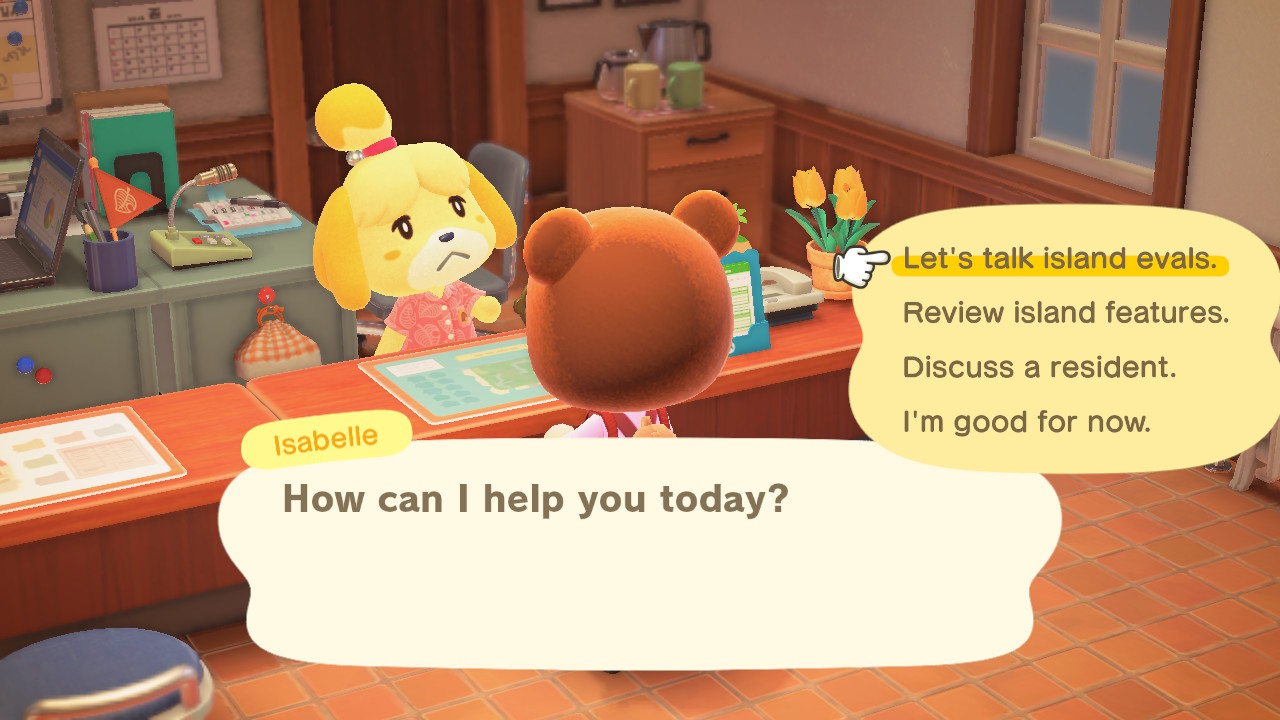
To know your island’s ratings, talk to Isabelle inside Resident Services. Pick the option about “island evals.” to learn more about island evaluations.
She’ll tell you the star rating, some feedback from random NPCs, and what to do to improve the place.
If there are a lot of trash or dropped items littered around your island, Isabelle will tell you to pick those up. Weeds overrunning the place? She’ll advise you to clear that.
Need to put up some fences? Don’t worry, Isabelle will definitely point you in that direction.

Basically, if you don’t know what to do with your island, ask Isabelle! Follow her hints on what to do to improve your island’s ratings.
Step 2: Improve Your Island’s Rating
Now that you know what to do, thanks to Isabelle, let’s get things done!
To start, make sure you clear the weeds around. You can sell clumps of weeds or keep them in your storage for DIY recipes.
You can make a lot of items with grass, like Hay Bed, Floral Swag, and even a backpack!
You might also need to pick up garbage or dropped items. Dropped items are things you just drop on the ground and are different from placed items.
Items that are already on the ground, like fallen branches and shells, don’t count. If you pick those and drop them around, that’s a different story.
TIP: You can now store your DIY recipes in your storage! Before, you can only really keep them in your pockets or drop them on the ground or inside your room. Doing those will affect both ratings for your island and house.
Keep checking on Isabelle to see if your ratings have changed or if you need to do other things to improve your island.
Step 3: 3-Star Rating and Getting the Island Designer App
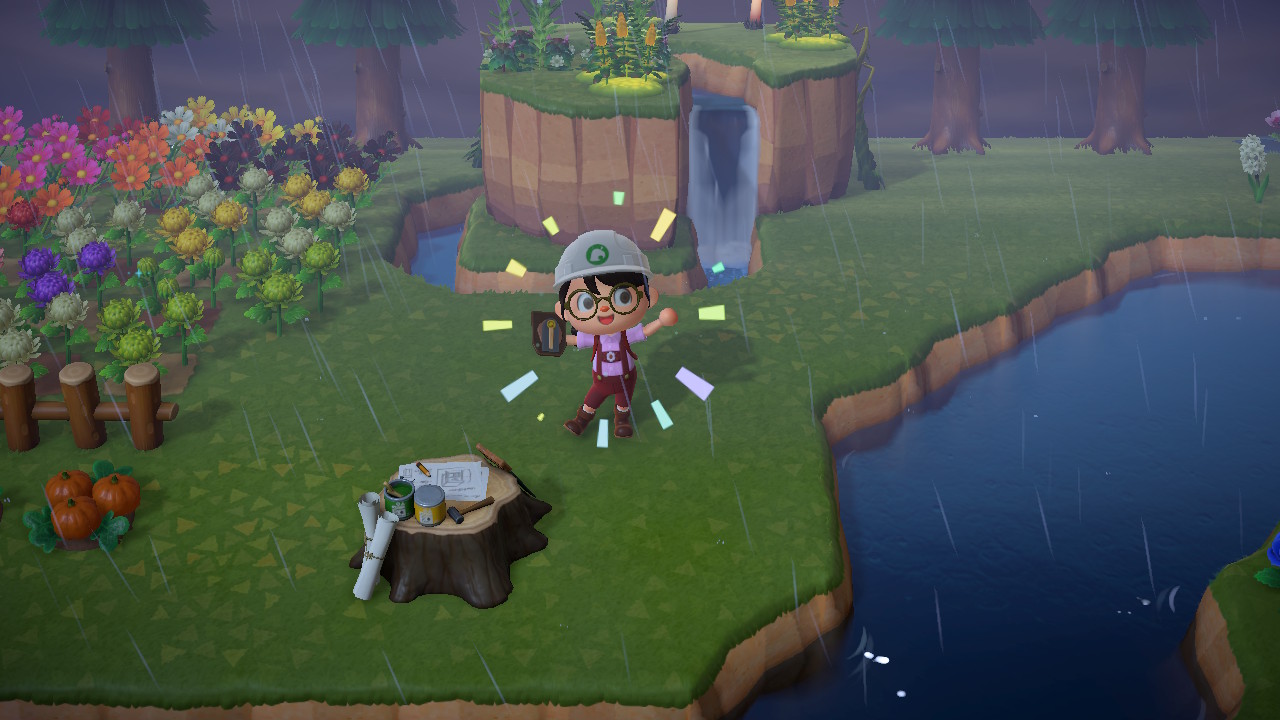
Got your three stars? Great! Not only will you be rewarded with an app that can let you make paths, but you will also be visited by someone special.
SPOILER WARNING: Getting visited by K.K. Slider himself and having your very first island concert are milestones you need to achieve in the game to unlock the rest of the features.
Don’t be surprised when you see the credits start to roll! The game’s not ending yet.

After a very memorable island event, Tom Nook will talk to you about an upgrade for your NookPhone.
You will now see the Island Designer app when you open your phone, and you will absolutely need it to put paths on the ground.
Step 4: Use and Upgrade Your Island Designer App
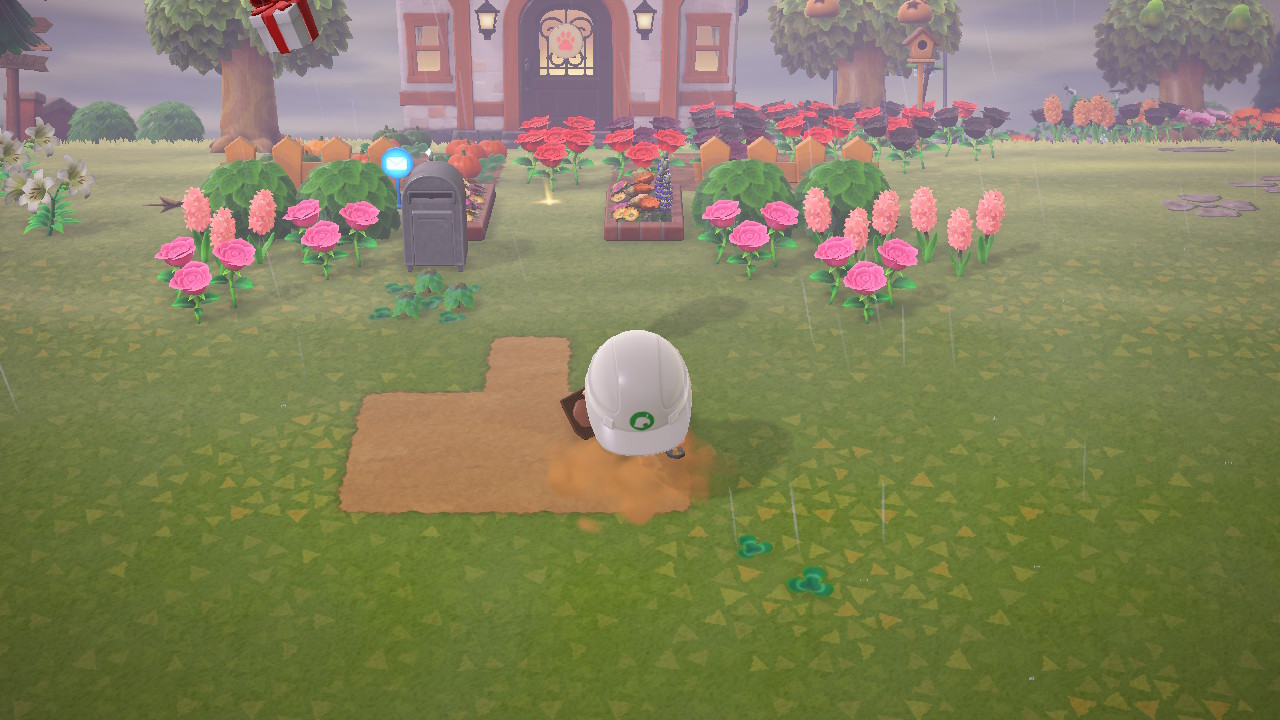
We can now make paths! Open the app to see the new features you can do. Press ZL to open your phone and go to your Island Designer app.
Pick “Start construction!” and watch your character transform into a helmet-wearing path designer. Safety first!
IMPORTANT NOTE: Once the island representative or the main player unlocks the Island Designer app, the rest of the players or residents on your island can now have it, too!
Press + on your controller to see your path options. Right now, you only have Grass and Dirt Path. Let’s give these two a try, shall we?
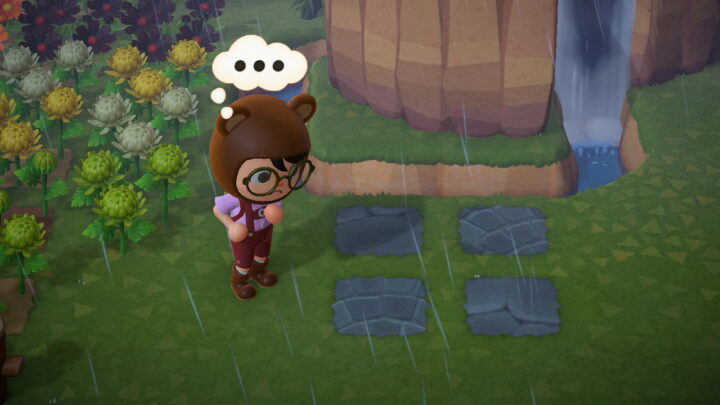
Select Dirt Path by pressing ‘a’ on it. Face the ground you want to put a path on and simply press ‘a’! If you press ‘a’ on the same single tile, it’ll erase the path.
You can also erase by using the Grass option.
TIP: Want curved or smooth edges on your paths? Make four square tiles and press ‘a’ on the edges again. Your character will erase the sharp corners!
There are places where you can’t make any paths, and these are your beaches, the plaza near Resident Services, incline surfaces, and the tiles near buildings.
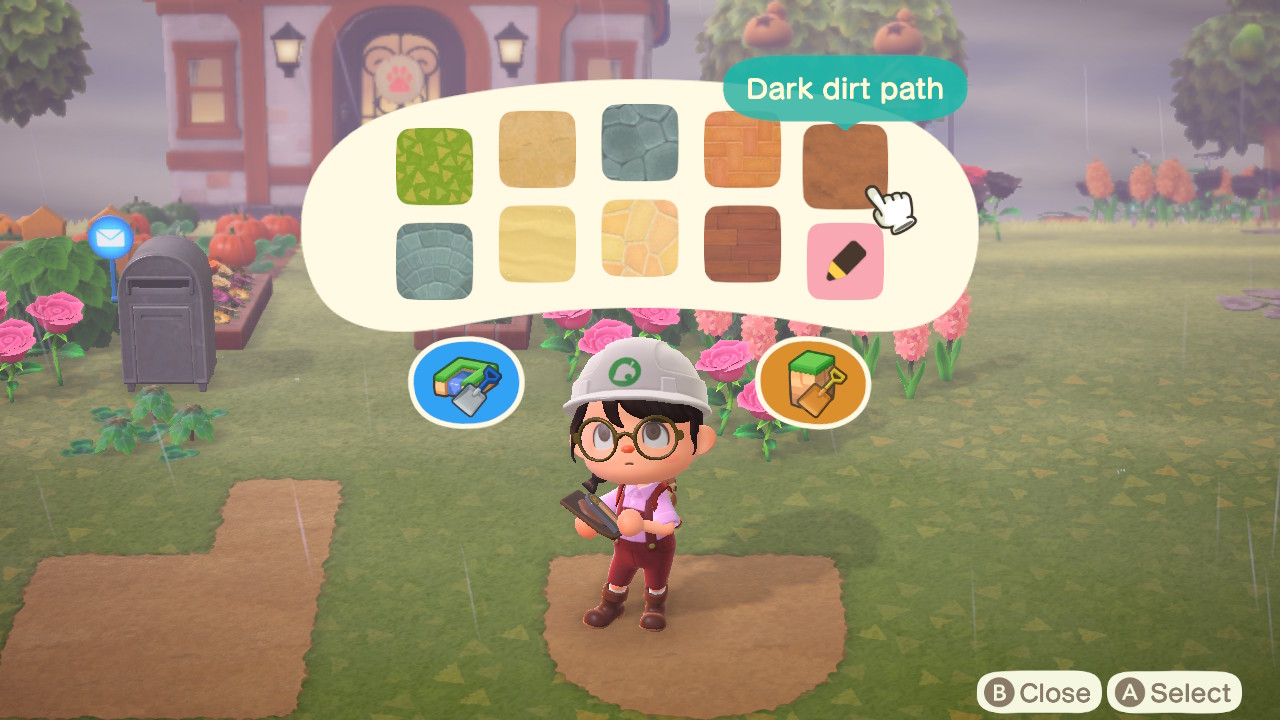
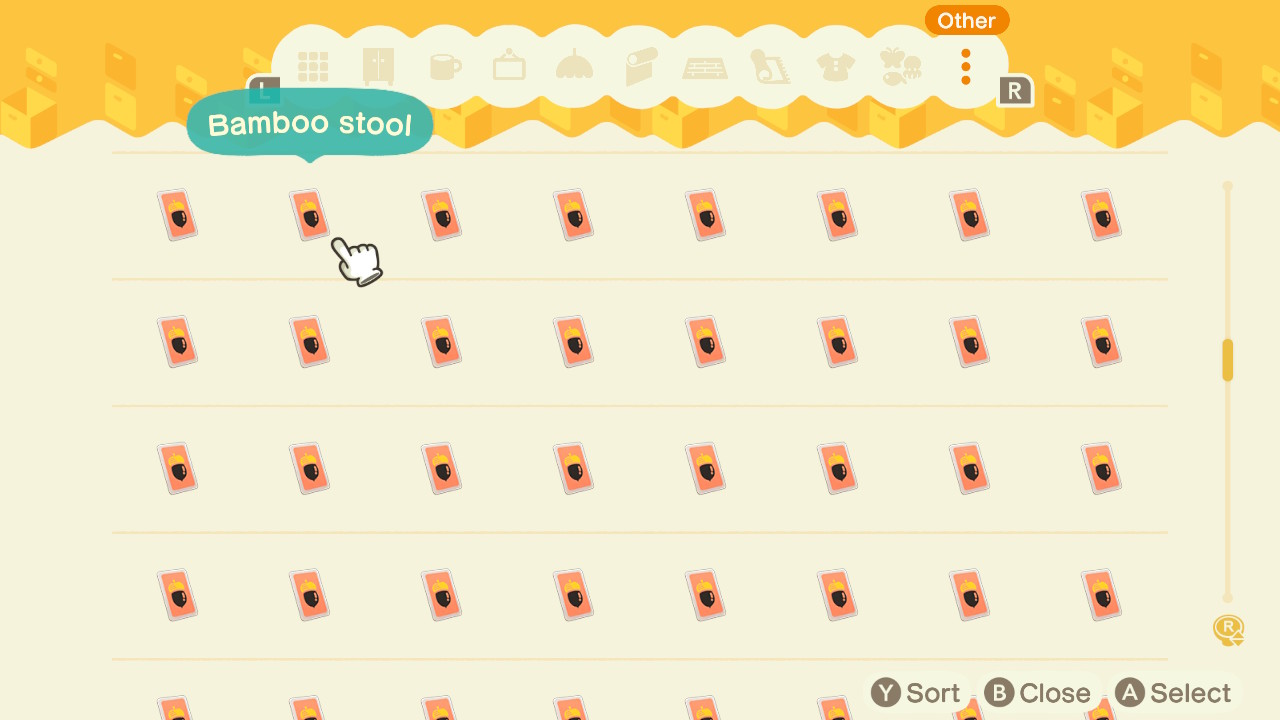
To unlock other paths, ready your Nook Miles and go to your Nook Stop.
You can redeem seven more path options, and these are the Stone, Brick, Dark Dirt, Arched Tile, Sand, Terra-cotta, and Wooden paths.
You can also use Custom Designs and make your own paths! Applying it on the ground is the same as regular paths.
Open up your path options, go to Custom Design, pick your design, and press ‘a’ on the ground.
IMPORTANT NOTE: You can remove Custom Design paths on the ground by pressing ‘y’ and erasing it with your foot. It’s just like when you’re removing or erasing holes.
With paths, you can really improve the aesthetic of your island. Go crazy with the designs and make your vacation home truly worthy of 10 stars!